To carve and shear a tufted rug for a designer finish, start by gathering essential tools like a tufting gun, electric shears, and sharp scissors. Secure your design and carve outlines to create depth. Use quality shears for even trimming, but be cautious not to cut too deep. Regularly check your progress and maintain a tidy workspace. With the right techniques and creativity, you can craft a stunning piece that showcases your personal style; there’s much more to explore!
Key Takeaways
- Use a tufting gun and sturdy frame to securely create your design before carving and shearing for a professional finish.
- Carefully carve outlines and shear the rug to achieve depth and a smooth surface, ensuring regular progress checks.
- Select high-quality yarn and backing material to prevent fraying and enhance the durability of your tufted rug.
- Maintain a tidy workspace and ensure adequate ventilation to improve focus and minimize health risks during the tufting process.
- Regularly vacuum and protect your rug from direct sunlight to maintain its appearance and longevity over time.

BESGEER Rug Tufting Gun with Carpet Trimmer Kit – Tuft Gun with Tufting-Shears, 2 in 1 Cut Loop Pile Carpet Gun& Carving Clippers, Rug Maker Machine Starter Kit& Trimmer& Cloth& Yarn(Olive Black)
- Complete DIY Rug Making Kit: Includes gun, trimmer, yarn, and cloth
- 2-in-1 Cut and Loop Pile: Switches between pile types with scissors
- Adjustable Pile Height: Range from 7-21mm for customization
As an affiliate, we earn on qualifying purchases.
As an affiliate, we earn on qualifying purchases.
Essential Tools and Materials for Tufting Rugs
When you’re ready to start tufting a rug, having the right tools and materials is vital for a successful project. First, you’ll need a tufting gun, which allows you to create various tufting techniques effortlessly. Don’t forget a sturdy frame to hold your backing fabric in place. Additionally, using quality materials ensures that your finished product is both beautiful and durable. Regular maintenance of your tufting gun can also enhance its longevity and performance.
The choice of water-cooled mattress pads can also provide comfort while you work, making your crafting experience more enjoyable. Yarn selection plays an important role too; choose high-quality yarn that suits your desired texture and durability. Wool blends and acrylics are popular choices, each offering unique benefits. A reliable tufting gun often features strong suction power for better efficiency in creating patterns. You’ll also want a sharp pair of scissors for trimming, a measuring tape for accuracy, and a marker for sketching your design. With these essentials, you’re set to immerse yourself in the exciting world of rug tufting! Additionally, consider exploring creative craft ideas to enhance your tufting skills and discover new techniques.
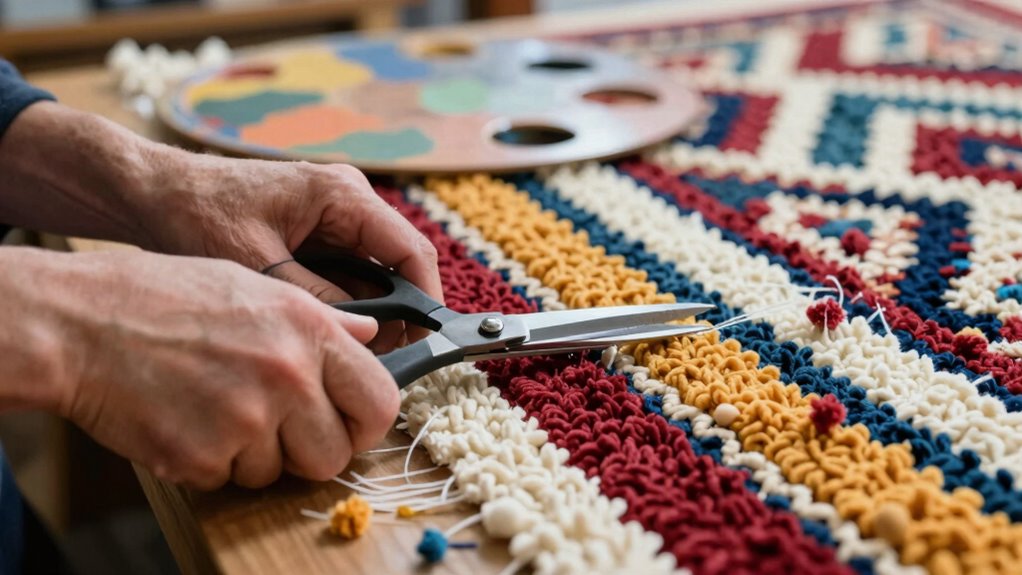
Master the Basics of Carving and Shearing
To master carving and shearing a tufted rug, you’ll need some essential tools at your side. Start by following a simple step-by-step process that guarantees precision and creativity. With practice, you’ll transform your design into a beautifully finished piece.
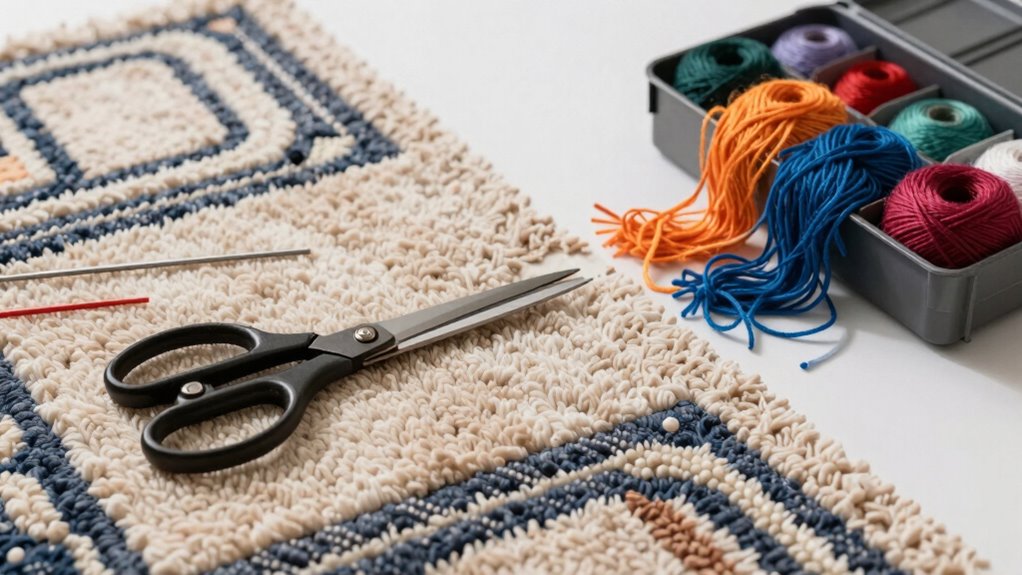
Essential Tools Required
Carving a tufted rug requires the right tools to guarantee precision and ease. With the right equipment, you can master tufting techniques and create stunning rug patterns. Here’s a quick overview of essential tools you’ll need:
| Tool | Purpose | Tips |
|---|---|---|
| Electric Shears | For cutting pile to desired height | Make sure blades are sharp |
| Carving Knife | To shape and detail designs | Use steady, controlled strokes |
| Ruler or Measuring Tape | For accurate measurements | Double-check before cutting |
These tools are crucial for achieving that ‘designer’ finish. Invest in quality equipment, and you’ll find the carving process smooth and rewarding. Start gathering these essentials, and you’re one step closer to crafting your perfect rug.
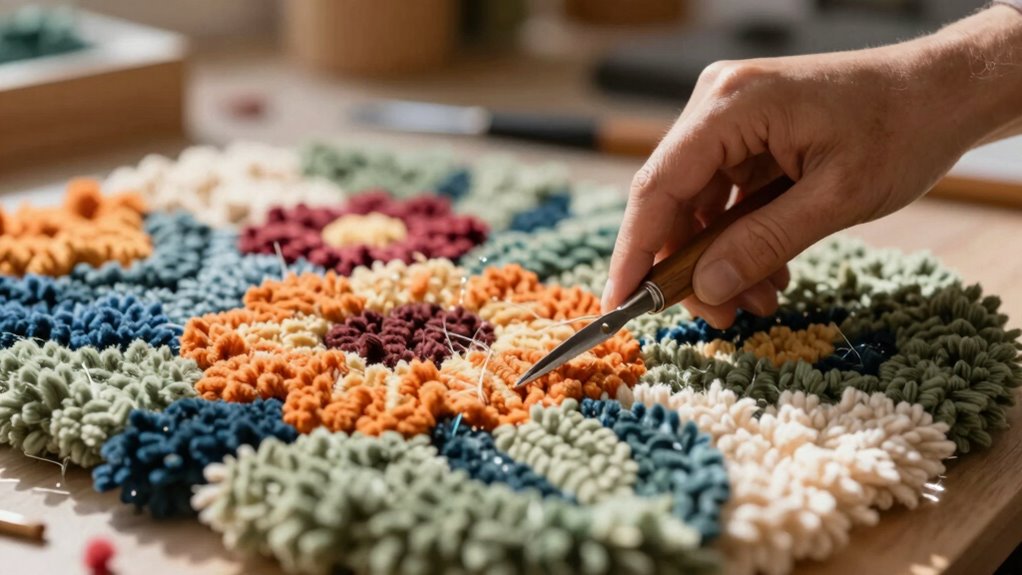
Step-by-Step Process
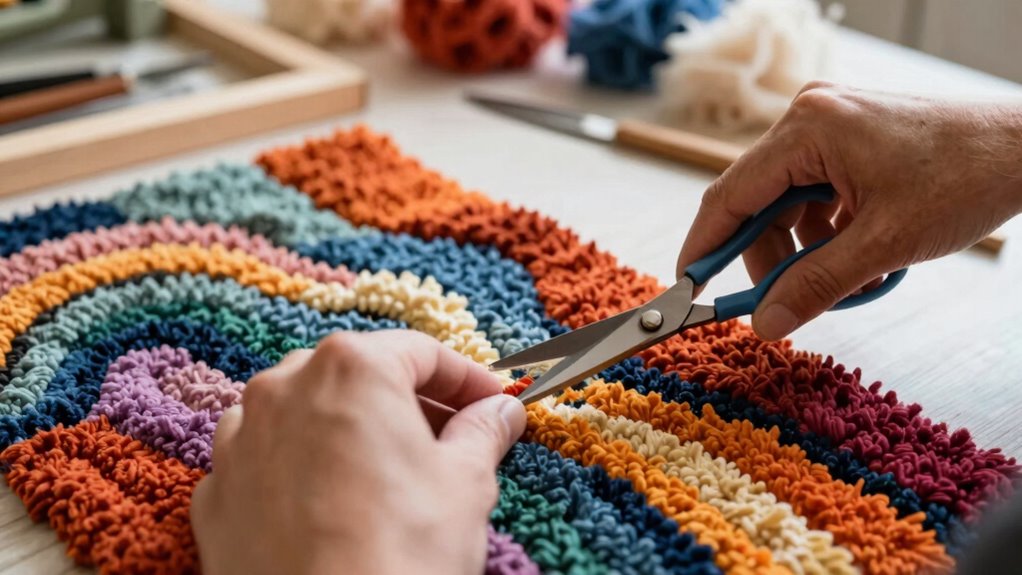
Mastering the basics of carving and shearing a tufted rug involves a straightforward, step-by-step process that anyone can follow. Start by sketching your design on paper, focusing on the design techniques you want to implement. Next, secure your rug in place to prevent movement while you work. Using your carving tool, gently cut along the outlines of your design, making sure to create distinct texture variations. Take your time; precision is key. After carving, switch to shearing for a smooth finish. Move the shearer evenly across the surface, ensuring you maintain uniformity. Finally, vacuum the rug to remove any loose fibers, revealing your beautifully crafted masterpiece. Enjoy the satisfaction of your designer-quality tufted rug!
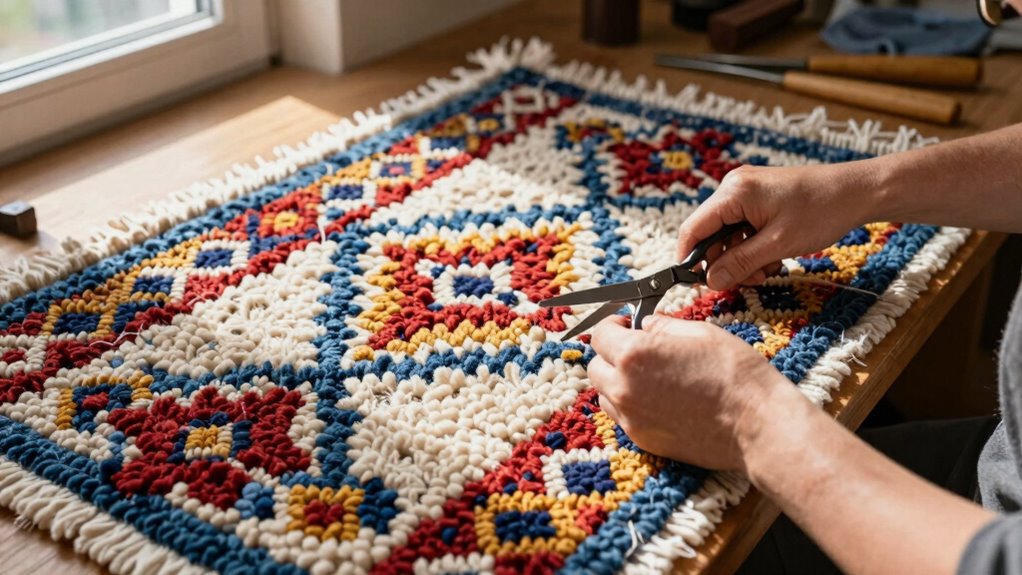
Step-by-Step Guide to Carving Your Tufted Rug
Creating a stunning tufted rug involves several key steps that can transform your design vision into reality. First, familiarize yourself with various tufting techniques to enhance your rug aesthetics. Additionally, employing proper kitchen ventilation can help maintain a comfortable environment while you craft your masterpiece. This is especially important as optimal workplace ergonomics can significantly contribute to your comfort during long crafting sessions. Remember to consider water damage prevention techniques to protect your rug during the crafting process. Start by mapping out your design on paper, ensuring you have a clear vision. Moreover, utilizing kitchen appliances effectively can streamline your crafting setup. Next, choose your yarn colors and types, as these will greatly impact the final look. Additionally, consider how color accuracy plays a role in achieving a visually striking finish.
| Step | Action |
|---|---|
| 1. Design Planning | Sketch your rug layout |
| 2. Yarn Selection | Pick colors and textures |
| 3. Tufting | Begin tufting according to your design |
Once you’ve tufted, take your time carving the rug’s surface to create depth and interest. Enjoy the process, and watch your rug come to life!
Perfecting Your Shearing Technique
To perfect your shearing technique, you’ll need the right tools to get started. You’ll also want to follow a clear step-by-step process to achieve that smooth, even finish. Let’s explore the essential tools and the techniques that can elevate your tufting game.
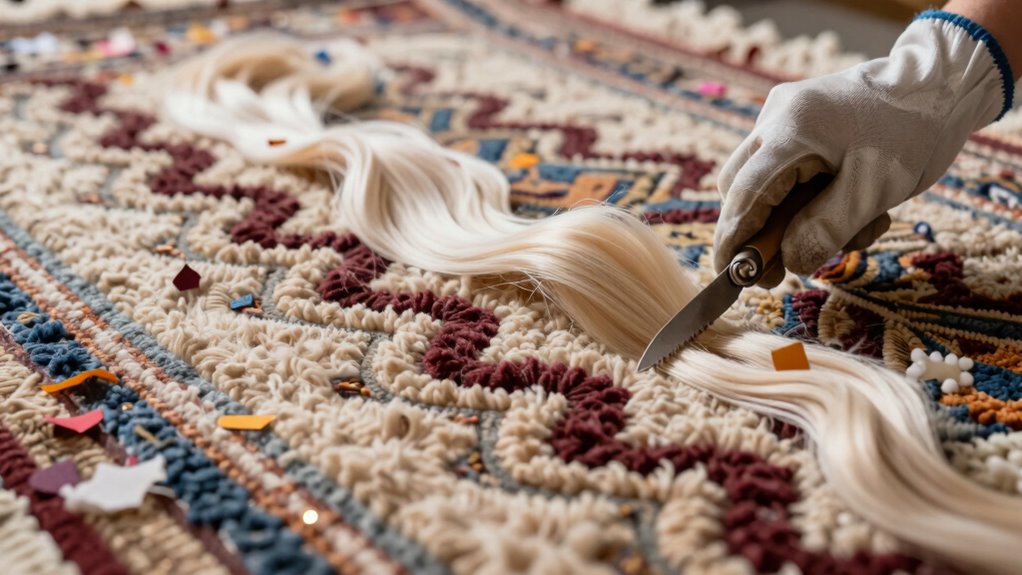
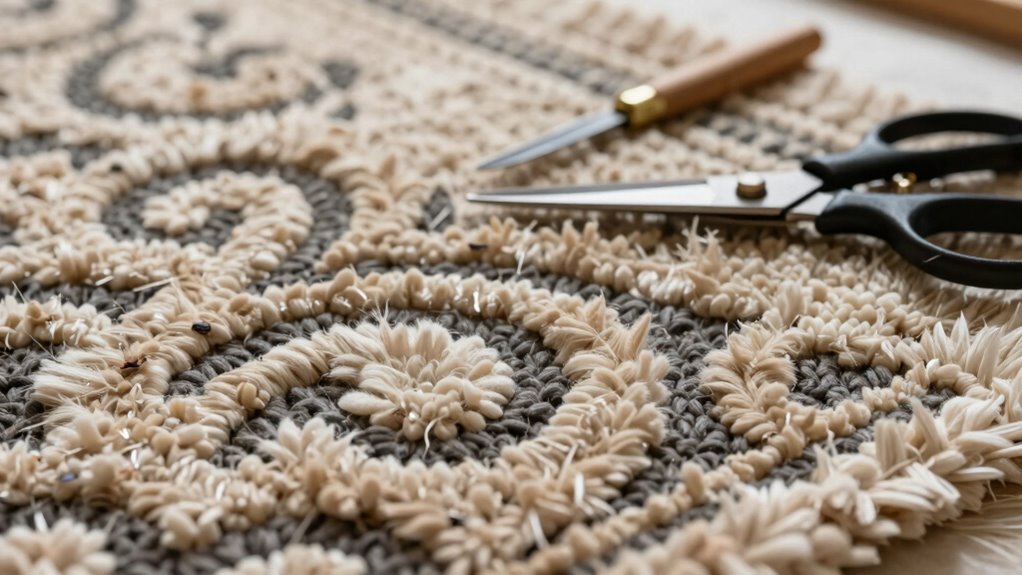
Essential Shearing Tools Needed
When you immerse yourself in shearing a tufted rug, having the right tools makes all the difference in achieving a polished finish. Start with a high-quality shear, specifically designed for rug maintenance, to guarantee clean, even cuts. A sturdy, adjustable shearing frame can help you maintain the right angle and height, improving your shearing techniques. Don’t forget a vacuum or lint roller; these tools keep your workspace tidy and help you see your progress clearly. Finally, consider using a good pair of scissors for finer details, allowing you to refine those edges. With the right tools in hand, you’ll elevate your shearing game and achieve that professional look you’re aiming for.
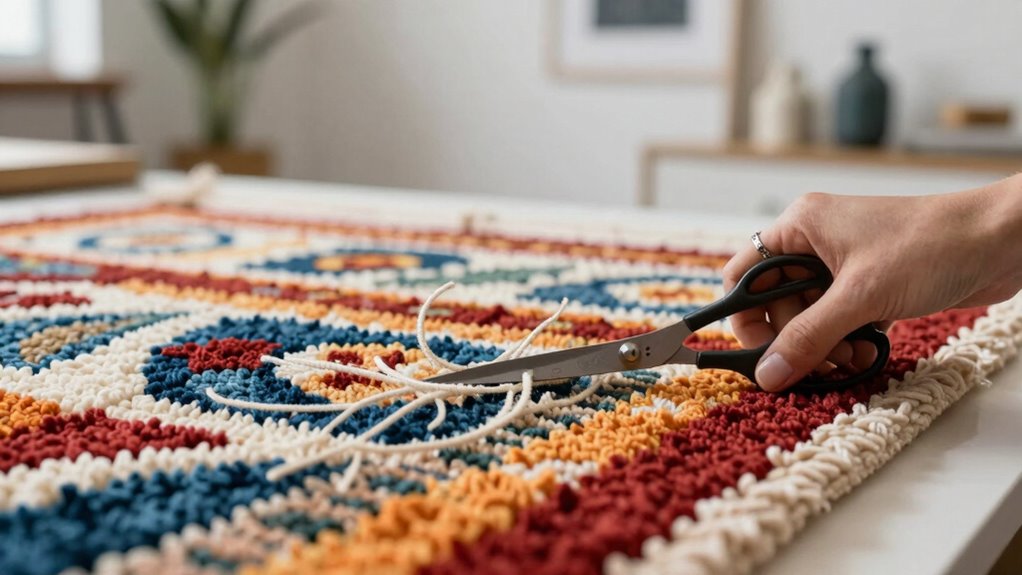
Step-By-Step Shearing Process
With the right tools ready, you can now focus on perfecting your shearing technique. This process is essential for achieving that polished look in your tufted rug. Follow these steps to guarantee a smooth finish:
- Choose the right blade length for your design variations.
- Work in small sections, guaranteeing even shearing across the surface.
- Adjust your shearing angle based on your tufting techniques for different textures.
- Check your progress regularly to maintain consistency.
As you practice, you’ll become more comfortable with the rhythm and technique, leading to professional results. Remember, patience is key—take your time to refine your shearing skills and elevate your rug’s appearance.
Common Mistakes to Avoid When Tufting?
What pitfalls should you steer clear of while tufting? First, don’t rush your tufting techniques. Taking your time guarantees consistent tension and avoids uneven loops. Next, watch out for selecting the wrong yarn type; it can lead to fraying and untidy results. Another common pitfall is neglecting the backing material; a flimsy base can compromise the rug’s durability. Additionally, poor air quality can lead to microplastics in dust, which may settle on your workspace and affect your health. Ensuring good ventilation practices can significantly improve air quality. Moreover, investing in acoustic drum shields can help create a quieter workspace, allowing you to focus better on your tufting. Also, be mindful of your cutting technique—cutting too deep can ruin the design. Finally, don’t forget about planning your design before you start. A clear layout helps prevent mistakes. Additionally, understanding filtration/suction basics can improve your overall cleaning process, ensuring your workspace remains tidy. By avoiding these common pitfalls, you’ll create a beautifully tufted rug that showcases your skill and effort. Happy tufting!
Maintaining Your Tufted Rug: Tips for Longevity
After mastering your tufting techniques and avoiding common mistakes, it’s time to focus on keeping your rug looking its best. Proper maintenance not only enhances its beauty but also guarantees longevity. Here are some tips to help you care for your tufted rug:
- Regular rug cleaning: Vacuum weekly to remove dirt and debris.
- Color preservation: Keep your rug out of direct sunlight to prevent fading.
- Fabric protection: Use a textile protector to guard against stains and spills.
- Damage repair: Address any frays or loose threads immediately to prevent further damage.
- Indoor air quality: Maintaining indoor air quality is essential as it can affect both your health and the longevity of your rug. Ensure that humidity levels are monitored, as excessive moisture can lead to mold growth, which is detrimental to both your health and your rug’s condition.
Inspiring Design Ideas for Your Newly Carved Rug
Creating a carved tufted rug opens up a world of design possibilities, allowing you to showcase your personal style. Think about incorporating textured patterns to add depth and interest to your space. For instance, bold geometric shapes can create a modern look, while floral motifs can soften a room’s ambiance. Mindfulness can also enhance your creative process, helping you focus on meaningful growth in your design choices. Additionally, incorporating elements of urban farming can inspire organic shapes that reflect nature.
To further enhance your design, consider how urban greening initiatives can influence color palettes and materials that promote sustainability. In today’s market, many sustainable materials are available, including recycled fibers, which can add unique character to your rug. Don’t shy away from striking color contrasts; pairing a rich navy with a vibrant yellow can make your rug a focal point. You could also experiment with layering different textures by combining a carved rug with smooth furniture or other textiles. Additionally, consider organizing kids’ art to inspire playful motifs in your rug design. Ultimately, your newly carved rug should reflect your tastes, so let your creativity shine through each design choice!
Frequently Asked Questions
How Long Does It Take to Tuft a Rug?
It usually takes several hours to tuft a rug, depending on the size and complexity of your design. You’ll find that using various tufting techniques can speed up the process, but you shouldn’t rush. After tufting, proper rug maintenance is essential to keep your creation looking fresh. Regular cleaning and care will guarantee your rug lasts for years, so take your time during the tufting process and enjoy the art of it!
Can I Use Any Wool for Tufting?
You can’t just use any wool for tufting; the type of wool matters. Look for high-quality wool types like merino or lamb’s wool, which offer durability and softness. Using the right wool enhances your tufting techniques, allowing for better texture and a more polished finish. Avoid low-quality wool, as it might fray or lose shape over time. Invest in good materials, and your tufted rug will reflect your effort and skill.
What Backing Materials Work Best for Tufted Rugs?
When tufting rugs, you’ll want to choose backing materials that guarantee fabric durability. A popular option is cotton or wool felt, as they provide a sturdy base. For adhesive types, use a high-quality latex or rubber adhesive to bond your fibers securely. This combo of durable backing and strong adhesive will keep your rug looking great for years. Remember, the right materials make all the difference in your final product!
Is Tufting Safe for Beginners?
Absolutely, tufting is safe for beginners! Imagine diving into a colorful sea of yarn, where every stitch feels like a brushstroke on canvas. As you explore different tufting techniques, keep your tools sharp and your workspace tidy to avoid accidents. Always wear protective gear when handling sharp tools, and take your time to master each step. With patience and practice, you’ll create stunning rugs that reflect your unique style and creativity.
How Do I Choose Colors for My Rug Design?
To choose colors for your rug design, start by exploring color theory. Look for complementary hues that enhance each other, creating visual harmony. Think about the mood you want to evoke—warm colors can energize a space, while cool tones offer calmness. Don’t forget to contemplate texture combinations; different textures can alter how colors appear. Experiment with swatches to see how they interact in various lighting, ensuring your rug truly reflects your style.
Conclusion
Now that you’ve mastered the art of carving and shearing your tufted rug, picture it as a canvas transformed into a masterpiece under your hands. With each snip and carve, you’re not just creating a rug; you’re weaving a story that adds warmth and character to your space. Keep those maintenance tips in mind, and your stunning creation will stand the test of time, becoming a cherished centerpiece for years to come. Enjoy your design journey!