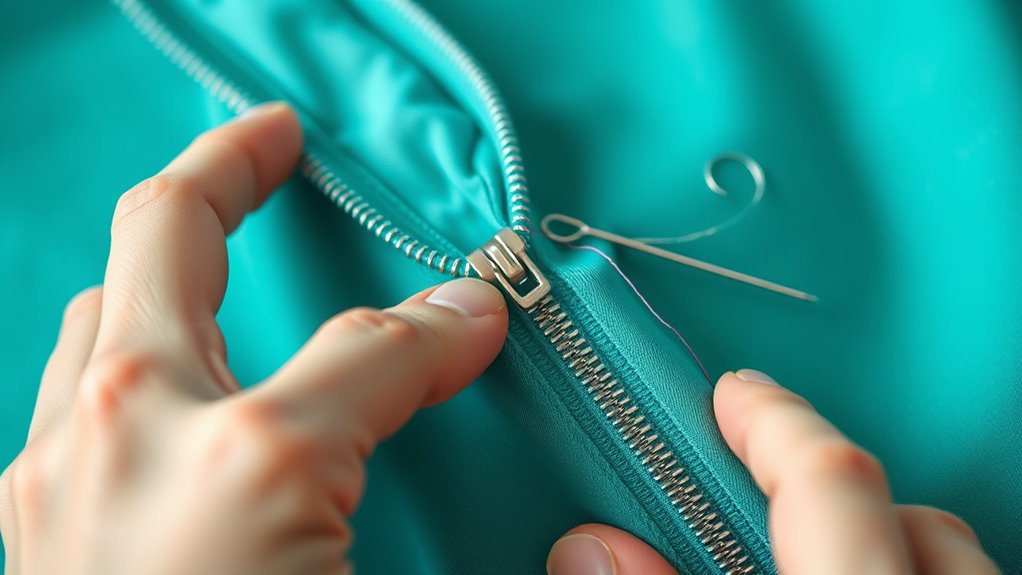
To sew a zipper, start by choosing the right type, then lay your fabric flat and mark where the zipper will go. Pin the zipper in place, making sure the teeth are aligned with the fabric edge. Sew along each side of the zipper tape, stopping at the pull, and test how smoothly it works. For best results, practice and follow detailed steps to guarantee a neat, durable finish that boosts your garment’s appearance—details that you’ll discover as you continue.
Key Takeaways
- Select the appropriate zipper type and align it along the fabric edge before pinning in place.
- Sew along both sides of the zipper tape with a consistent seam allowance, stopping at the zipper pull.
- Test the zipper by gently sliding the zipper pull to ensure smooth operation and make adjustments if needed.
- Repair issues by resewing, replacing the zipper slider, or reinforcing fabric around the zipper for durability.
- Finish by pressing seam allowances flat and practicing sewing techniques for a polished, professional look.
Have you ever struggled to sew a neat, secure zipper onto your garment? If so, you’re not alone. Zippers in fashion are everywhere, from jeans to dresses, and mastering how to sew one properly can make a big difference in your sewing projects. Whether you’re adding a zipper for the first time or repairing an existing one, understanding effective zipper repair techniques is vital. A well-sewn zipper not only enhances the look of your garment but also guarantees durability and ease of use.
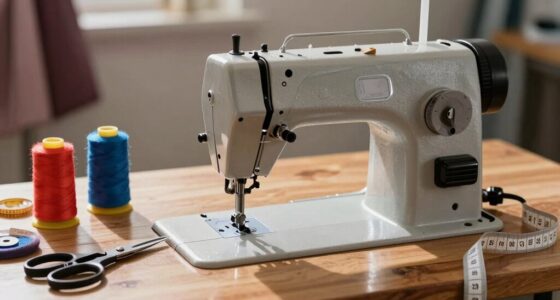
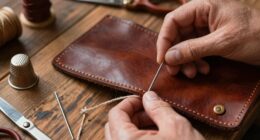
To start, choose the right zipper for your project—metal or plastic, depending on the fabric and style. Before sewing, lay your fabric flat and align the zipper along the edge, marking the placement with tailor’s chalk or fabric marker. Pin the zipper in place, making sure the teeth are aligned with the edge of your fabric. This step is essential for zippers in fashion, especially when working with delicate or patterned fabrics, as misalignment can disrupt the overall appearance. Using pins helps keep everything in position and prevents shifting as you sew.
Choose the right zipper and align it carefully with your fabric for a flawless finish.
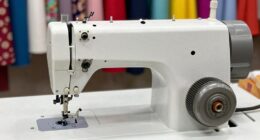
Next, set your sewing machine to the appropriate stitch length—usually a slightly longer stitch works well for zippers. Sew along one side of the zipper tape, close to the teeth, removing pins as you go. Be precise; sewing too far from the teeth can cause the zipper to gape, while sewing too close might make it difficult to unzip smoothly. When you reach the zipper pull, stop with the needle down, lift the presser foot, and carefully position the zipper pull out of your way. Continue sewing down the other side of the zipper tape, maintaining a consistent seam allowance.
Once both sides are stitched, test the zipper by gently pulling the slider up and down. If it catches or sticks, you might need to adjust your stitches or reinforce the area with additional backstitching. For zipper repair techniques, you can remove and resew sections if the zipper isn’t functioning properly. Sometimes, replacing just the zipper slider or reinforcing the fabric around the zipper can extend the life of your garment. Additionally, understanding how self-watering plant pots work can help you care for your garden efficiently, especially if you are growing plants that need consistent moisture.
Finally, press the seam allowances flat with an iron, taking care not to damage the zipper. This step helps set the stitches and gives your project a polished look. Remember, practice makes perfect. Sewing zippers in fashion requires patience, but once you master these techniques, you’ll find it easier to sew neat, professional-looking zippers every time. Whether you’re attaching a new zipper or fixing an old one, these zipper repair techniques will make your sewing projects more successful and your garments more durable.
Top picks for "step zipper"
Open Amazon search results for this keyword.
As an affiliate, we earn on qualifying purchases.
Frequently Asked Questions
Can I Sew a Zipper Onto Stretchy Fabric?
Yes, you can sew a zipper onto stretchy fabric, but you need to guarantee proper sewing stretch and zipper compatibility. Use a stretch zipper or a regular zipper with a stretch stitch to prevent breakage. When sewing, use a stretch needle and avoid pulling the fabric as you sew. This approach helps maintain the fabric’s elasticity and ensures the zipper stays securely in place without damaging the stretch material.
What Type of Zipper Is Best for Heavy-Duty Projects?
For heavy-duty projects, you should choose a heavy-duty zipper, like a metal or molded plastic one. These zippers excel in durability considerations, resisting wear and tear over time. Make sure to take into account material compatibility; metal zippers work well with denim or canvas, while molded plastic zippers suit nylon or polyester fabrics. Selecting the right zipper ensures your project stays secure and lasts, even under stress.
How Do I Fix a Zipper That Keeps Slipping?
When your zipper keeps slipping, it’s frustrating but fixable. First, check the zipper alignment; misaligned teeth often cause slipping. If that doesn’t work, replace the slider—sometimes it’s worn out and needs a new one. Gently squeeze the slider with pliers to tighten it, then test your zipper. Proper alignment and a snug slider will keep it functioning smoothly, saving you from constant hassle.
Is It Possible to Replace a Broken Zipper Without Resewing?
Yes, you can replace a broken zipper without resewing by using DIY repairs like zipper repair kits or adhesive alternatives. These techniques involve removing the damaged zipper and attaching a new one with specialized tools or fabric glue, avoiding full resewing. While it’s a quick fix, make certain you follow proper sewing techniques and use quality supplies to secure the new zipper effectively and maintain your garment’s durability.
What Tools Are Essential for Zipper Installation?
You need just a few essential tools for zipper installation—no need for a toolbox of wonders. Grab a zipper with sturdy teeth, a zipper pull for easy opening and closing, sharp scissors to trim fabric, a sewing machine or needle and thread for secure stitching, and pins or clips to hold everything in place. These tools make installing a zipper straightforward, turning a formidable task into a simple, satisfying project.
Conclusion
Now that you’ve sewn your zipper, remember it’s more than just a closure—it’s a symbol of your craftsmanship and patience. Like a key revealing new possibilities, your effort transforms fabric into something functional and beautiful. Every stitch you’ve made is a step toward mastering a skill that opens doors to endless creative projects. Keep sewing, keep learning, and let your work be a reminder that even the smallest details hold the power to unlock your full potential.