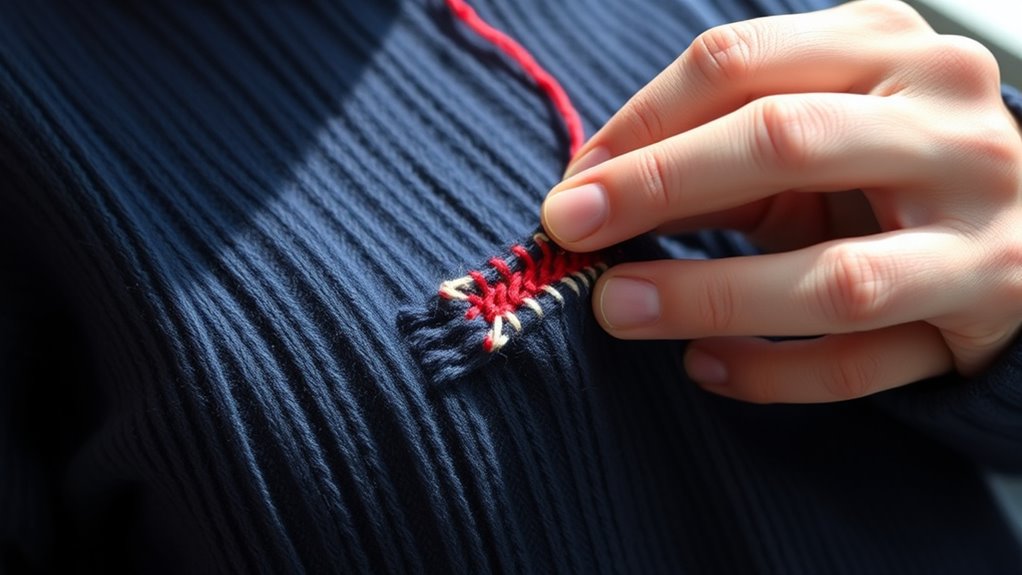

To mend holes in socks and sweaters, start by cleaning and stabilizing the damaged area. Use a needle and matching thread or yarn to carefully weave a crisscross pattern, creating a patch that blends with the fabric. Keep tension even for a smooth finish, and secure the stitches at the edges. When you master these basic steps, you’ll be able to repair your clothing seamlessly; learn more to refine your technique further.
Key Takeaways
- Start by cleaning and stabilizing the damaged area to prepare for seamless weaving.
- Use a needle and matching thread or yarn to create a woven grid over the hole, mimicking the fabric’s original weave.
- Maintain consistent tension to ensure stitches are snug but not puckered, for a smooth, durable repair.
- Securely tie off and trim excess thread after weaving, blending stitches into surrounding fabric for invisibility.
- For extra reinforcement, consider applying fabric adhesive or small stitches to strengthen the mend.
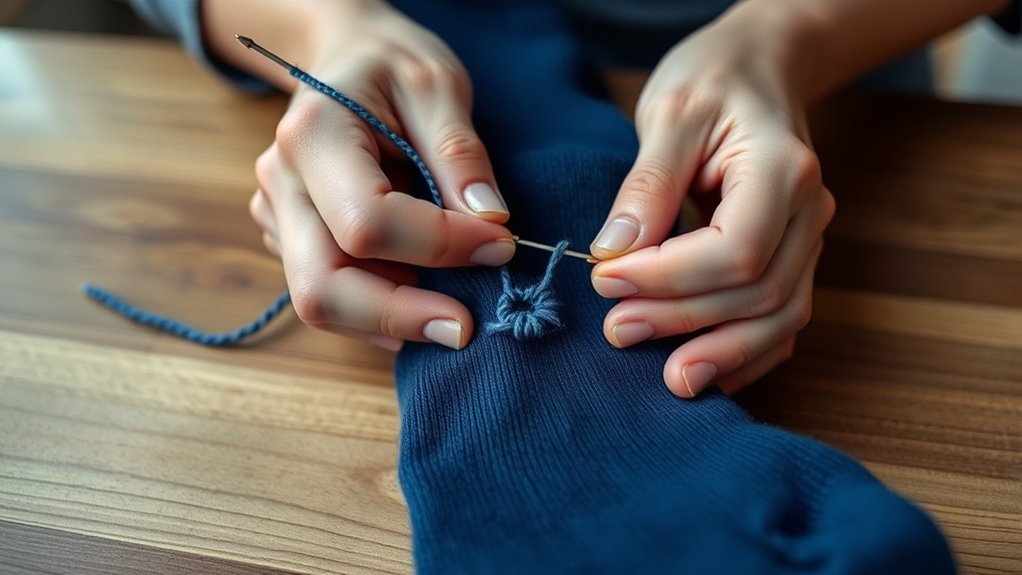
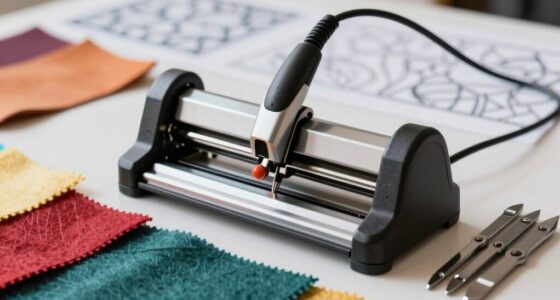
Darning is a simple yet effective technique for repairing holes and worn areas in fabric, allowing you to extend the life of your clothes. Whether you’re fixing a hole in a sock or patching up a sweater, understanding basic knitting techniques and fabric repair methods can make the process straightforward and satisfying. Darning involves weaving new thread or yarn into the damaged area, creating a fabric patch that blends seamlessly with the original material. You don’t need fancy tools—just a needle, some thread or yarn that matches your fabric, and a bit of patience. The key is to carefully assess the damage, choose the appropriate repair method, and follow a systematic approach.
To begin, you want to prepare your fabric by cleaning and drying it thoroughly. Once ready, secure the area around the hole by gently stretching or stabilizing the fabric. This prevents further tearing and gives you a stable surface to work on. When it comes to knitting techniques, understanding how to create a grid pattern or woven patch is essential. Many fabric repair methods rely on weaving the new thread in a crisscross pattern, mimicking the original fabric’s weave. You’ll start by anchoring your thread at the edge of the hole, then work horizontally across, weaving vertically in between, until the hole is filled. This weaving process is similar to basic knitting stitches, like knit and purl, but adapted for fabric repair.
Using the right exfoliation techniques can also help prepare the surrounding fabric for a more seamless repair, especially in cases where the fabric has become rough or worn. As you progress, pay attention to tension—your stitches should be snug but not tight enough to cause puckering. This ensures a smooth, durable repair. When you finish weaving, tie off your thread securely and trim any excess. For a more seamless look, you can use small stitches to blend the repair into the surrounding fabric or, if needed, apply a fabric adhesive for extra reinforcement. The repair should be sturdy enough to withstand future wear, but flexible enough to move naturally with the garment. Over time, with practice, you’ll develop a steady hand and a better eye for matching yarns and stitches, making your darning almost invisible.
Top picks for "darn basic mend"
Open Amazon search results for this keyword.
As an affiliate, we earn on qualifying purchases.
Frequently Asked Questions
What Tools Are Essential for Darning Different Fabric Types?
You need a variety of darning needles suited for different fabric types, such as sharper needles for fine materials and blunt ones for delicate or textured fabrics. Before starting, apply fabric preparation techniques like cleaning and stabilizing the area to guarantee a smooth mend. This helps you choose the right darning needle selection, making sewing easier and more effective. Keep scissors and thread matching your fabric in your toolkit for best results.
How Do I Choose the Right Thread or Yarn for Darning?
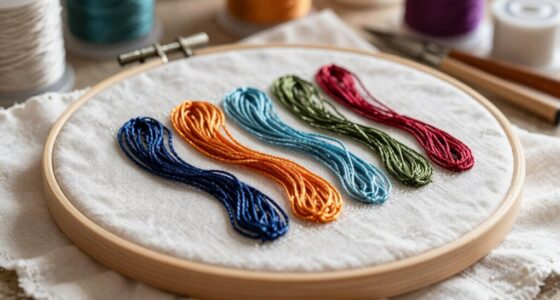
When choosing thread or yarn for darning, focus on thread selection and yarn compatibility. Match the thread or yarn color to your fabric for a seamless look, and opt for a material that closely resembles the original fabric, like wool for wool or cotton for cotton. Consider the strength needed; thicker yarns work well for sturdy fabrics, while finer threads suit delicate materials. This guarantees your mend is durable and blends well.
Can Darning Be Done on Delicate or Stretchy Fabrics?
Ever wonder if you can darn delicate or stretchy fabrics? You definitely can, but you need to contemplate fabric tension and stitch flexibility. Use fine, soft threads and gentle stitches that won’t overstretch or weaken the fabric. For highly elastic materials, opt for stretchy yarns or specialized repair techniques. This way, your mend maintains the fabric’s flexibility and tension, keeping your garment comfortable and durable.
How Long Does a Typical Darning Repair Last?
A typical darning repair can last several months to years, depending on repair longevity and factors affecting durability. Your sewing technique, thread quality, and the fabric’s stress levels influence how long it holds up. If you reinforce the area properly and choose durable thread, your repair will last longer. Keep in mind that frequent washing and wearing can wear down the mend over time, so inspect it regularly and re-darn if needed.
Are There Eco-Friendly or Sustainable Darning Materials?
Yes, eco-friendly darning materials exist. You can choose biodegradable thread, which breaks down naturally and reduces environmental impact. Recycled yarn is another great option, made from repurposed fibers that lower waste. By selecting these sustainable options, you’re making a positive difference while mending your socks and sweaters. Not only do they perform well, but they also help you contribute to a greener planet with each repair.
Conclusion
Now that you know the art of darning, you hold the power to breathe new life into your worn garments. Think of each stitch as a tiny bridge, reconnecting torn threads and weaving resilience back into your wardrobe. With patience and practice, your mended socks and sweaters become stories of renewal—proof that even broken things can be restored to strength. Embrace this skill, and watch your clothes transform from frayed to fabulous, one stitch at a time.