In order to create stunning textile art, choose thick specialty fabrics with texture from home decor aisles or stores like Hobby Lobby. Pre-cut the fabrics for ease of use. Be careful when selecting frames; wooden frames can elevate the pieces. Establish a well-lit and organized crafting area for convenience. Draw inspiration from the colors and textures found in nature. Tag other creators on social media to foster a supportive community. Pinterest and Instagram offer numerous ideas and opportunities for promotion. Start your artistic adventure by exploring these DIY projects to spark your creativity and unique style. Follow these tips for successful textile art projects and express yourself through your original creations.
Key Takeaways
- Choose high-quality, textured fabrics for professional results.
- Consider frames with a matte for cutting guidelines.
- Find inspiration in nature's colors, textures, and patterns.
- Organize materials in a well-lit, clutter-free crafting space.
- Showcase DIY textile art on social media, tagging the creator.

Shuttle Art Fabric Medium, 4 oz /118ml Professional Textile Medium for Fabric Painting, Improve Acrylic & Fabric Paint Adhesion, Softness, Vibrancy, Prevent Fading, Ideal for T-Shirts,Shoes,Jeans,Bags
PROFESSIONAL FABRIC MEDIUM : Shuttle Art 4 oz (118 ml) fabric medium is specially formulated to turn any…
As an affiliate, we earn on qualifying purchases.
As an affiliate, we earn on qualifying purchases.
Fabric Selection Tips
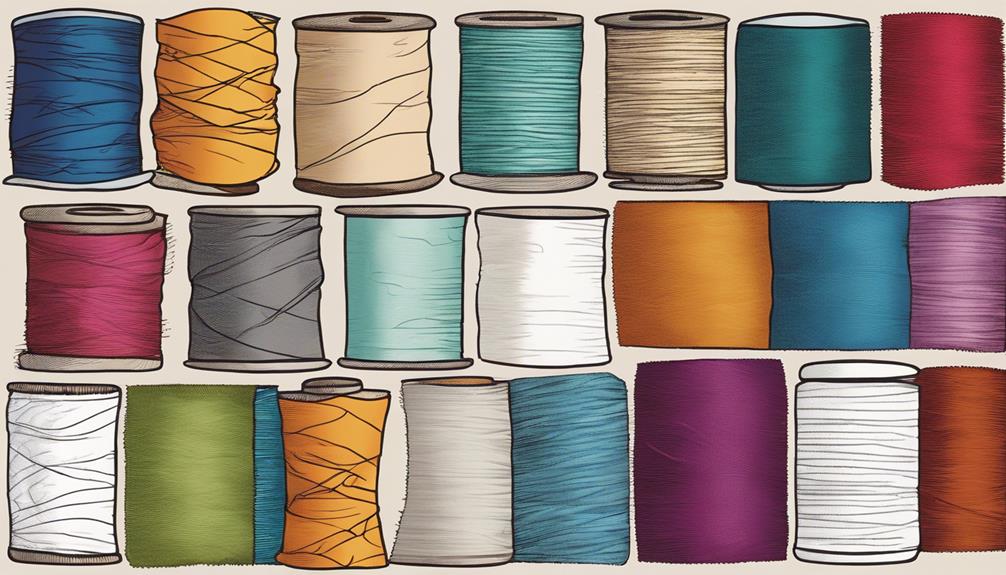
When creating textile art projects, you should opt for thick specialty fabrics with texture to achieve the best results. Fabrics found in the home decor aisles near the drapery sections are ideal for creating stunning textile art pieces.
Look for these gorgeous fabrics displayed on big rolls in the home decor aisles of stores like Hobby Lobby for a wide selection to choose from. These stores offer a variety of options that cater to different tastes and styles, ensuring that you find the perfect fabric for your textile art project.
Selecting the right fabric is essential as it can greatly impact the overall look and texture of your creation. By choosing high-quality, textured fabrics, you can elevate your textile art to a professional level.

Textile Artist: Layered Cloth, The: The Art of Fabric Manipulation
As an affiliate, we earn on qualifying purchases.
As an affiliate, we earn on qualifying purchases.
Textile Art Tutorials
Ready to enhance your textile art skills?
From fabric selection tips to frame selection guides, you're about to discover the key points that will elevate your creations.
Get ready to master the art of textile design and share your unique pieces with the world!
Fabric Selection Tips
For successful textile art projects, selecting thick specialty fabrics with texture is crucial. When choosing fabric for your project, consider cutting it to size beforehand to make sure it fits your design correctly.
Look for home decor fabrics in the drapery aisles of stores like Hobby Lobby, as they often offer a wide selection of textures and patterns that can add depth to your artwork. Opting for fabrics on large rolls can provide you with a variety of options to explore and experiment with in your creations.
Remember to select fabrics that will complement the overall aesthetic of your art piece, as the right fabric choice can greatly impact the final look and feel of your textile art. By paying attention to these fabric selection tips, you can enhance the quality and visual appeal of your DIY textile projects.
Frame Selection Guide
To ensure the best presentation for your textile art piece, a thoughtful selection of frames is key. When selecting frames, consider opting for ones with a matte to serve as cutting guidelines for your fabric.
If you come across frames without a matte, don't worry; you can always add paper to create a similar effect. For a softer aesthetic that complements textile art pieces, wooden frames are an excellent choice.
Homegoods is a recommended source where you can find large matted frames that work well with textile art creations. Remember, the frame you choose can greatly impact the overall look of your textile art creation, so take your time to select one that enhances and showcases your artwork effectively.
Sharing Your Creations
Consider showcasing your DIY textile art creations on social media platforms like Instagram to inspire fellow artists and enthusiasts. By sharing your creations, you not only celebrate your work but also motivate others to explore their creativity. Remember to tag the creator of the textile art tutorial when posting your projects to give credit and show appreciation for their guidance.
Save photos of your textile art projects on Pinterest to create a digital portfolio for future reference and inspiration. This will also allow you to easily share your work across different platforms and reach a wider audience. Embrace feedback and comments from the community as they can provide valuable insights and encouragement for your artistic journey.
Sharing your creations can spark inspiration in others and encourage them to try the textile art tutorials themselves. Be an active member of the textile art community by sharing your process, techniques, and finished pieces, contributing to a supportive and collaborative environment.

RYKOMO 15 Pack Wooden Picture Frames for Crafts, Wooden Frames for 4 x 6 Photos, Unfinished Wood Frame for Valentine's Day Gift Birthday Art Projects, Father's Day, Mother's Day Decorate
15 Pack Picture Frame Sets: You will receive 15 pack wooden picture frames, each blank unfinished wooden frames…
As an affiliate, we earn on qualifying purchases.
As an affiliate, we earn on qualifying purchases.
Creating a Creative Space

Crafting a textile art masterpiece begins with curating a conducive creative environment. When setting up your creative space for DIY textile art projects, remember to choose a well-lit and comfortable area. This will help you work for longer periods without straining your eyes. Organize your materials and tools in a way that inspires creativity, ensuring easy access to everything you need. Personalize your space with artwork, plants, and inspiring quotes to create a space that truly feels like your own. Keeping your creative space clutter-free is essential as it promotes focus and productivity. Make sure your space reflects your personal style, as this will motivate you to create more freely.
| Creative Space Tips | |
|---|---|
| Choose a well-lit area | Organize materials for easy access |
| Personalize with artwork | Keep space clutter-free |
| Ensure comfort | Reflect your personal style |
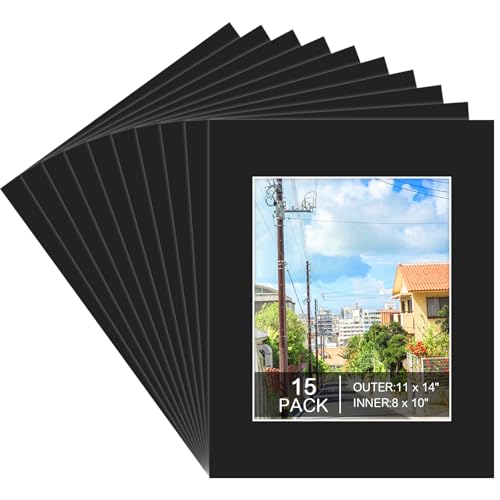
Prudiut 15 Pack 11×14 Black Picture Mats, Frame Mattes for 8 x10 Pictures Display Photo Frame Mat Core Bevel Cut Mat Board Show Kit for Photos, Prints, Artworks
Note: This photo mat is black on one side and white on the other side. The white one…
As an affiliate, we earn on qualifying purchases.
As an affiliate, we earn on qualifying purchases.
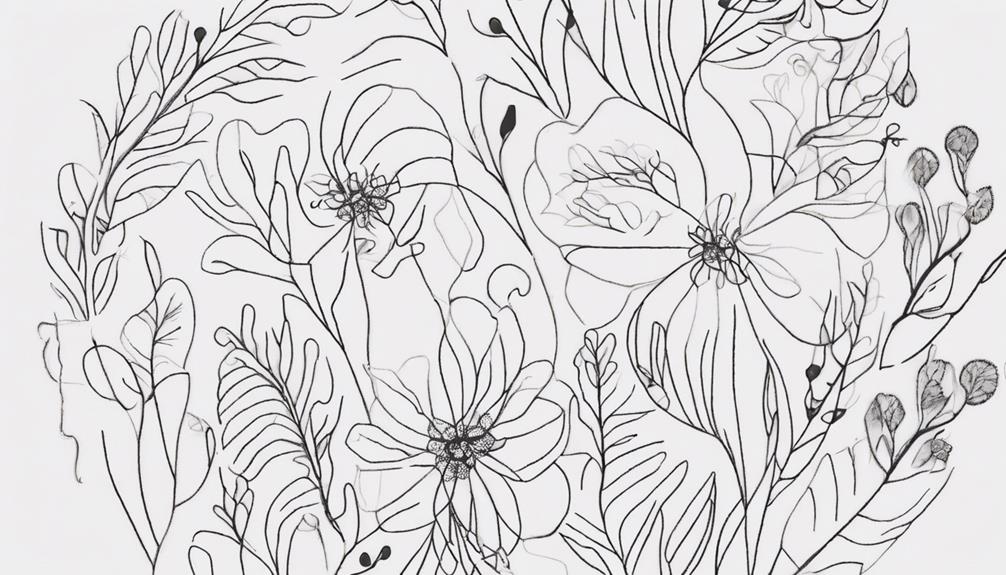
Artistic Inspiration in Nature

Drawing from the vibrant beauty of nature, textile artists find endless inspiration in the colors, textures, and patterns that abound in the natural world.
Observing elements like leaves, flowers, and landscapes can spark creative ideas for fabric projects. The organic shapes and movements found in nature can be translated into unique textile art designs, capturing the beauty and tranquility of natural surroundings.
By experimenting with different techniques and materials, artists can effectively convey the essence of nature in their fabric pieces. Whether it's the intricate patterns of a butterfly's wings or the soothing hues of a sunset, nature provides a rich tapestry of inspiration for textile artists to explore.
Embracing the diverse textures and colors found in the environment enables artists to infuse their fabric creations with a sense of organic beauty and harmony that resonates with viewers on a deep level.
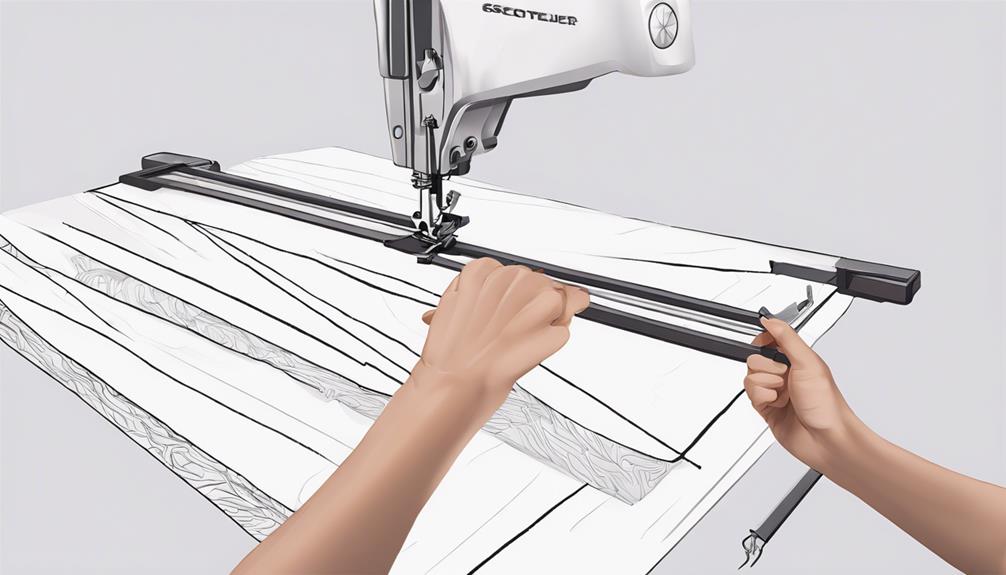
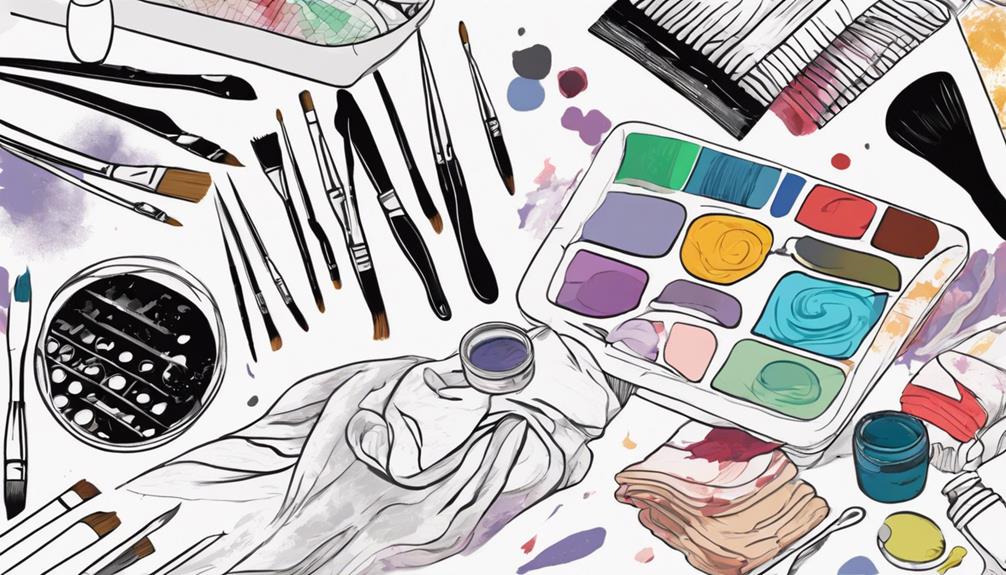
Preparation and Painting Process
Begin by cutting the scrap fabric larger than the frame to allow for trimming and securing.
Unravel the fabric row by row to create a textured and fringed look, adding dimension to your textile art piece.
When it comes to painting, use acrylic paint to bring your design to life. Start by painting shapes roughly on the fabric, then fill them in with paint, ensuring even coverage.
Edge outlines carefully to define shapes and prevent any paint buildup that could obscure your design.
As you work, remember to smooth out any layering of paint to achieve a polished finish.
Framing and Finishing Steps
When it comes to framing and finishing your textile art piece, the choice of frame and the method of securing the fabric play an important role in the overall presentation. Select a frame that complements your fabric art, whether with or without a matte, depending on the desired aesthetic.
Use hot glue or heavy-duty adhesive tape to carefully secure the fabric onto the frame or matte, ensuring a smooth and wrinkle-free finish. Leaving some space around the edges when gluing the fabric can add a freeform and artistic touch to your piece.
You can also consider covering the entire surface of the frame with fabric for a cohesive look, or leave some of the matte visible to create contrast and visual interest.
Following these framing and finishing steps will help you achieve a professional and polished appearance for your textile art, perfect for enhancing your home decor.
Sharing and Feedback

Share your textile art creations on Instagram to showcase your talent and inspire others.
Remember to tag the creator when posting your projects for community engagement.
Save your photos on Pinterest for easy access and to find inspiration for future projects.
Share on Instagram
Utilize Instagram as a platform to showcase your DIY textile art creations and engage with a community of like-minded artists. Sharing your projects on Instagram allows you to display your creativity to a broad audience.
When posting, remember to tag the creator of the project to give credit where it's due and inspire others to create. By using popular hashtags like #textileart and #DIYart, you can reach a wider community of art enthusiasts and potentially attract more followers interested in your work.
Don't forget that Instagram is a social platform, so be open to feedback and comments on your textile art pieces. Welcoming feedback not only helps you improve your skills but also allows you to connect with fellow artists who share your passion.
Engaging with your audience through comments and messages can lead to valuable connections and collaborations within the textile art community. So, share your creations, interact with others, and let your textile art journey flourish on Instagram!
Tag Creator for Sharing
To foster a sense of community and recognition, remember to tag the creator when sharing your DIY textile art projects on Instagram. Tagging the creator not only gives credit where it's due but also allows others to discover the original artist behind the inspiring piece. Sharing your creations with proper attribution can lead to fruitful connections and collaborations within the textile art community.
| Benefits of Tagging the Creator | Emotions Evoked |
|---|---|
| Acknowledges the original artist | Appreciation |
| Builds a sense of community | Connection |
| Encourages collaboration | Inspiration |
When you tag the creator of a textile art project, you are not only showing respect for their work but also opening doors for meaningful interactions. It's a simple gesture that can go a long way in fostering a supportive and engaging environment for textile artists on social media. So, next time you share your DIY textile art, don't forget to tag the creator!
Pinterest for Inspiration
Pinterest serves as a valuable platform for discovering inspiration for your DIY textile art projects. By scrolling through countless pins, you can find a myriad of creative ideas to spark your imagination and enhance your textile artistry. Creating boards on Pinterest allows you to save these art inspirations for future reference, keeping all your favorite ideas organized and easily accessible.
Sharing your own textile art projects on Pinterest can't only showcase your creativity but also inspire other art enthusiasts within the community. The platform offers a space for feedback and comments on your creations, providing an avenue for constructive criticism and encouragement. Engaging with fellow artists by tagging them in your art posts can lead to exciting opportunities for sharing projects and even collaborating on future endeavors.
Make the most of Pinterest as a source of artistic inspiration for your textile art projects, and don't hesitate to connect with other creators in the vibrant online art community.
Frequently Asked Questions
How to Make a Textile Artwork?
To make a textile artwork, choose thick specialty fabrics with texture for a unique look. Cut the fabric precisely to fit the frame or matte dimensions.
Secure it to the frame using hot glue or heavy-duty adhesive tape, leaving space for a freeform design.
Once completed, share your DIY creation on social media for feedback and inspiration.
Creating textile art allows for endless creativity and personal expression.
What Is the Simplest Textile Art?
Creating textile art is as straightforward as baking a cake. Start by cutting and gluing fabric onto a frame or matte.
All you need are basic materials like fabric, frames, glue, and scissors. The beauty of DIY textile art lies in its customizable nature, allowing you to tailor it to your unique style.
As a beginner, you can begin with small projects and gradually progress to more intricate designs.
What Is the Technique in Creating Textile Art?
To create textile art, you can explore techniques like:
- stitching
- embroidery
- painting
- dyeing
- weaving
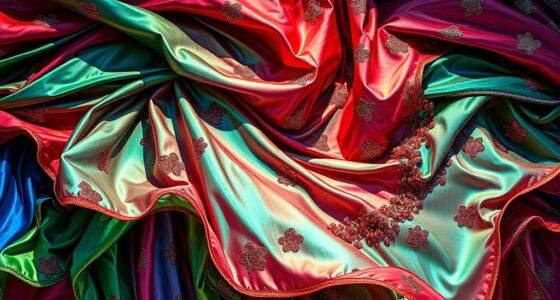
These methods allow you to manipulate fabrics such as cotton, linen, silk, or wool to add texture and depth to your artwork.
By experimenting with colors, textures, and techniques, you can express your creativity through traditional or contemporary themes like nature, identity, and culture.
Textile art offers a unique way to showcase your artistic vision.
What Is the Best Fabric for Fabric Art?
For fabric art, opt for thick specialty fabrics with texture. Look for fabrics in the home decor aisle near drapery, as they're ideal for textile art projects.
Gorgeous fabrics on big rolls in the home decor section of stores like Hobby Lobby work well. The right fabric selection is essential for achieving the desired look and texture in your fabric art piece.
Conclusion
Now that you've learned how to make textile art through DIY projects, remember that 86% of people feel more relaxed and creative when engaging in art activities.
So grab your materials, find inspiration in nature, and let your creativity flow!
Don't forget to share your finished pieces with others for feedback and encouragement.
Happy creating!