In order to start mounting textile art, gather the necessary materials such as stretched canvas, acrylic paint, foam brush, awl, clear monofilament thread, and chalk pencil. Prepare the canvas using facing techniques and secure the textile by employing stitching methods like back-stitching. When dealing with delicate fabrics, use light silk thread for sewing and think about getting help from a professional for restoration. Adjust your mounting technique according to the artwork’s design, considering its sculptural relief and dimensions. By following these steps, you will create a secure and visually appealing display for your textile art.
Key Takeaways
- Prepare stretched canvas with acrylic paint and holes for attachment.
- Anchor textile with monofilament thread using back-stitching for security.
- Securely attach textile art to canvas with invisible running stitches.
- Opt for light silk thread for delicate fabrics on fabric-covered mount board.
- Consult textile conservators for professional restoration and conservation advice.

12 Pack Heavy Duty Tapestry Hangers Clamps/Clips, Non-Slip Wall Clips for Hanging Rugs, Blankets | Damage-Free Hanging Quilt Hangers for Car Mat, Rug Sample, Painting, Fabric Art, Textile Wall Display
Secure Hold for Tapestries and Quilts These clamps are designed to grip fabric firmly without slipping or damaging…
As an affiliate, we earn on qualifying purchases.
As an affiliate, we earn on qualifying purchases.
Tools and Materials
Gather necessary tools and materials before commencing the process of mounting textile art to guarantee a professional display outcome. For this project, you'll need a stretched canvas, acrylic paint, foam brush, awl, large sharp needle, clear monofilament thread, scissors, ruler, and chalk pencil.
Acrylic paint plays a vital role in the process as it's used to paint the sides and edges of the canvas. This step ensures a cohesive look for your textile art display.
When attaching the textile art to the canvas, make sure to use thread that matches the edge of the artwork. This thread won't only secure the textile art firmly to the canvas but also provide a seamless finish.

U.S. Art Supply 10-Ounce Unprimed Canvas Roll, 63" Wide x 6' Long (2 Yards) – 100% Cotton, Woven, Acid-Free – Unstretched Canvas Rolls for Painting, Murals, & DIY Crafts
Durable & Unprimed Canvas: A 63" wide x 6' long unstretched rolled canvas for painting. Made from 100%…
As an affiliate, we earn on qualifying purchases.
As an affiliate, we earn on qualifying purchases.
Preparation of Textile Work
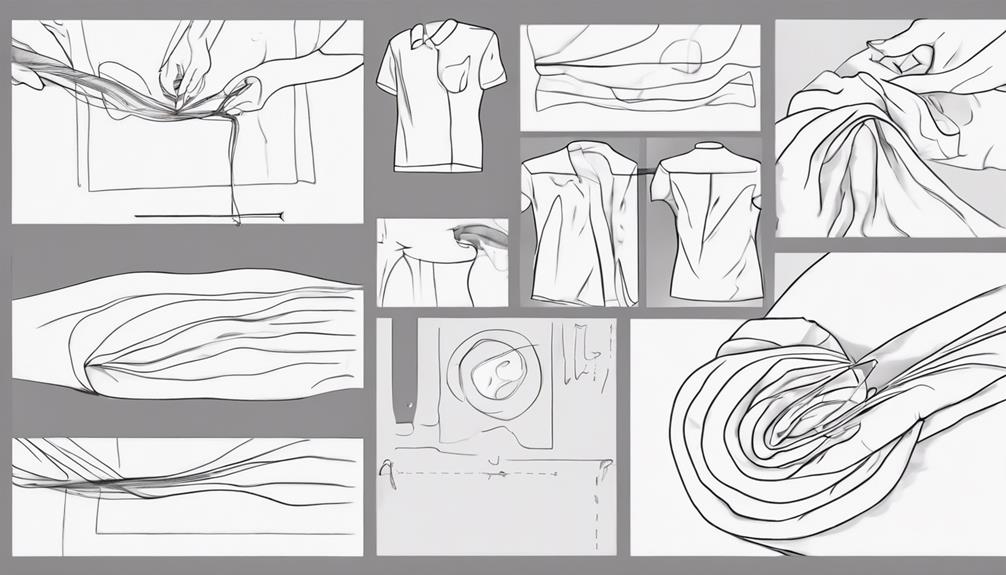
Consider incorporating facing techniques like Wholecloth Facing or Mitred Facing to achieve clean edges on your textile art piece before mounting it.
These methods involve adding a fabric border around your artwork, providing a neat finish and stability during the mounting process.
Additionally, leave a hanging sleeve on the textile art to make the mounting process easier.
Make sure that the depth of the facing edge matches the requirements for attaching the textile art to the canvas securely.
When preparing your textile work, explore different methods to secure it onto the stretched canvas effectively.
You can use pins, clips, or fabric-friendly adhesives for this purpose.
To guide the attachment process, use a chalk pencil to mark the positions for stitching holes on the canvas, ensuring accurate placement.

Embroidex Sewing Kit – Home, Travel & Emergencies – Quality Notions, Scissor & Thread – Great Gift
★ THE PERFECT SEWING KIT – A sewing kit which contains only the most essential and best sewing…
As an affiliate, we earn on qualifying purchases.
As an affiliate, we earn on qualifying purchases.
Preparation of Stretched Canvas

For proper mounting of your textile art, make sure that the stretched canvas is equal to or larger than the artwork's size. When preparing the stretched canvas for your textile art pieces, there are several key steps to follow. Consider the canvas type, as different types may impact the ease of stitching your artwork onto it. To enhance the overall presentation, it's recommended to paint the sides and edges of the canvas with acrylic paint. Additionally, piercing holes along the edge of the canvas is crucial to prepare for stitching the textile artwork. Marking positions for these holes on the canvas is essential to ensure they align with the facing depth or your personal preferences for attachment.
| Preparation Steps for Stretched Canvas | |
|---|---|
| Choose canvas equal or larger than textile work | Consider different canvas types |
| Paint sides and edges with acrylic paint | Pierce holes along canvas edge |
| Mark positions for holes on canvas | Ensure alignment with facing depth |

Hook, Prod, Punch, Tuft: Creative Techniques With Fabric and Fibre
As an affiliate, we earn on qualifying purchases.
As an affiliate, we earn on qualifying purchases.
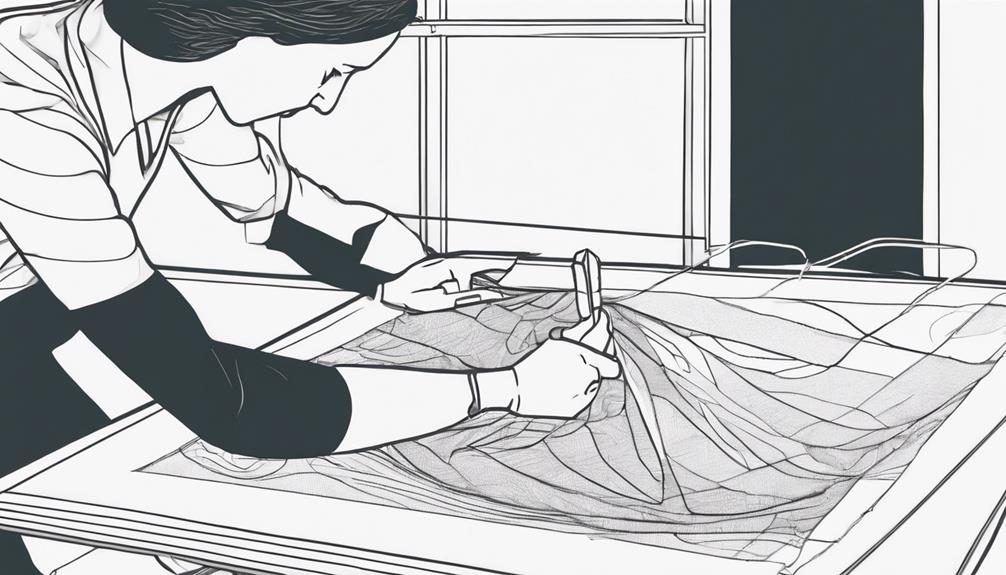
Attaching the Textile Work
You'll learn about different stitching techniques to safeguard your textile work to the canvas effectively. Master how to anchor the thread securely, experimenting with stitch spacing for a reliable attachment.
Guarantee a clean and professional finish by back-stitching, knotting the thread, and using invisible monofilament thread for a tidy look.
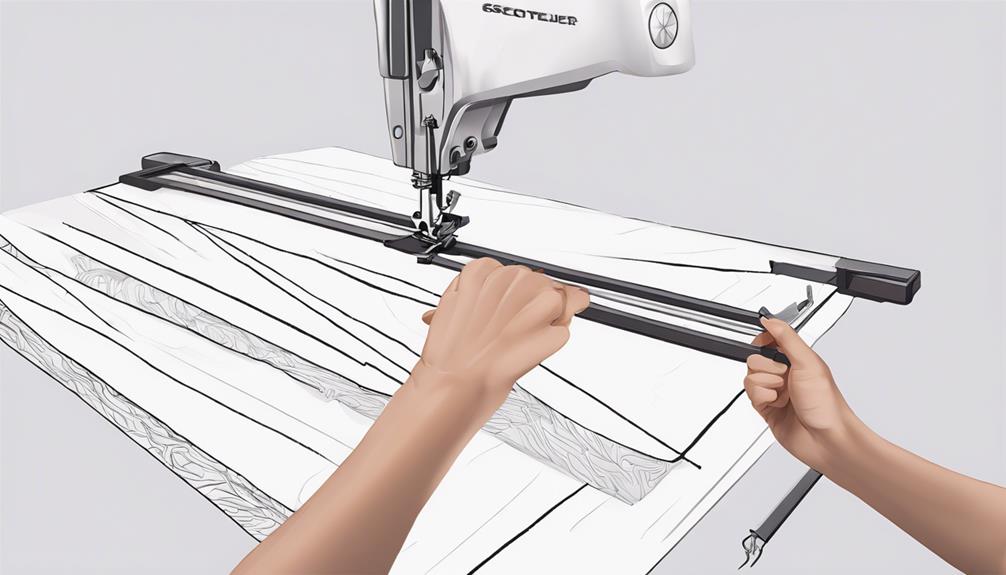
Stitching Techniques Overview
How can you effectively fasten textile art to a canvas using sewing techniques?
Sewing techniques play an essential role in securely mounting textile art. To begin, anchor monofilament thread firmly within the textile work. The textile is then sewn onto the canvas using a running stitch. Experiment with different stitch spacings and consider back-stitching for a secure and taut outcome.
Opt for invisible monofilament thread for a neat and tidy finish as it allows for easy removal if needed. Proper sewing ensures that the textile art is securely and professionally mounted on the canvas, showcasing your work in the best light.
Securing Textile to Canvas
To firmly attach textile art to a canvas, start by anchoring monofilament thread within the textile work before using a running stitch to fasten it to the canvas. When mounting small textiles, make certain the thread is anchored securely in the textile piece to provide a strong foundation for stitching.
Begin by positioning the textile on the canvas and threading a needle with the monofilament thread. Implement a running stitch along the edges of the textile, adjusting the spacing as needed to maintain a smooth and even attachment. Back-stitch at the end of the running stitch to secure the thread, making sure the textile is taut against the canvas.
Knot the thread securely to prevent any loosening over time. For a professional finish, consider using invisible monofilament thread for stitching, enabling easy removal if required. Experiment with different stitching techniques to find the most effective method for firmly attaching your textile art to the canvas.
Neat Finishing Details
For a polished appearance, use transparent monofilament thread to seamlessly affix the textile work to the canvas, guaranteeing a crisp and expert finish.
To accomplish precise finishing touches, secure the thread firmly in the textile piece before employing the running stitch technique to fasten it to the canvas. Adjust the stitch spacing as necessary to secure the textile piece firmly. Utilize back-stitching and knotting the thread to uphold tension and prevent any movement of the artwork over time.
Opting for clear monofilament thread delivers an unseen finish, simplifying the removal of the textile art if needed in the future without any visible marks. This method not only secures a clean appearance but also enhances the durability of the mounted textile piece.
Reader Interactions
Let's chat about the points highlighted in this article – Artwork Display Methods and Audience Engagement Opportunities.
What methods have you found effective in showcasing textile art?
Share your thoughts on how to best engage with fellow enthusiasts in the textile art community.
Let's exchange tips and ideas to enhance our experience with mounting and displaying textile pieces.
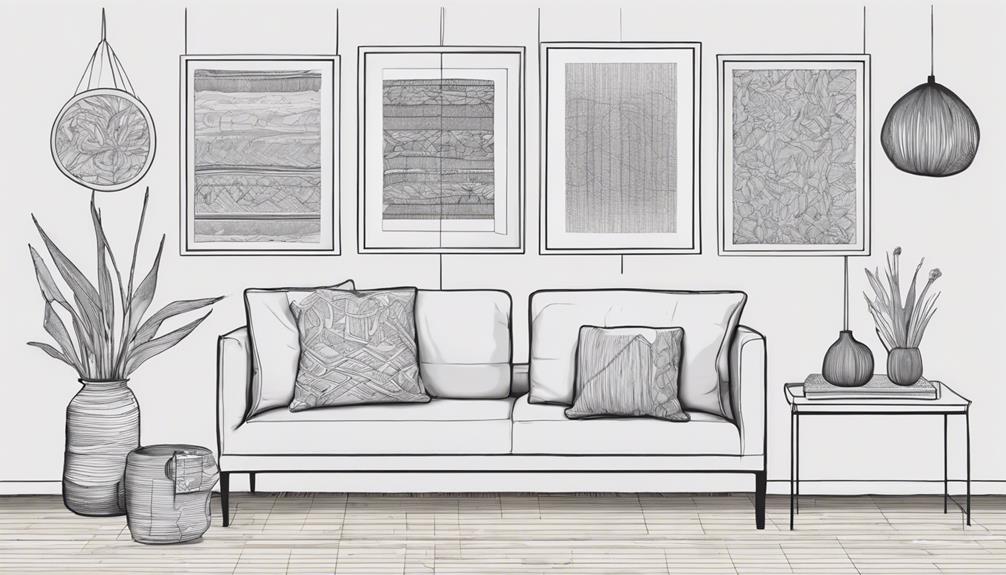
Artwork Display Methods
Engage with fellow readers to exchange ideas and insights on displaying your fiber art pieces. Share your thoughts on different methods of presenting textile art to create visually appealing displays. Whether you prefer traditional hanging techniques or innovative installations, discussing your experiences with displaying fiber art can inspire others in the community.
By subscribing for updates and a free email course, you can stay informed about the latest trends and techniques in artwork presentation. Don't hesitate to leave comments to address any challenges you may encounter while showcasing your fiber art. Engaging with the post through comments fosters a sense of community and allows for a fruitful discussion on the nuances of displaying textile art.
Remember that technical issues like encountering an error message during submission can happen, but don't let that deter you from participating in the conversation. Your input is valuable in creating a supportive environment where artists can learn from each other's experiences.
Audience Engagement Opportunities
How can you actively participate in the conversation about displaying your fiber art pieces with fellow readers? Engage with the community by sharing your unique methods for showcasing textile art and discussing any challenges you may have encountered. Your insights can inspire others and create a valuable exchange of ideas on displaying textile art. Don't miss out on the opportunity to connect with like-minded individuals who share your passion for creativity.
Additionally, make sure to take advantage of the subscription option available for updates and a free email course on mounting textile art. By subscribing, you can stay informed about the latest trends and techniques in the art world, enhancing your knowledge and skills in displaying your artwork effectively.
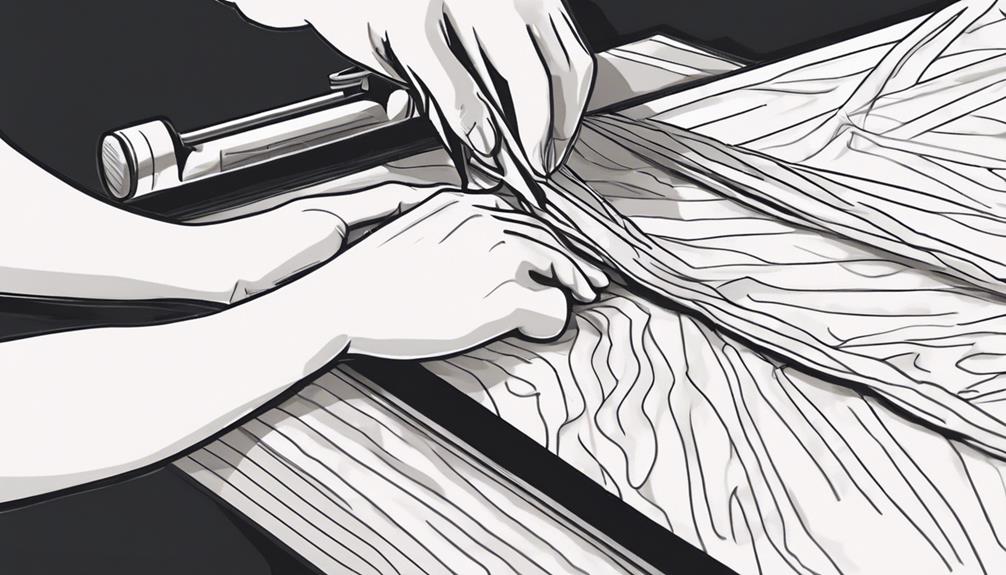
Techniques for Sewing and Mounting
Consider selecting a lighter thread than the fabric itself for a seamless finish when sewing textile art. This choice guarantees that the stitches blend in with the textile work, enhancing its overall appearance. For delicate silk fabrics, opt for a light silk thread to avoid any damage or strain on the material.
When mounting your textile art, sewing it onto a fabric-covered mount board provides stability and support, preventing any sagging or warping over time.
To secure the preservation of your artwork, engaging a textile conservator for precise mounting techniques is recommended. They've the expertise to handle delicate textiles and use methods like lacing techniques or the 'Newbury method' for secure and professional mounting.
Restoration and Conservation
When restoring and conserving textile art, it's important to consult with textile conservators for professional guidance and expertise in preserving delicate pieces effectively. Textile conservators possess the skills to restore damaged cloth pieces using invisible stitching patterns, guaranteeing a seamless finish that preserves the artwork's original beauty. Seeking professional advice is vital in addressing any fading or damage to the textile before mounting, ensuring proper conservation for future generations to appreciate.
In restoration and conservation, utilizing diagrams illustrating stitching techniques can aid in reducing the weight on fragile textiles, preventing further harm. These techniques not only restore the textile but also contribute to its longevity. Proper mounting techniques play a significant role in alleviating stress on the artwork and maintaining its integrity over time.
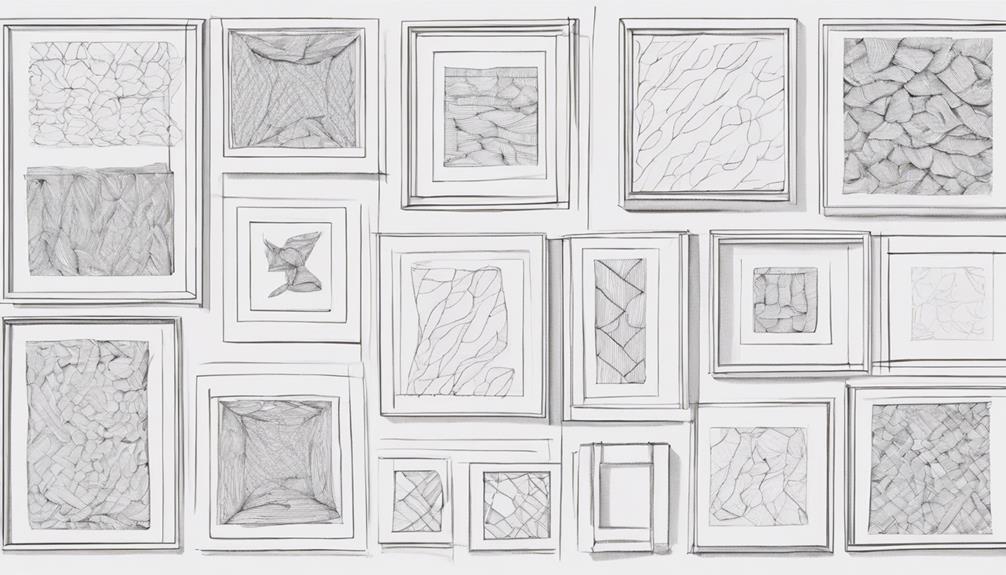
Artwork Size and Design Considerations
Assess the sculptural relief or sewn borders of your textile art to determine the appropriate mounting method to enhance its presentation effectively. When examining the size and design elements of your textile piece, it's essential to tailor the mounting technique to best showcase its unique characteristics. Take into consideration the overall dimensions, texture, and structural components of the artwork to select the most suitable framing approach.
To help you make an informed decision, here is a table highlighting key points to keep in mind when mounting textile art:
| Textile Piece | Design Elements | Mounting Technique |
|---|---|---|
| Sculptural Relief | Intricate patterns | Shadow box framing |
| Sewn Borders | Bold colors | Floating mount |
| Large Size | Textured fabric | Custom stretcher bars |
Frequently Asked Questions
How Do You Mount Textiles?
To mount textiles, fasten them with clear monofilament thread using a running stitch on a stretched canvas. Knot the thread for tension, experimenting with stitch spacing and back-stitching for a neat look.
Consider painting the canvas sides to complement the artwork. Use invisible thread for tidiness and easy removal. Anchor the thread in the textile piece for a firm attachment.
This method guarantees your textile art stays beautifully displayed.
What Is the Best Way to Hang Fabric Art?
When it comes to hanging fabric art, the best way is to utilize a stretched canvas and velcro strips for a polished look.
Seamlessly attach fabric by sewing velcro onto facing strips and then adhering it to the canvas.
Don't forget to add hanging hardware for easy installation.
Engage with fellow art enthusiasts to brainstorm innovative ways to showcase your textile pieces creatively.
Share your challenges and triumphs for a collaborative experience.
How to Mount a Fabric Picture?
To mount a fabric picture, select a canvas larger than your art. Attach the fabric with monofilament thread for a seamless look. Paint the canvas edges to complement the artwork.
Sign and date your creation, add hanging wire securely, and protect the ends. Experiment with facing or velcro strips for a polished finish.
These steps guarantee your fabric art looks professional and remains securely mounted for all to admire.
How to Mount Fabric to Canvas?
Fasten fabric to canvas flawlessly with finesse.
First, position your textile piece on the canvas, ensuring a smooth fit.
Then, use a running stitch with thread that matches impeccably.
Securely attach the fabric to the canvas, providing a professional touch.
Finally, add hanging wire, sign, date, and safeguard wire ends for a polished display.
Elevate your textile art with these simple steps for a stunning finished product!
Conclusion
To wrap up, mounting textile art demands meticulous preparation and attention to detail. Did you know that the typical dimensions of a textile artwork are 20×20 inches?
By adhering to the detailed guidelines provided in this article, you can proudly exhibit your textile creations for everyone to appreciate. Keep in mind the dimensions and design of your artwork when selecting a mounting technique to guarantee its longevity and beauty.