
Blocking your knitted projects is key to finishing them professionally. It helps improve drape, shape, and appearance by carefully dampening, stretching, and pinning your work into the desired form. Using natural fibers and adjusting your gauge makes blocking more effective. Be gentle and patient as your piece dries to set crisp edges and intricate details. Mastering proper blocking techniques will elevate your knitting projects—there’s much more to discover if you keep exploring.
Key Takeaways
- Blocking shapes and sets finished knitting, enhancing drape, size, and appearance.
- Proper gauge adjustment ensures effective blocking and a well-finished project.
- Use suitable yarn types, especially natural fibers, for predictable shaping during blocking.
- Gently wash, dampen, stretch, and pin your project to achieve the desired shape.
- Proper blocking reveals crisp edges, fine details, and a polished, professional look.
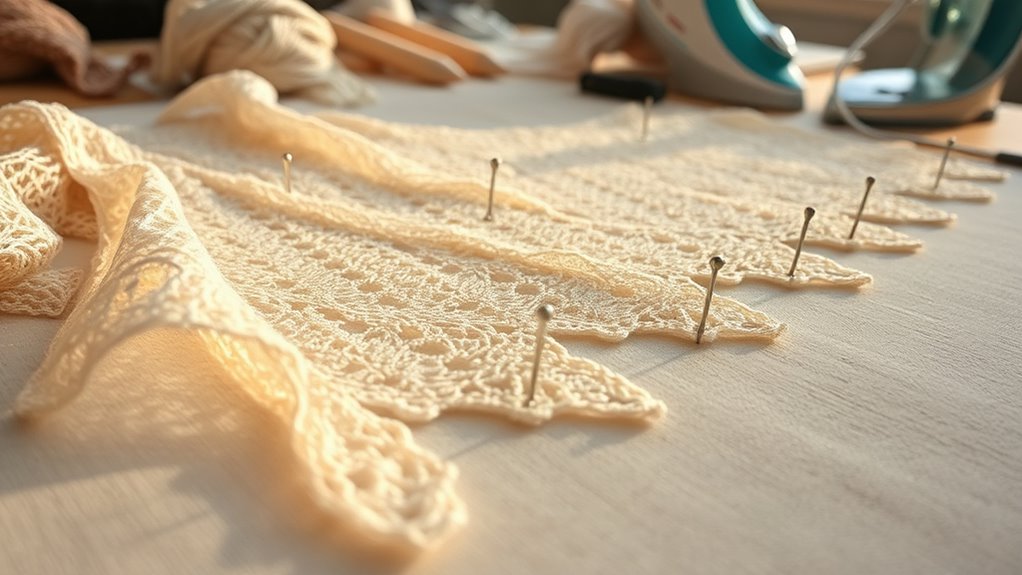
Have you ever finished a beautiful knit project only to find it lacks the sharpness or shape you envisioned? It’s frustrating, especially after investing so much time and effort. That’s where blocking comes in. Blocking is the process of shaping and setting your finished piece to improve its drape, size, and overall appearance. But before you immerse yourself, it’s important to understand a couple of key factors that influence how successful your blocking will be: gauge adjustment and yarn selection. These elements play a critical role in achieving the desired results.
Gauge adjustment is essential because it determines how your stitches translate into the finished size and shape. If your gauge isn’t consistent or doesn’t match the pattern’s specifications, your project might end up misshapen or too loose. Before starting, it’s a good idea to knit a gauge swatch, then modify your needle size if necessary. This small step ensures your project will respond well to blocking, making it easier to achieve the crisp edges and defined shape you want. If your gauge is too tight or too loose, your blocking will have limited effect, or worse, it could distort your work. Correcting gauge mismatches through needle size adjustments and swatching helps set a solid foundation for your project’s final form. Additionally, understanding the fabric’s drape and how it responds to blocking can help you tailor your technique to achieve the desired silhouette.
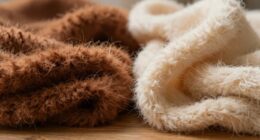
Yarn selection also influences how well your knit withstands blocking. Not all yarns behave the same when wet or heat is applied. Natural fibers like wool, cotton, or silk tend to respond well—they can be stretched, shaped, and set into a new form during blocking. Synthetic fibers, on the other hand, may not respond as predictably; some may not relax or stretch as much, limiting the effectiveness of blocking. Choosing the right yarn from the start can save you time and disappointment. If you plan to block heavily, opt for natural fibers, and always check the yarn’s care instructions. Some yarns may require gentle handling or specific blocking methods to avoid damage.
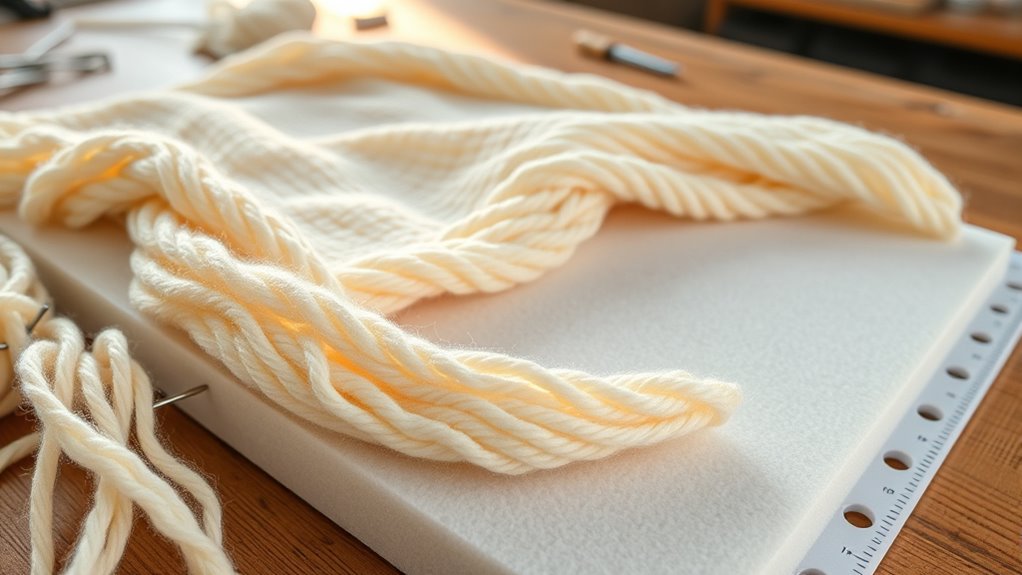
Once you’ve selected the right yarn and adjusted your gauge, blocking becomes much more straightforward. After finishing your project, gently wash or dampen the piece, then carefully stretch and pin it into the desired shape on a blocking board or surface. Use your previous gauge adjustments as a guide, ensuring the piece is evenly stretched without overdoing it. Allow it to dry completely before removing the pins. This final step will help your project hold its shape, reveal crisp edges, and showcase the intricate details you worked so hard to create.

Mr. Pen- Interlocking Blocking Mats, 12”x12”, 4 Pack, Blocking Mats for Knitting & Crochet Projects with 50 T-Pins, Knitting Blocking Mats and Pins, Crochet Blocking Board for Crocheting
This set of blocking boards includes four interlocking pieces for knitting, crochet, and needlepoint projects and 50 T-pins….
As an affiliate, we earn on qualifying purchases.
As an affiliate, we earn on qualifying purchases.
Frequently Asked Questions
How Do I Block Delicate or Sensitive Fibers Safely?
To block delicate or sensitive fibers safely, you should prioritize fiber protection and gentle handling. Start by soaking your item in lukewarm water with a mild wool wash or gentle soap. Then, carefully squeeze out excess water without wringing. Lay it flat on a clean, padded surface or blocking mats, using your hands to gently shape it. Avoid excessive stretching, and let it air dry completely, ensuring your fibers stay soft and undamaged.
What Tools Are Essential for Blocking Different Types of Yarn?
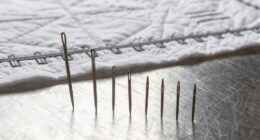
You’ll need some essential tools for blocking different types of yarn, considering fiber types and blocking techniques. A sturdy blocking mat or foam board provides a surface to shape your project. T-pins or rust-proof pins help hold pieces in place, while a spray bottle or lukewarm water guarantees proper moisture. For delicate fibers, gentle steamers or hand-held steam irons are perfect. These tools help you achieve the best finish for every fiber type.
How Long Should I Leave My Project in the Blocking Process?
You should leave your project in the blocking process until it’s completely dry, which can take anywhere from several hours to overnight, depending on your drying technique and yarn type. Use drying techniques like pinning your project to blocking patterns on a flat surface and allowing it to air dry naturally. Avoid rushing this step; proper drying guarantees your project keeps its shape and looks professional.
Can Blocking Change the Color or Texture of My Knit?
Did you know that blocking can sometimes slightly alter your knit’s color or texture? While it generally enhances fiber safety, it may cause minor changes in color brightness or sheen, especially with delicate dyes. Blocking helps preserve color, but be cautious with sensitive fibers. Always test on a small area first, and use gentle techniques to avoid damaging the fiber or affecting the overall look of your project.
Is Blocking Necessary for All Types of Knitting Projects?
Blocking isn’t necessary for all knitting projects, but it’s highly recommended for fiber preparation and project shaping. If you want your stitches to look more even, your project to have a professional finish, or if you’re working with delicate fibers, blocking helps achieve those goals. For simple projects or sturdy fibers, you might skip it. However, for intricate designs or fine yarns, blocking often makes a noticeable difference.

Opstin 20Pcs Knit Blocking Pins Kit, Knit Blockers Pins Kit, Knit Blocking Combs, Blocking Pins for Knitting & Crochet Projects, Knit Blocking Pins for Blocking Mats, Crochet Blocking Pins
Warning: This product has been registered and registered with the USPTO & US Copyright Registration (OAS) and issued…
As an affiliate, we earn on qualifying purchases.
As an affiliate, we earn on qualifying purchases.
Conclusion
Blocking your knits is like giving them a fresh start—stretching, shaping, and awakening their true beauty. It’s the final act that transforms your work from a rough draft into a polished masterpiece, much like a sunrise that reveals the world anew. Embrace this step as a symbol of care and patience, knowing that with each gentle stretch, you’re shaping not just your project, but your craft and confidence too. Let your finished piece stand proud, perfectly poised.

Clover Swatch Ruler & Needle Gauge, White
Measure your gauge swatch with the 4 inch (10cm) ruler
As an affiliate, we earn on qualifying purchases.
As an affiliate, we earn on qualifying purchases.

Gisimo 100% Merino Wool Yarn, 3-Ply Luxurious and Soft Yarn for Hand Knitting & Crocheting (Evergreen, 1Ball)
Content: 100% Extraordinarily Luxurious Merino wool
As an affiliate, we earn on qualifying purchases.
As an affiliate, we earn on qualifying purchases.