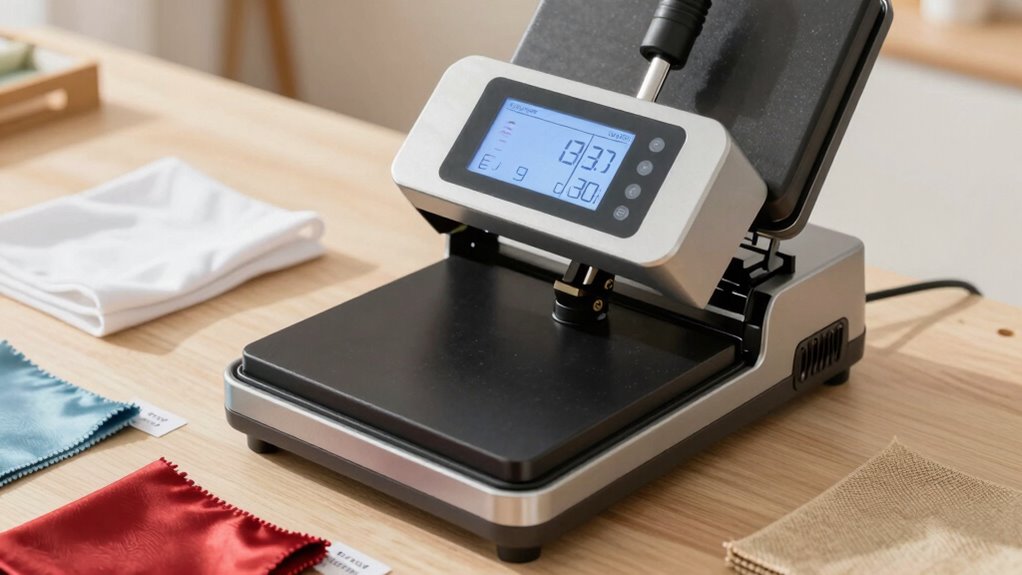
When you’re working with a heat press, knowing the right temperature and time settings is essential for great results. For cotton, press at 350°F for 15 seconds; for polyester, 320°F for 10-12 seconds. If you’re using HTV, apply firm pressure and follow specific temps. Sublimation requires higher settings, like 400°F for polyester. Consistent results come from testing and maintenance. Stick around to explore tips for troubleshooting and best practices to keep your heat press in top shape!
Key Takeaways
- Cotton requires 350°F for 15 seconds; polyester needs 320°F for 10-12 seconds, ensuring proper adhesion.
- Sublimation settings for polyester are 400°F for 45 seconds; adjust accordingly for ceramics, metal, cotton, and wood.
- For stretchy materials like spandex, set heat press to 305°F for 10 seconds to avoid damage.
- Always test on a scrap piece to verify accuracy of temperature and time for specific fabrics.
- Maintain heat press by regularly cleaning and checking pressure settings to ensure consistent results.
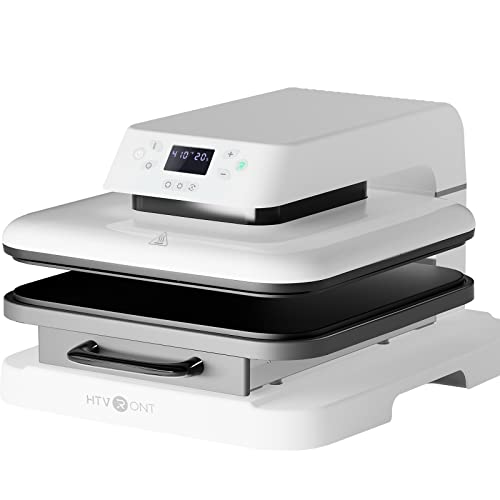
HTVRONT Auto Heat Press Machine for T Shirts – 15×15 Smart T Shirt Press Machine with Auto Release – Professional Heat Press for Sublimation, Vinyl, Heat Transfer Projects
【Auto Heat Press & Free Hands】- HTVRONT auto heat press machine aims to take away the struggles of…
As an affiliate, we earn on qualifying purchases.
As an affiliate, we earn on qualifying purchases.
Essential Heat Press Settings for Common Fabrics
When it comes to heat pressing, knowing the right settings for different fabrics is essential. Each material has unique fabric compatibility, which affects how it responds to heat. For cotton, a temperature of about 350°F for 15 seconds usually works well. Polyester, on the other hand, requires lower heat settings—around 320°F for 10-12 seconds—to prevent scorching. If you’re working with blends, consider a midpoint, like 330°F for 12 seconds. For stretchy materials like spandex, keep it at 305°F for 10 seconds to maintain elasticity. Always test on a scrap piece to verify the heat settings are correct. Getting this right not only enhances durability but also helps achieve a professional finish in your projects.

HTVRONT Heat Transfer Vinyl White HTV Rolls – 12" x 20ft White Iron on Vinyl for All Cutting Machines, HTV Vinyl for Shirts – Easy to Cut & Weed for Heat Transfer Design
EASY CUT & WEED & TRANSFER: Our HTV white heat transfer vinyl will save your time which you…
As an affiliate, we earn on qualifying purchases.
As an affiliate, we earn on qualifying purchases.
How to Press Heat Transfer Vinyl (HTV)

Pressing Heat Transfer Vinyl (HTV) can seem challenging, but with the right approach, you’ll achieve stunning results in no time. Follow these steps to guarantee your vinyl types adhere perfectly:
- Choose the Right Vinyl Type: Select a suitable HTV based on your fabric and design needs.
- Prepare Your Design: Cut your HTV design accurately and weed out excess material.
- Heat Press Settings: Set your heat press to the recommended temperature and time for your vinyl type.
- Application Techniques: Use the right pressure; apply firm, even pressure for the entire duration.

Hitgrand Heat Press 12×15 inch, Heat Press Machine for T-Shirts, 8 in 1 Heat Press with 30 OZ Tumbler Press, Combo Tumbler Heat Press Machine Sublimation for Hat Cap Mug Plate
Heat Press 8 in 1 W/ 30OZ Tumbler Press — Hitgrand 8 in 1 Heat Press Machine includes…
As an affiliate, we earn on qualifying purchases.
As an affiliate, we earn on qualifying purchases.
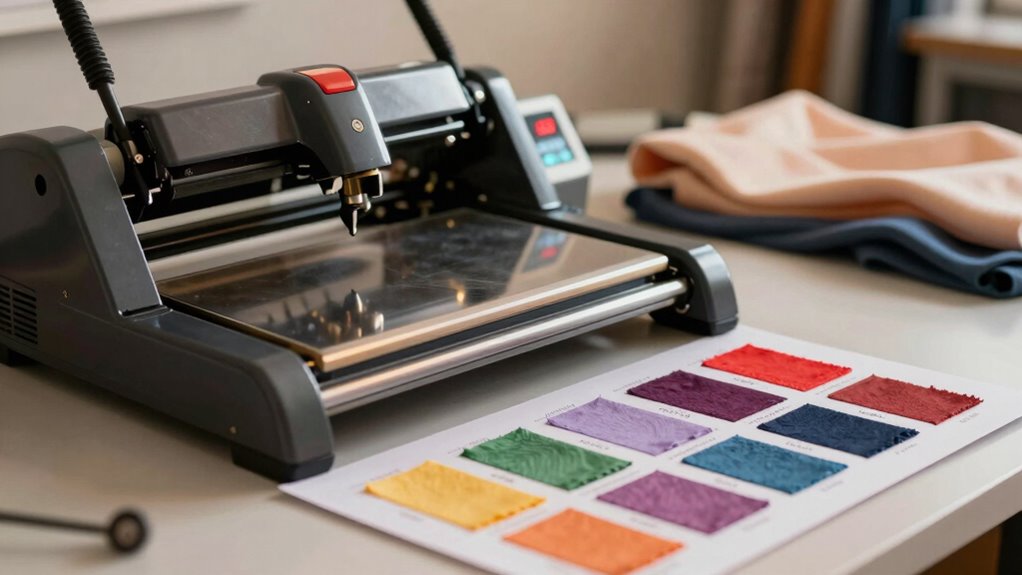
Sublimation Temperature and Time Settings
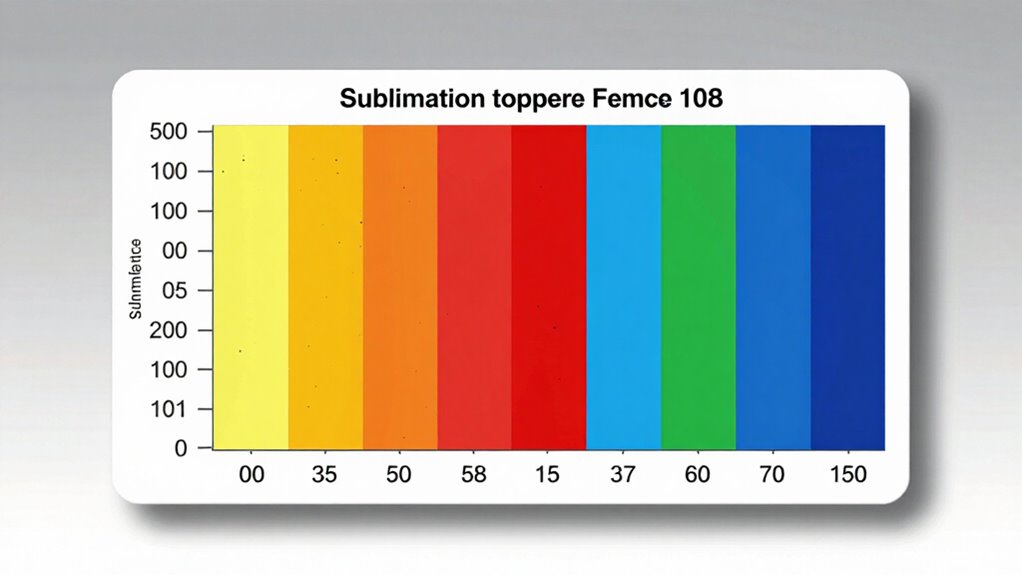
Sublimation Temperature and Time Settings
Sublimation requires precise temperature and time settings to guarantee vibrant and durable results. When using sublimation ink and transfer paper, you’ll want to confirm your heat press is set correctly. Here’s a quick reference table to help you:
| Material | Temperature (°F) | Time (Seconds) |
|---|---|---|
| Polyester | 400 | 45 |
| Ceramic | 400 | 180 |
| Metal | 385 | 60 |
| Cotton | 400 | 30 |
| Wood | 400 | 60 |
To achieve the best results, ensure your equipment is calibrated for color accuracy to enhance the overall quality of the final product.

Vowlove T-Shirt Ruler for Precise Alignment, Center & Left Chest Placement Tool for Shirt Making, Compatible with Cricut, Heat Press, HTV, Vinyl, DTF, Sublimation
Game Changer For Shirt Making: Make placing your HTV and sublimation easier & more consistent. Simply line it…
As an affiliate, we earn on qualifying purchases.
As an affiliate, we earn on qualifying purchases.
Best Practices for Pressing Different Materials
While each material has its unique requirements, understanding the best practices for pressing different surfaces can greatly enhance your results. Here are some tips to keep in mind:
- Choose the Right Adhesive Types: Different materials work best with specific adhesives. Make certain to match them appropriately.
- Adjust Temperature for Fabric Textures: Delicate fabrics need lower temperatures, while sturdier materials can handle higher heat.
- Test Before Full Pressing: Always test on a small area to verify compatibility and avoid damage.
- Use Proper Pressure: Adjust pressure settings based on the thickness of the material to achieve a solid bond.
How to Fix Common Heat Press Problems?
When you’re using a heat press, uneven pressure and temperature control problems can really mess up your projects. To get the best results, you need to troubleshoot these common issues effectively. Let’s explore some quick fixes that can help you achieve consistent, high-quality prints.
Uneven Pressure Issues
Uneven pressure can lead to frustrating results in your heat press projects, but addressing this issue is often simpler than you might think. To fix uneven pressure, follow these steps:
- Check Pressure Calibration: Verify your machine is correctly calibrated for even pressure across the platen.
- Adjust Platen Height: Make sure the height is set accurately to accommodate the thickness of your material.
- Use a Heat Distribution Pad: Consider adding a silicone or foam pad to help distribute heat evenly, preventing hot spots.
- Test with Different Materials: Experiment with various substrates to find the best settings for consistent results.
Temperature Control Problems
Inconsistent temperature control can also contribute to disappointing results in your heat press projects. If you notice uneven transfers or fading, it might be time for a temperature calibration. Start by checking your heat press with an external thermometer to verify it matches the displayed temperature. If there’s a discrepancy, adjust your settings accordingly.
Next, review your pressure settings; too much or too little pressure can affect how heat penetrates the material. Make certain you’re applying the right amount of pressure for the type of transfer you’re using. Regularly maintaining your heat press and recalibrating temperatures will help you achieve consistent, high-quality results every time. Additionally, ensuring good indoor air quality will create a more favorable environment for your projects, as pollutants can impact the adhesion of your transfers. Remember that regular tick checks post outdoor activities can also prevent unexpected outcomes in your creative endeavors. Don’t let temperature issues hold you back from perfecting your projects!
Tips for Maintaining Your Heat Press
To keep your heat press in top shape, regular maintenance is essential. Here are some effective tips to guarantee longevity and performance:
- Cleaning Tips: Wipe down the heat platen and surfaces after each use to prevent residue build-up.
- Pressure Adjustments: Regularly check and adjust pressure settings to guarantee even application.
- Component Care: Inspect electrical cords and connections frequently for wear or damage.
- Safety Precautions: Always unplug your heat press when not in use and follow the manufacturer’s guidelines for safe operation. Additionally, maintaining an adequate emergency fund can help cover unexpected repairs or replacements.
Quick Reference: Downloadable Heat Press Chart
Maintaining your heat press is just the beginning of achieving great results. To streamline your projects, download a quick reference heat press chart. This handy tool outlines ideal temperatures and times for various materials, ensuring you get consistent results every time. Remember, heat press safety is essential; always double-check your settings to avoid overheating and damaging your items. Using an anti-fatigue mat can further enhance your comfort while working at a standing desk, especially when managing smart controls for your workspace environment. Additionally, understanding kitchen science can improve your overall approach to crafting.
With this chart in hand, you can easily apply different heat transfer techniques without second-guessing. Whether you’re working with vinyl, sublimation, or other materials, having this resource at your fingertips can save you time and frustration. Additionally, understanding filtration/suction basics can help you maintain the longevity of your heat press. So, download the chart, keep it close, and elevate your crafting game with confidence!
Frequently Asked Questions
What Is the Ideal Pressure Setting for Different Materials?
The ideal pressure setting varies by material compatibility. For cotton, medium pressure works best, while polyester needs lighter pressure to avoid damage. If you’re working with thicker fabric layers, like fleece, increase the pressure for a solid bond. Heat press types also matter; a clam shell press requires different settings than a swing-away model. Always test on a small area first to verify the best results without compromising your materials.
Can Heat Pressing Damage Fabric or Cause Fading?
Absolutely, heat pressing can be a double-edged sword. If you crank up the heat too high or press too long, you risk heat damage that can scorch your fabric or lead to fabric fading. Think of it like a sunburn for your clothes—too much heat can leave them looking tired and worn. Always test a small section first, and adjust your settings to keep your garments looking fresh and vibrant!
How Do I Know When My Heat Press Is Ready?
You can tell your heat press is ready by checking the heat settings. Most machines have an indicator light that turns off or changes color when it reaches the desired temperature. You should also use proper pressing techniques, like preheating your fabric, to guarantee even heat distribution. If you’re unsure, a quick test press on a scrap piece of fabric can help confirm it’s hot enough without risking your main project.
What Safety Precautions Should I Take While Heat Pressing?
To guarantee heat press safety, always wear protective gear like heat-resistant gloves and safety goggles. Keep your workspace clear of flammable materials and guarantee proper ventilation. Before you start, check that the heat press is on a stable surface. Never leave it unattended while it’s on, and be cautious when opening it, as steam can escape. By following these precautions, you’ll minimize risks and enjoy a safer heat pressing experience.
How Often Should I Calibrate My Heat Press?
You should calibrate your heat press every few months to guarantee consistent heat press accuracy. If you notice uneven results or if you move your press frequently, consider checking calibration more often. Regular calibration helps maintain the right temperature and pressure, preventing issues in your projects. Trust me, staying on top of calibration frequency will save you time and frustration in the long run, leading to better results every time you press.
Conclusion
Now that you’ve got the essential heat press settings at your fingertips, you’re ready to tackle any project with confidence. Whether you’re working with HTV or sublimation, knowing the right temperature and time can make all the difference. So, why not keep that handy chart close by for quick reference? With these tips and best practices, you’ll be well on your way to creating stunning designs that wow everyone! Happy pressing!