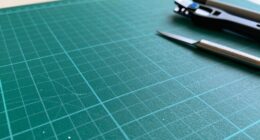

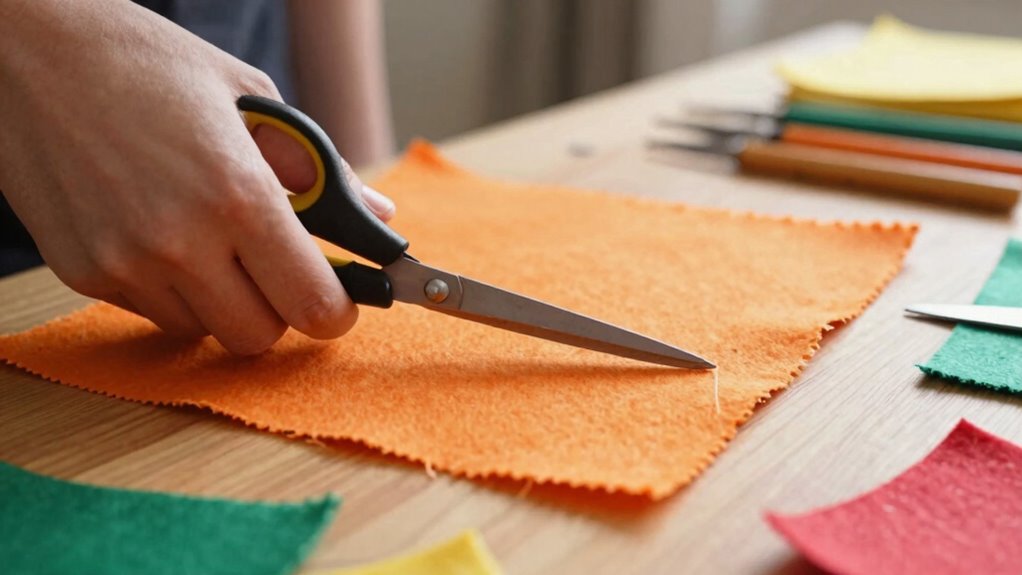
To cut felt like a pro, you need the right tools and techniques. Use a rotary cutter or sharp scissors for clean edges, and always keep your blades sharp. Prepare your felt by washing it and laying it flat on a cutting mat. Take your time and avoid rushing; this prevents jagged edges and tears. Remember to use templates for accuracy. Mastering these tips will elevate your projects, and there’s more to explore to enhance your skills.
Key Takeaways
- Use a rotary cutter or sharp fabric scissors to achieve clean, precise cuts without jagged edges.
- Prepare your felt by washing, drying, and laying it flat on a cutting mat for stability.
- Always follow the grain direction of the felt to avoid misaligned patterns and ensure accuracy.
- Maintain sharp tools and practice slow, deliberate cutting movements for better control and cleaner edges.
- Utilize templates for consistent shapes and measurements, preventing inaccuracies in your cuts.

Fiskars 45mm Rotary Cutter for Fabric, Premium Steel Stick Fabric Cutter Cuts Through Multiple Layers, Right and Left Handed, Easy and Safe Blade Change, Arts and Crafts, Sewing and Quilting Tools
SEWING, ARTS, AND CRAFTS STAPLE: This Fiskars Rotary Cutter can cut multiple layers of fabric, felt, vinyl, and…
As an affiliate, we earn on qualifying purchases.
As an affiliate, we earn on qualifying purchases.
Essential Tools for Cutting Felt Smoothly
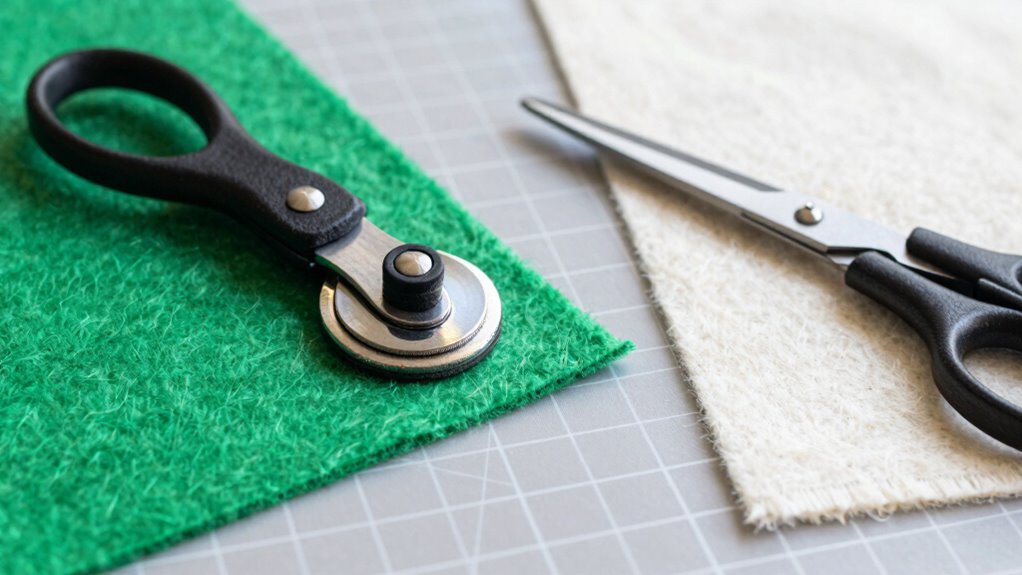
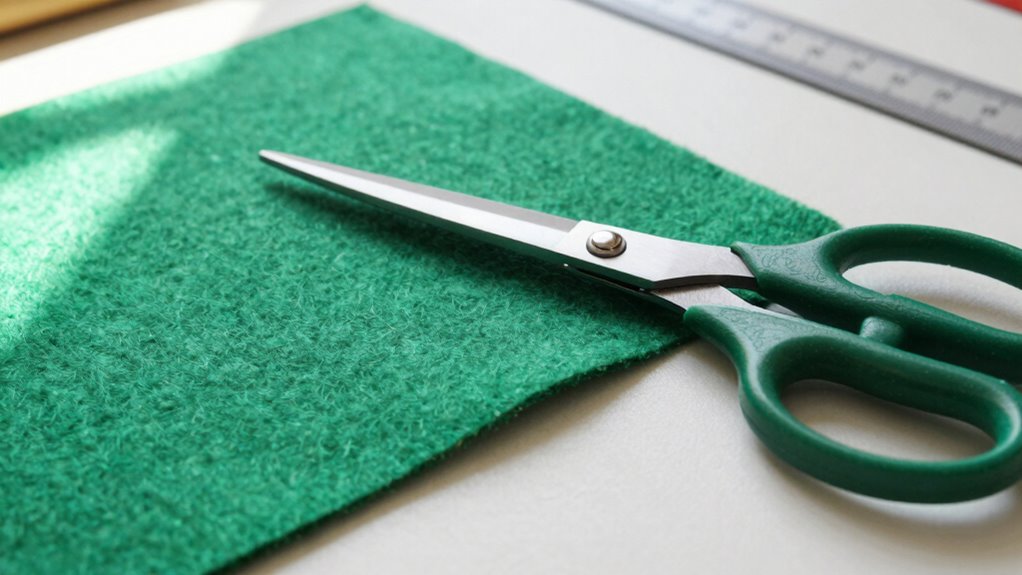
When you’re ready to cut felt smoothly, having the right tools can make all the difference. A rotary cutter is a fantastic choice, offering precision and speed with minimal effort. Its sharp blade glides through felt, reducing the risk of jagged edges. Plus, it’s easy to maneuver, making it ideal for intricate designs. On the other hand, if you prefer fabric scissors, there are plenty of options that can get the job done. Look for a pair with sharp, curved blades for a clean cut. Whatever you choose, guarantee your tools are well-maintained to achieve the best results. With the right approach, cutting felt can be a breeze, leaving you with neat, professional-looking edges every time.

LIVINGO Premium Tailor Scissors Heavy Duty Multi-Purpose Titanium Coating Forged Stainless Steel Sewing Fabric Leather Dressmaking Comfort Grip Shears Professional Crafting (9.5 INCH)
Durable Strong Stainless Steel Rust Resistant Blades: Forging press manufacturing process enables high-density steel that makes 3 times…
As an affiliate, we earn on qualifying purchases.
As an affiliate, we earn on qualifying purchases.
Common Mistakes to Avoid When Cutting Felt
Cutting felt can be a straightforward task, but many people make common mistakes that can lead to frustration and uneven edges. One major error is not selecting the right felt types for your project. Different felt weights affect cutting patterns considerably. Additionally, understanding the different felt types can significantly enhance your cutting experience. Using the right tools, like pressure washers, can also help maintain your workspace for a cleaner project, ultimately leading to more efficient results.
Here’s a quick reference table to help you avoid pitfalls:
| Mistake | Impact | Solution |
|---|---|---|
| Using dull scissors | Jagged edges | Keep scissors sharp |
| Rushing the cutting process | Uneven shapes | Take your time |
| Ignoring grain direction | Misaligned patterns | Follow felt grain |
| Skipping templates | Inaccurate cuts | Always use cutting patterns |

anezus Self Healing Sewing Mat, 12inch x 18inch Rotary Cutting Mat Double Sided 5-Ply Craft Cutting Board for Sewing Crafts Hobby Fabric Precision Scrapbooking Project
【SEWING CUTTING MAT】Aneuzs self-healing cutting mat protects your work surface. Compatible with rotary cutters and straight blades, won't…
As an affiliate, we earn on qualifying purchases.
As an affiliate, we earn on qualifying purchases.
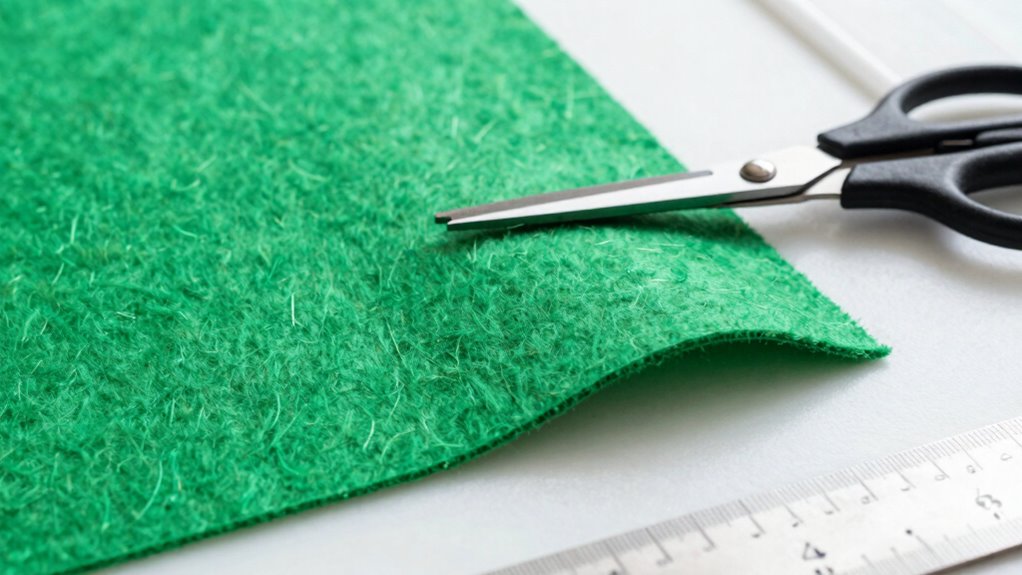
Best Techniques for Cutting Felt Cleanly

Achieving clean cuts in felt is essential for a polished project, and there are several techniques you can use to guarantee precision. First, choose the right cutting methods based on your felt types. For thicker felt, use a rotary cutter or sharp scissors for a smooth edge. For thinner felt, consider using a craft knife with a straight edge as a guide. Always make sure your tools are sharp, as dull blades can cause tearing. If you’re cutting intricate designs, use small scissors for better control. Additionally, keep your felt flat and secure to prevent shifting. By mastering these techniques, you’ll enhance your cutting skills and achieve professional-looking results every time.

MOPFOL 7Pcs Felt Applique Kits DIY Templates – Reusable Mould for Needle Felting, Craft Shapes Include Tree Star Butterfly Flower
Durable Felt Material: Crafted from sturdy felt that withstands repeated use without tearing for long lasting crafting sessions
As an affiliate, we earn on qualifying purchases.
As an affiliate, we earn on qualifying purchases.
Preparing Your Felt for Cutting
To guarantee your cutting techniques yield the best results, preparing your felt properly is key. Start by washing and drying your felt to remove any dirt or oils that could interfere with cutting patterns. If your felt tends to fray, consider using a fabric stabilizer to keep edges intact during the cutting process. Lay your felt flat on a cutting mat to avoid shifting, and make sure it’s wrinkle-free for accurate cuts. Use weights or pins to secure the fabric if necessary. Finally, double-check your measurements before cutting; this step helps avoid mistakes and wasted material. With these preparations, you’ll create clean, precise cuts that make your projects shine.
How to Properly Care for Your Cutting Tools

Caring for your cutting tools can greatly enhance their performance and lifespan. Start with regular tool maintenance; clean your scissors and blades after each use to remove any residue. This prevents rust and prolongs their sharpness. For best results, keep your blades sharp by using a sharpening stone or professional service. A sharp blade cuts cleanly through felt, reducing fraying and guaranteeing precise edges. Additionally, using HEPA filters in your workspace can help reduce dust and debris, further protecting your tools. Regularly checking your workspace for dust buildup is also essential to maintain a clean cutting environment. Furthermore, maintaining a clean workspace can enhance home comfort and air quality, making your crafting experience more enjoyable. In fact, a significant portion of indoor dust can contain microplastics in dust, which underscores the importance of a clean environment.
Moreover, store your tools in a dry, safe place to avoid damage. Consider investing in a protective case or organizer to keep everything in good condition. By following these simple steps, you’ll guarantee your cutting tools remain efficient, making your felt projects easier and more enjoyable. Remember, a little care goes a long way! Moreover, regular maintenance can significantly reduce the need for professional cleaning services, ensuring your tools stay in top shape.
Troubleshooting Common Cutting Mistakes
When cutting felt, you might run into some common mistakes that can affect your results. Uneven pressure, a dull blade, or an incorrect technique can lead to frustrating outcomes. Let’s tackle these issues so you can achieve cleaner, more precise cuts every time.
Uneven Pressure Issues
While cutting felt, uneven pressure can lead to jagged edges and frayed pieces, making your project look unprofessional. To achieve smooth cuts, focus on consistent pressure distribution across your blade. If you press too hard in one spot, you’ll create uneven edges. Instead, apply gentle, even pressure throughout the entire cut.
Also, pay attention to your cutting angles. Keeping the blade at a consistent angle not only improves your control but also helps maintain that even pressure. If you’re struggling, try adjusting the angle slightly to see if it makes a difference. With practice, you’ll find the right balance, ensuring your felt pieces are clean and polished, ready for your next creative project.
Dull Blade Consequences
Sure! Here’s your revised article subheading content with the requested additions:
—
Even with consistent pressure and the right angles, using a dull blade can sabotage your cutting efforts. You might find yourself frustrated as your cuts become jagged and messy. To maintain cutting precision, regular blade maintenance is vital. Here are some consequences of a dull blade:
- Increased friction, leading to tears in the felt
- Difficulty in achieving clean edges
- Need for extra force, causing hand fatigue
- Slower cutting speed, wasting your time
- Risk of accidents due to slipping
Don’t underestimate the importance of a sharp blade. Regularly check your cutting tools and replace or sharpen them as needed. This simple step can enhance your cutting experience and guarantee beautiful, precise results every time. Additionally, keeping your tools sharp is crucial for sustaining productivity in any craft or trade. Using the right gear, such as acoustic drum shields, can also improve your overall cutting environment. Proper ergonomics can help reduce strain during cutting tasks, ensuring both comfort and efficiency. Moreover, investing in high-quality mats can provide a stable surface that further aids in achieving precise cuts.
—
Let me know if you need any further adjustments!
Incorrect Cutting Technique
Cutting felt can be a delicate art, and using the wrong technique can lead to frustrating results. One common mistake is not paying attention to cutting angles. When you cut at improper angles, you risk jagged edges and uneven shapes. Always aim for a straight, smooth cut to guarantee clean results. Additionally, different fabric types require different approaches. For instance, thicker felt may need more pressure, while thinner varieties can shift easily. If you find your cuts are tearing, it might be due to not adjusting your technique for the fabric type. Take your time, use sharp scissors, and practice consistent cutting angles to improve your skills and achieve professional-looking edges every time.
Frequently Asked Questions
Can I Cut Felt With Regular Scissors Instead of Fabric Scissors?
Yes, you can cut felt with regular scissors, but fabric scissors work better. Scissors types matter; fabric scissors are designed for clean, precise cuts, reducing jagged edges and tears. To get the best results, use sharp scissors and try to cut in one smooth motion. Practice your cutting techniques, and you’ll find it easier to achieve neat edges. If you plan to cut felt often, investing in fabric scissors is a smart choice.
Is It Necessary to Pin Felt Before Cutting?
Pinning prior to cutting can prove particularly practical! While it’s not strictly necessary, using pins offers substantial advantages. Pinning helps keep your felt in place, preventing slips and ensuring precision. This technique enhances your felt cutting by minimizing movement and maximizing accuracy. If you’re aiming for clean edges, consider pinning your felt to stabilize it during the process. By adopting these felt cutting techniques, you’ll achieve smoother, neater results every time!
How Do I Store Leftover Felt Scraps?
To store leftover felt scraps, keep them organized in clear bins or folders. Label each container by color or size for easy access. You can also roll smaller pieces to save space. Don’t forget to jot down scrap project ideas on a notepad nearby; this way, you’ll be inspired to use those pieces creatively. With these felt organization tips, you’ll always have your scraps ready for your next crafting adventure!
Can I Cut Multiple Layers of Felt at Once?
Yes, you can cut multiple layers of felt at once, but it depends on the layer thickness. If the layers are too thick, you might risk jagged edges or tears. Use sharp scissors or a rotary cutter, and guarantee you’ve got a steady surface. Have you considered using a cutting mat? This technique not only saves time but also keeps your edges clean and precise. Just be mindful of the number of layers you stack!
What Should I Do if My Felt Frays After Cutting?
If your felt frays after cutting, try using fraying prevention techniques. First, consider using a rotary cutter for cleaner edges. You can also apply a fabric sealant or fray check along the cut edges to minimize fraying. Additionally, cutting with sharp scissors and maintaining a steady hand helps. Experiment with different cutting techniques, like using pinking shears, to achieve a more finished look. With these tips, your projects will stay neat and professional!
Conclusion
Now that you’ve mastered the art of cutting felt like a pro, you can create projects that look as flawless as a Hollywood red carpet! Remember, having the right tools and techniques makes all the difference. Avoid common mistakes, prepare your felt properly, and always care for your cutting tools. With these tips, you’ll achieve smooth, clean edges every time. So go ahead and release your creativity—your felt projects are destined to be showstoppers!