
To understand a sewing pattern, start by examining the pattern envelope and instructions, noting the body measurements, size options, and fabric suggestions. Look closely at the pattern tissue for markings like notches, darts, grainlines, and seam allowances, and follow the symbols to identify construction steps. Recognize how modifications can be made for fit and style, depending on your fabric choice. Keep exploring the details, and you’ll master the skills to bring your garment ideas to life.
Key Takeaways
- Carefully examine the pattern tissue for symbols, notations, and markings like notches, darts, and seam allowances.
- Identify and follow the grainline arrows to align pattern pieces correctly with fabric weave or nap.
- Read the pattern instructions thoroughly to understand assembly steps and specific fabric or pattern modifications.
- Recognize pattern symbols and markings to guide precise cutting, shaping, and sewing of garment pieces.
- Note potential pattern adjustments, such as lengthening or widening, based on pattern lines and your personal measurements.
Learning to read a sewing pattern is essential for turning your design ideas into reality. When you understand how to interpret the symbols, markings, and instructions on a pattern, you gain the confidence to create garments that fit and look just as you envision. The first step is to familiarize yourself with the pattern envelope, which provides vital information about fabric selection and suggested pattern modifications. Your choice of fabric plays a significant role in how your finished project will look and feel, so selecting the right type—whether lightweight cotton, stretchy jersey, or structured linen—is necessary before diving into the pattern itself. The fabric you choose can influence the pattern modifications you might need to make later, such as adjusting for stretch, drape, or thickness.
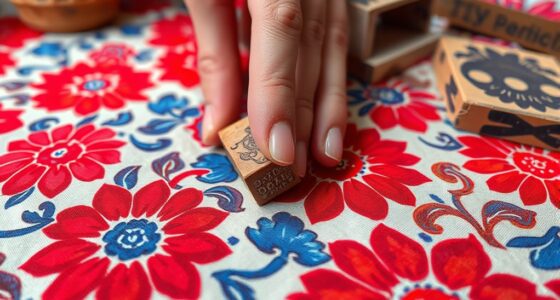
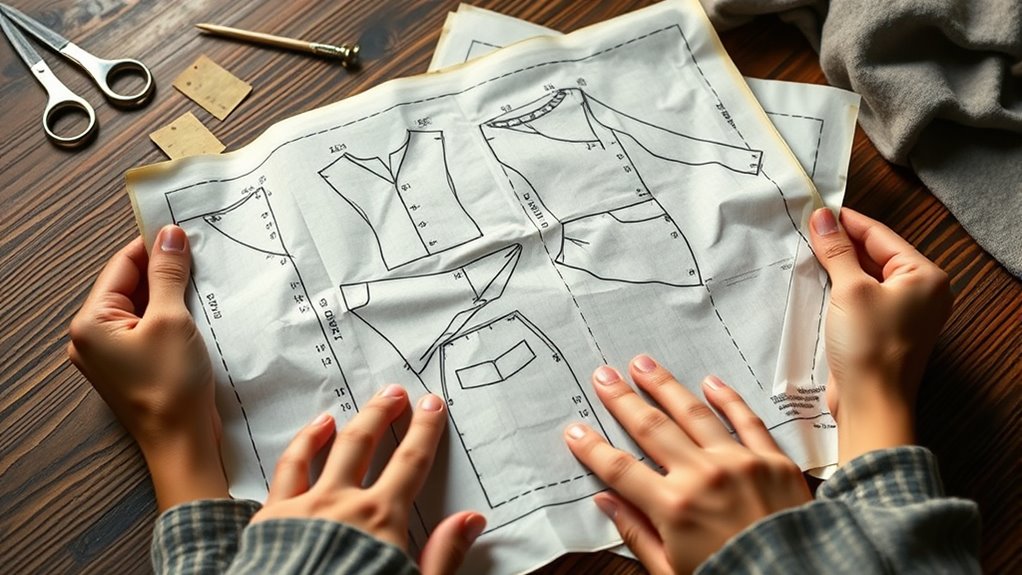
As you open the pattern tissue, you’ll notice various pieces, each with specific markings and notations. These symbols might seem overwhelming at first, but they serve as a universal language. For example, lines indicating seam allowances show where to sew, while notches and darts help shape the garment. To read these accurately, you need to pay attention to the pattern’s instructions and legend, which explain each symbol. Pattern modifications come into play when you want your finished piece to fit perfectly or have a different style. For instance, if you need a longer sleeve or a wider neckline, you’ll adjust the corresponding pattern pieces accordingly. Recognizing these options within the pattern instructions allows you to customize your project without starting from scratch.
Next, look at the pattern markings for grainlines, which indicate how the pattern pieces should be aligned with the fabric’s weave. Proper alignment ensures your garment drapes correctly and maintains its shape after sewing. If your fabric has a nap or directional print, paying attention to grainlines becomes even more important. When making pattern modifications, such as adding extra length or width, always trace the original pattern and make adjustments on a copy. This approach preserves the original and allows you to experiment with fit and style. Keep in mind that some modifications might also require changing seam allowances, darts, or pleats to maintain the pattern’s integrity. Additionally, understanding how pattern symbols relate to fabric types can help you make more precise adjustments tailored to your chosen material.
Lastly, reading a pattern isn’t just about understanding symbols; it’s also about interpreting the instructions to assemble your garment correctly. Each step is designed to guide you through construction, but knowing how to adapt the pattern for fabric type or personal fit ensures a professional-looking result. As you become more comfortable reading patterns, you’ll develop the skills to modify patterns confidently, whether that means adding style details or tailoring the fit. With practice, pattern reading becomes second nature, transforming your creative ideas into well-crafted, customized garments.
Top picks for "read pattern"
Open Amazon search results for this keyword.
As an affiliate, we earn on qualifying purchases.
Frequently Asked Questions
How Do I Choose the Right Pattern Size?
To choose the right pattern size, start by measuring your bust, waist, and hips, then compare these to the size charts on the pattern envelope. If your measurements fall between sizes, opt for the larger one and make pattern adjustments for a better fit. Remember, pattern sizes are just a guide—personalize your fit by adjusting the seam allowances and darts as needed for comfort and style.
What Fabric Types Are Best for Certain Patterns?
Imagine sewing a fitted T-shirt; choosing a stretch fabric like jersey makes it easier to follow the pattern’s contours. For patterns with flowing drape, like a chiffon dress, lightweight fabrics with good drape are ideal, enhancing the garment’s elegance. When selecting fabric types, consider stretch for fitted styles and fabrics with a soft drape for flowing designs. Matching fabric properties to pattern requirements guarantees a successful, professional-looking outcome.
How Do I Modify Patterns for Custom Fit?
To modify patterns for a custom fit, start with pattern alteration by tracing your measurements onto the pattern. Make fitting adjustments by adding or removing fabric at key points like seams, darts, or side seams. Use a muslin to test your changes before cutting your final fabric. Remember, precise fitting adjustments ensure your finished garment fits comfortably and looks professional, so take your time during each alteration step.
What Tools Are Essential for Pattern Cutting?
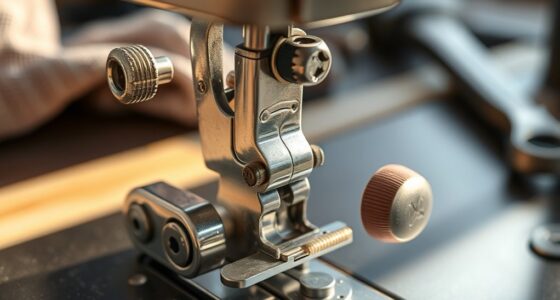
To cut your pattern precisely, you need sharp scissors and pattern weights—these are your essentials. But don’t forget, maintaining your sewing machine guarantees smooth stitching, which can make or break your project. As for pattern storage tips, keep your patterns organized in labeled folders or tubes to prevent damage. Master these tools and tips, and you’ll elevate your sewing game, creating flawless garments every time.
How Do I Interpret Pattern Markings and Symbols?
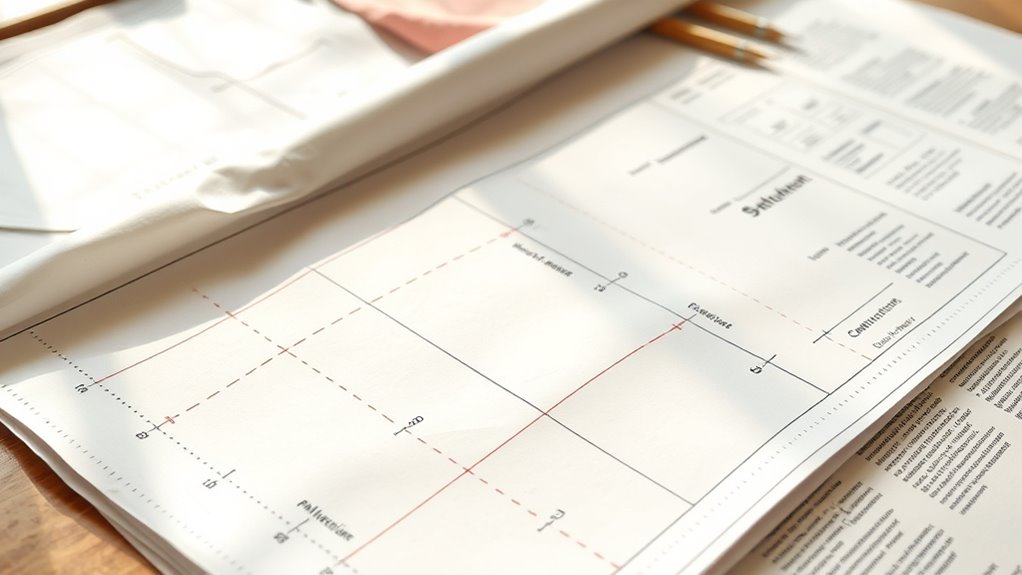
You interpret pattern markings and symbols by carefully examining each one. Pattern symbols indicate important details like darts, fold lines, and button placements, while seam allowances show where to sew the fabric edges together. Look for lines, dots, and notches on the pattern pieces, which guide you in aligning fabric pieces accurately. Understanding these markings guarantees your garment fits well and construction is precise, making your sewing project successful.
Conclusion
Now that you’ve learned how to read a sewing pattern, think of it as a map guiding your creative journey. Each line and symbol symbolizes your potential to craft something unique and beautiful, like a seed waiting to bloom. Embrace the process with patience and confidence, knowing that every pattern you conquer brings your vision closer to reality. Trust in your skills, and let your sewing adventure unfold, turning fabric into heartfelt expression.