Warping a loom can be tricky, and many people mess up by not checking thread tension or miscalculating warp length. To fix these issues, gently pull on each thread to uncover tangles and measure your warp accurately with a tape measure. Keep an eye on your loom setup and use a color wheel for color choices. If you want to guarantee a smoother warping experience and troubleshoot common problems, there’s more you can learn.
Key Takeaways
- Check for Tangled Threads: Regularly inspect threads for snags and gently untangle them to maintain even tension throughout the warping process.
- Accurate Warp Length Measurement: Measure twice and ensure the warp length matches your project size to avoid cutting too short.
- Maintain Consistent Tension: Frequently check and adjust tension as you warp to prevent unevenness and ensure a smooth weaving experience.
- Proper Loom Setup: Clean the loom and familiarize yourself with its settings to avoid setup issues that could affect your project.
- Understand Color Theory: Use a color wheel and experiment with complementary shades to create visually appealing designs in your woven pieces.

Weaving Loom Kit, Wood DIY Weaving Loom Including Warping Peg, Clamp Warping Clamp, Beveled Inkle Weaving Shuttle Kit for Weaving Lovers Beginners Knitted Crafts DIY
- Material: Solid wood for durability and smoothness
- Versatile Use: Suitable for various weaving tools and projects
- Perfect for Embroidery: Ideal for beginners and experienced weavers
As an affiliate, we earn on qualifying purchases.
As an affiliate, we earn on qualifying purchases.
Identifying Common Mistakes in Loom Warping and How to Fix Them
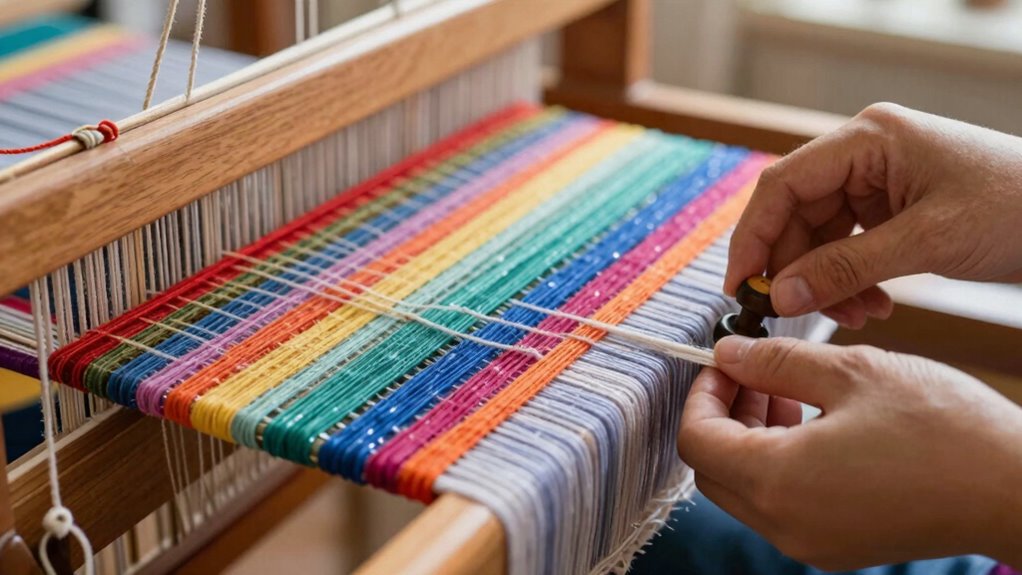
When warping a loom, it’s easy to encounter common mistakes that can derail your project. First, check for tangled threads; this can lead to uneven tension. For mistake identification, pull gently on each thread to verify they’re not snagged. If you find an issue, use correction techniques like carefully untangling the yarn to restore smoothness.
Another common error is miscalculating the warp length. Measure twice and cut once to avoid wasting materials. If you’ve already cut too short, consider adding a few extra rows to balance the design. Finally, inconsistent tension can ruin your weave. Regularly adjust the tension as you work to keep everything aligned. By staying vigilant, you can easily fix these mistakes and achieve a successful warp.
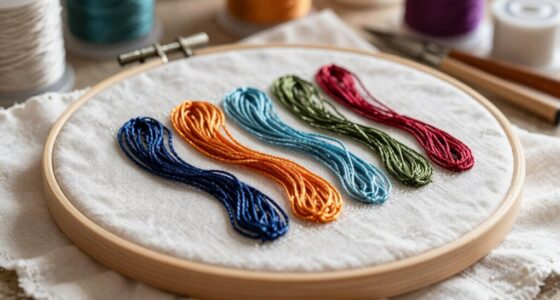
Choosing the Right Yarn and Thread for Your Project
When you’re selecting yarn and thread for your project, knowing the fiber types can make a big difference in texture and durability. Many crafters find that understanding crafting techniques can further enhance their projects. You’ll also want to take into account thread weight to guarantee your final piece has the right feel and structure. Plus, coordinating colors can elevate your design and bring your vision to life. Consider incorporating crochet techniques that align with your chosen materials for optimal results. Additionally, using eco-friendly options can enhance your project’s sustainability while maintaining aesthetic appeal.
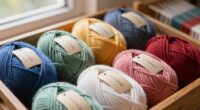
Yarn Fiber Types
Yarn Fiber Types (Choosing the Right Yarn and Thread for Your Project)
Choosing the right yarn fiber for your project can greatly impact both the look and feel of your finished piece. Here’s a quick guide to help you decide:
- Natural Fibers: Cotton and wool offer excellent dye absorption and texture differences, perfect for various projects. Additionally, using handcrafted wooden products can enhance your crafting experience by providing the right tools. Natural fibers can also be blended with soy wax for candle-making to create unique textures in your projects. Furthermore, vinyl cutter settings can help you achieve precise cuts when working with materials that complement natural fibers. Moreover, working with pet-friendly materials can contribute to a safer environment for your furry friends while crafting.
- Synthetic Fibers: Acrylic and nylon are durable and often more affordable, but they may lack the warmth of natural fibers.
- Blending Techniques: Combining fibers can enhance elasticity factors and create unique textures, giving your work a distinct touch.
- Durability Comparisons: Consider how often you’ll use the item; some fibers wear better than others, impacting your project’s longevity. Additionally, using essential oils for toothache relief can provide comfort if crafting causes discomfort during long sessions.
Thread Weight Considerations
Understanding thread weight is essential to achieving the desired outcome in your weaving project. The right thread thickness impacts warp density, affecting the overall look and feel of your piece. Choosing the correct yarn guarantees your project’s success.
Here’s a quick reference table to guide you:
| Thread Weight | Best Use | Warp Density |
|---|---|---|
| Light (e.g., 2-ply) | Delicate fabrics | Low density |
| Medium (e.g., 4-ply) | Everyday items | Moderate density |
| Heavy (e.g., bulky) | Rugs and blankets | High density |
| Specialty (e.g., metallic) | Decorative accents | Variable density |
| Tulle (e.g., sheer) | Lightweight garments | Low density |
Color Coordination Tips
Certainly! Here’s the revised content with the requested changes:
—
How do you guarantee your colors harmonize beautifully in your weaving project? Start by understanding the basics of color theory. Here are some tips to help you choose the right yarn and thread:
- Use a Color Wheel: Identify complementary colors for balance. This can create stunning visual contrasts. Additionally, using acoustic drum shields can help you achieve a balanced sound environment, enhancing your overall creative process. Incorporating ergonomic principles can also ensure that your workspace remains comfortable during long weaving sessions.
- Mix Warm and Cool Tones: Combining warm tones with cool tones can enhance color harmony and depth. Additionally, using aromatherapy techniques can inspire your color selection by evoking different moods and feelings. Engaging your imagination can also lead to innovative and unexpected color combinations.
- Consider Color Symbolism: Each color carries a mood influence; think about what you want your piece to convey.
- Experiment with Contrasting Shades: Don’t shy away from contrasting shades; they can add excitement and interest to your work.
Additionally, embracing evidence-based insights can help you refine your color choices and elevate your weaving projects.
—
Let me know if you need any further adjustments!
How to Prepare Your Loom for Warping
Before you plunge into the warping process, it’s essential to prepare your loom properly to secure a smooth weaving experience. A good loom setup sets the stage for successful warp preparation. Here’s a quick checklist to help you get started:
| Task | Purpose |
|---|---|
| Clean your loom | Guarantees no dust or debris affects your work |
| Check tension | Keeps your warp even and tight |
| Measure warp length | Avoids running out of yarn mid-project |
| Organize tools | Saves time during the warping process |
| Read your loom manual | Familiarizes you with specific settings |
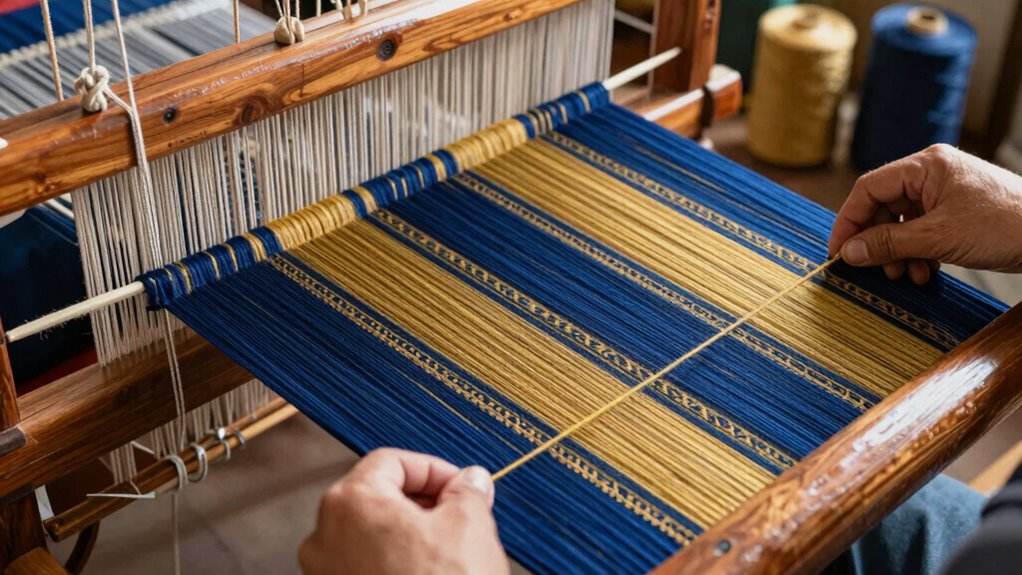
Your Step-by-Step Guide to Loom Warping

Now that your loom is prepared, you’re ready to start warping. Follow these steps to create beautiful warp patterns with your loom accessories:
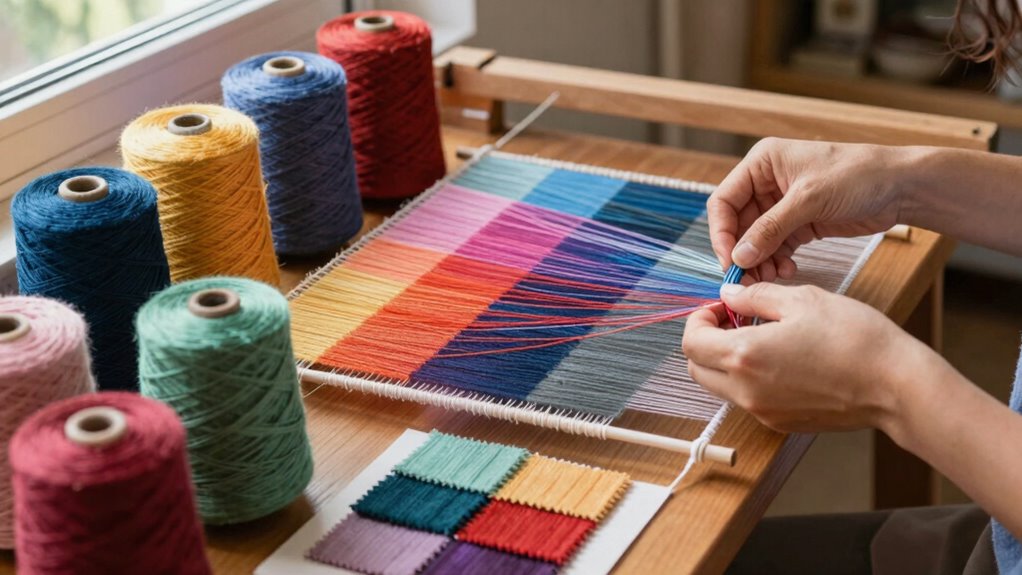
- Select Your Yarn: Choose the right yarn for your project, considering color and texture.
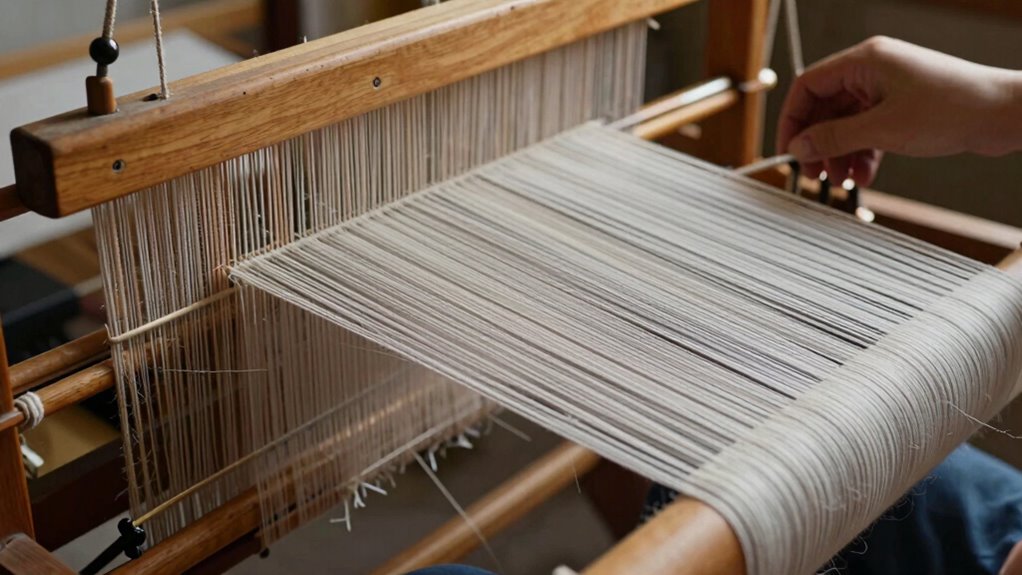
- Measure Your Warp: Calculate the length based on your desired project size, adding extra for mistakes.
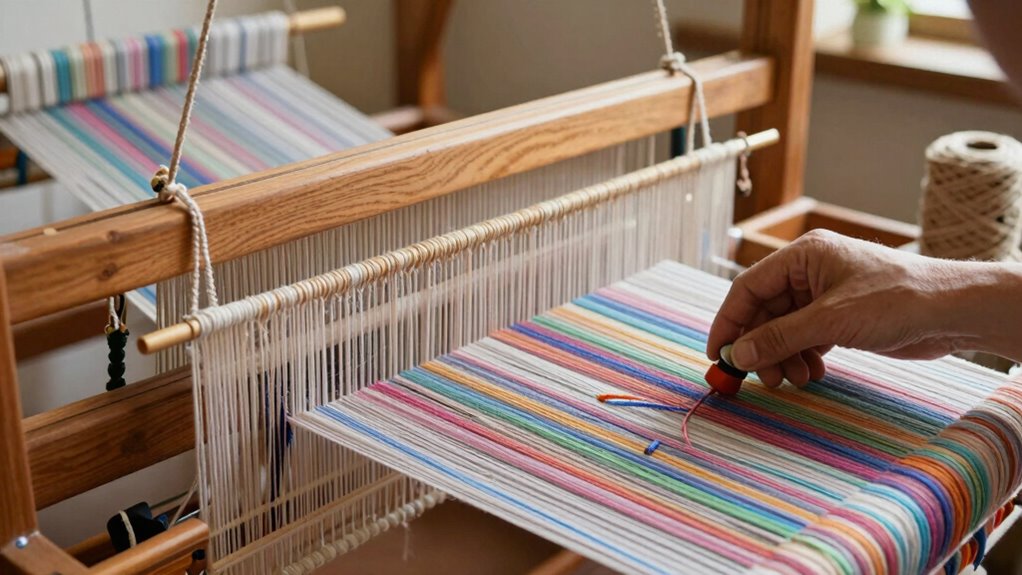
- Attach the Yarn: Secure one end of the yarn to the loom, ensuring it’s tight but not overly stressed.
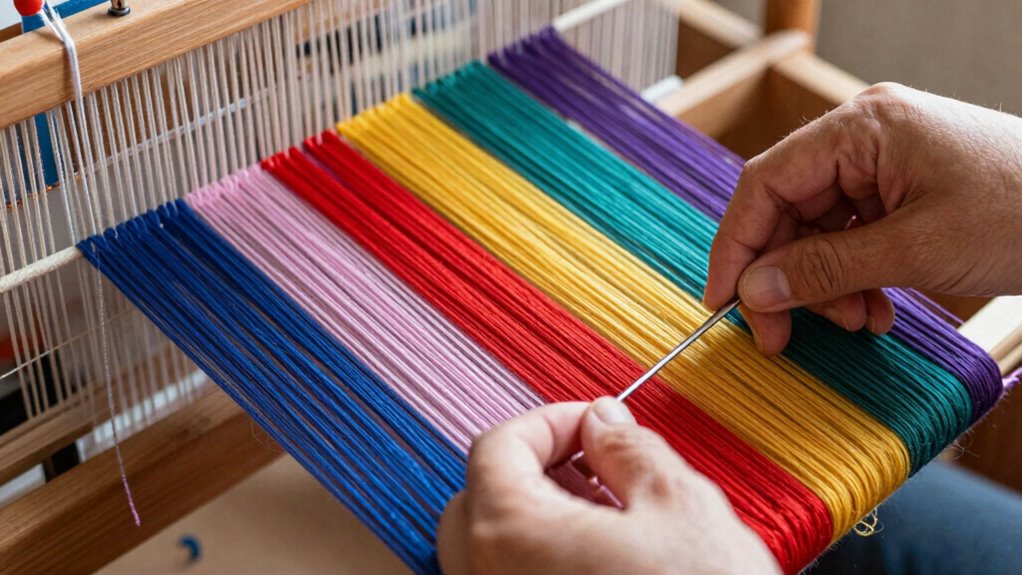
- Thread the Loom: Guide the yarn through the reed and heddles, following your chosen warp patterns carefully.
Strategies for Achieving Consistent Tension During Warping
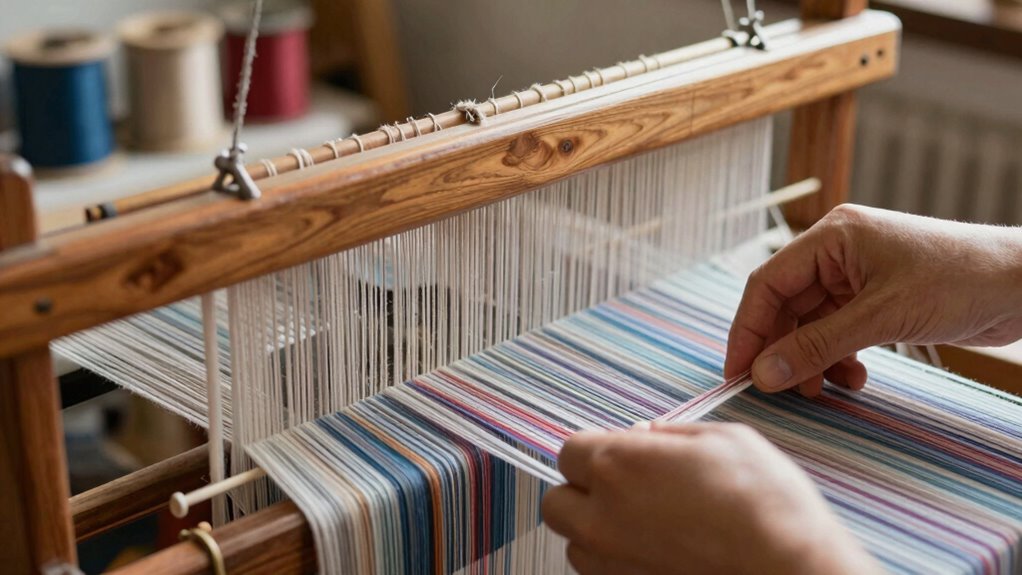
As you warp your loom, maintaining consistent tension is essential for a successful project. Start by securing your warp yarn at one end and gradually pulling it through the heddles and reed. Keep a close eye on warp alignment; misalignment can lead to uneven tension. Use tension adjustments frequently as you progress, pulling each strand firmly but not overly tight. A simple trick is to regularly check the tension by pressing down on the yarn with your fingers—this helps you gauge uniformity. If you notice any inconsistencies, don’t hesitate to make quick adjustments. Remember, consistent tension not only improves your weaving but also prevents potential issues down the line. Happy warping!
How to Troubleshoot Common Loom Warping Problems?
When warping your loom, you might run into some common issues like uneven tension or thread snapping. Don’t worry; these problems are manageable with a few troubleshooting tips. Let’s explore how to resolve these frustrations and get back to weaving.
Uneven Tension Issues
Uneven tension can disrupt your weaving experience, but identifying and fixing the issue doesn’t have to be intimidating. Start by checking your warp alignment; misaligned threads can lead to tension problems. Here are four quick tips to troubleshoot uneven tension:
- Inspect Your Threads: Look for any knots or tangles that could be causing unevenness.
- Make Tension Adjustments: Evenly distribute the tension across all threads, adjusting them as needed.
- Use Weights: Adding weights to the warp can help maintain consistent tension while you work.
- Recheck Your Loom Setup: Verify your loom is properly set up, as any misconfigurations can lead to tension issues.
Thread Snapping Solutions
Thread snapping can be frustrating, especially when you’re enthusiastic to get weaving. To tackle this issue, start by choosing high-quality thread that matches your project’s demands. Incorporate thread durability tips by checking for any wear or tangles before you begin.
If you notice frequent snapping, adjust your tension; too much strain can weaken the fibers. Use snapping prevention techniques like applying a bit of wax to the thread for added strength. Also, consider using a thread conditioner to reduce friction and enhance smoothness as you warp your loom.
Finally, make certain your loom is properly set up, as misalignment can lead to unnecessary stress on the threads. With these strategies, you’ll keep your threads intact and your weaving on track!
Finishing and Securing Your Warp: What You Need to Know
Finishing and Securing Your Warp: What You Need to Know
Securing your warp is essential for a successful weaving project. If you skip this step, you risk tension issues and uneven patterns. Here are some effective securing methods to take into account:
- Clamps: Use clamps to hold your warp in place while you work, ensuring it stays taut. This technique is similar to pressure washing surfaces to remove debris, as both require consistent pressure for optimal results. Regularly checking and maintaining air purifier filters can also help ensure a smooth process as you work in a cleaner environment. Additionally, ensuring your workspace has adequate color accuracy can improve your overall project quality. For a well-organized setup, consider utilizing outdoor-kitchen essentials that offer both functionality and convenience.
- Ties: Tie off your warp threads at regular intervals. This helps maintain even tension and prevents slipping.
- Weights: Attach weights to the ends of your warp. This is a great way to keep everything pulled tight without adding too much stress.
- Finishing Techniques: Once your project’s complete, employ finishing techniques like fringe or hem to secure loose ends and give your work a polished look.
Incorporating simple systems for securing your warp will not only enhance your project’s quality but also make the process more enjoyable. Follow these tips, and you’ll set yourself up for weaving success!
Frequently Asked Questions
How Do I Select the Best Loom for My Project?
To select the best loom for your project, consider the loom types that fit your project requirements. Think about yarn compatibility with your chosen techniques and the scale of your project. If you’re weaving small items, a rigid heddle loom might suffice, while larger projects may need a floor loom. Don’t forget to factor in budget considerations—finding a loom that meets your needs without breaking the bank is essential.
What Are the Differences Between Warp and Weft Threads?
Think of warp threads as the sturdy foundation of a house, holding everything together. They establish the warp tension, creating a framework for your design. Weft threads, on the other hand, are like the colorful paint that brings your vision to life, forming intricate weft patterns as they weave through the warp. Together, they create a harmonious piece, where each element plays a vital role in your weaving journey. Embrace their differences!
Can I Use Recycled Yarn for Warping?
Yes, you can use recycled yarn for warping, and it has some great benefits! Using recycled yarn can save you money and reduce waste. Just make sure to prepare the yarn properly—check for knots or inconsistencies, and give it a good wash to remove any dirt or oils. Additionally, you might want to wind it into a clean ball to avoid tangling during the warping process. Happy weaving!
How Often Should I Clean My Loom?
Think of your loom as a garden; it flourishes with care. You should clean your loom regularly, ideally after every project or at least monthly. This keeps it running smoothly and extends its lifespan. Use soft brushes and cloths as your cleaning supplies, and avoid harsh chemicals. For loom maintenance tips, focus on dusting, oiling moving parts, and checking for any wear. A well-maintained loom guarantees your creative journey stays vibrant and productive!
What’s the Best Way to Store My Warping Supplies?
To store your warping supplies, prioritize warp organization and supply accessibility. Use clear bins or labeled boxes to keep everything neat and easy to find. Hang your yarn on a pegboard or a dedicated shelf to prevent tangling. Keep essential tools like scissors and measuring tapes in a small, easily reachable container. By setting up a dedicated storage area, you’ll streamline your workflow and make your warping process much smoother.
Conclusion
Now that you’re equipped with tips to avoid common mistakes in loom warping, you can confidently tackle your next project. Remember, every weaver stumbles at times; it’s how you bounce back that counts. So, as you prepare your loom and yarn, think of it like baking a cake—each ingredient matters, and the right mix leads to a beautiful outcome. Embrace the process, troubleshoot with ease, and soon, you’ll be weaving with finesse!