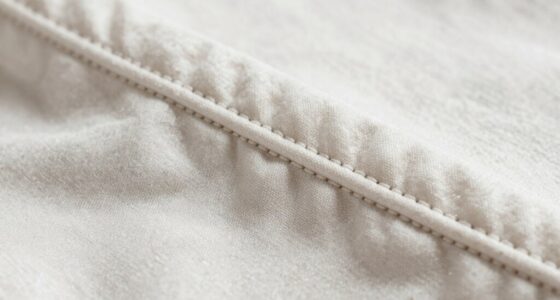

Screen printing is a fun way to make cool designs on shirts and other stuff! First, you need a screen, a squeegee, and some ink. You push the ink through a mesh screen to transfer your design. Don’t forget to pick the right ink—some are brighter or easier to clean. If your prints don’t turn out right, no worries! You can fix mistakes with a little practice. Stick around to discover more tips and tricks!
Key Takeaways
- Screen printing uses a mesh screen to push ink onto fabric, creating designs by blocking certain areas with a stencil.
- Essential tools include a screen frame, squeegee, ink, and a washout station for cleaning screens.
- Choose the right ink type: plastisol for vibrant colors, water-based for eco-friendliness, and discharge for a vintage look.
- Use a squeegee with a comfortable grip and consistent pressure for even ink application across the design.
- Practice and troubleshoot common issues, like cleaning screens and checking ink thickness, to achieve better print quality.

Caydo Screen Printing Frame with Screen Printing Squeegee for T-Shirts, Backpacks, Handbags DIY Printing, 8 x 10 Inch Wood Silk Screen with 110 White Mesh
Package Includes: 1 wooden screen printing frame, 1 wooden screen printing squeegee, and 1 plastic scraper. You can…
As an affiliate, we earn on qualifying purchases.
As an affiliate, we earn on qualifying purchases.
Understanding Screen Printing Basics: What You Need to Know
Screen printing is a vibrant and versatile technique that brings your designs to life on various surfaces. You might be surprised to learn that its roots trace back to ancient China, evolving through the centuries into what is understood today. Understanding screen printing history helps you appreciate its significance in art and commerce.
Popular techniques include the traditional method, where ink is pushed through a mesh screen, and newer approaches like digital or direct-to-garment printing. Each method has its pros and cons, depending on your project needs. Familiarizing yourself with these basics will set the stage for your own creative endeavors, whether you’re printing shirts, posters, or any other medium. Embrace this art form, and let your imagination flow!

Caydo 2 Pieces 2 Sizes Screen Printing Squeegee, 75 Durometer Wooden Ink Scraper for Screen Printing, 9.4 and 5.9 inch
Size(approx): The large one: 9.4 inch (24 cm) in length, 4.3 inches(11 cm) in width; the small one:…
As an affiliate, we earn on qualifying purchases.
As an affiliate, we earn on qualifying purchases.
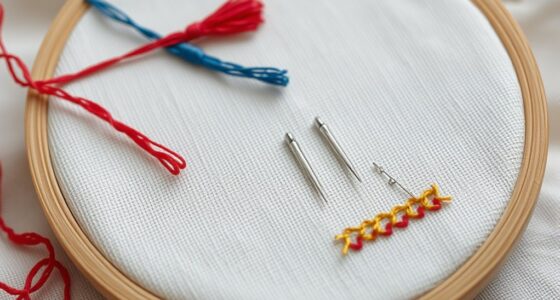
Gathering Your Materials for Screen Printing
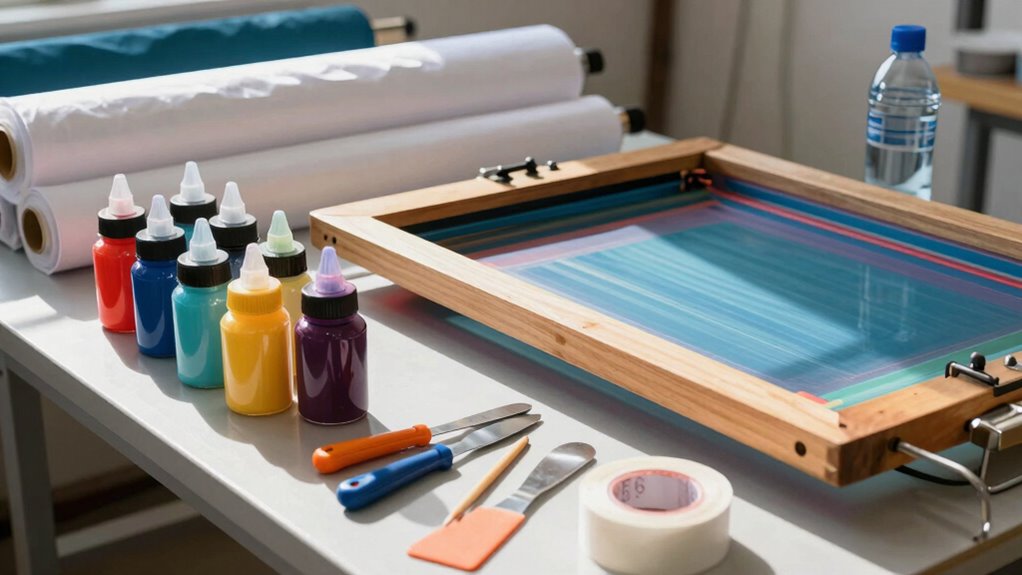
Before you start screen printing, you need to gather some essential tools and choose the right ink. Having the right materials makes all the difference in achieving the best results. Let’s look at what you’ll need to get started.
Essential Tools Needed
To kick off your screen printing journey, you’ll need a few essential tools to guarantee everything runs smoothly. First, grab a screen printing frame, which holds the mesh that transfers the design onto your material. Next, you’ll need a squeegee to push ink through the mesh. Don’t forget a sturdy work surface to keep everything steady while printing.
You’ll also want to stock up on emulsion and a light source to create your stencil. A washout station is essential for rinsing out your screens too. Finally, have some blank shirts or other materials ready to print on. With these screen printing tools in hand, you’re all set to start creating awesome designs!
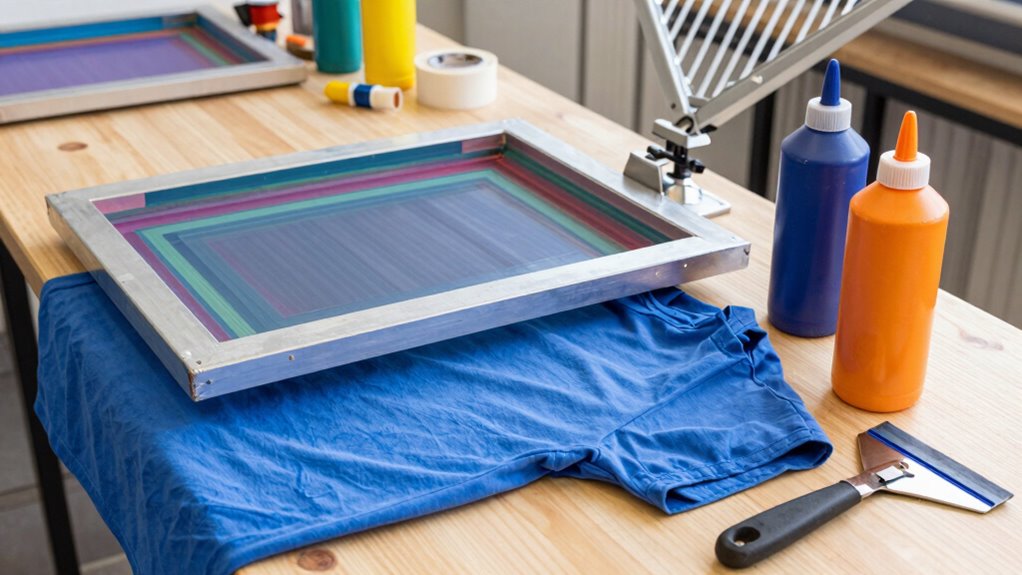
Choosing The Right Ink
With your tools ready, the next step is selecting the right ink for your project. Choosing the right ink types can make a big difference in the final look of your screen print. Here’s what to evaluate:
- Plastisol Ink: Great for vibrant colors and easy to work with.
- Water-based Ink: Eco-friendly and soft on fabric, but requires more skill.
- Discharge Ink: Perfect for achieving a vintage look, but it can be tricky.
- Color Mixing: Experiment with blending inks to create unique shades.
Make sure to test your ink on a sample fabric before diving in. The right ink will help your designs pop and last longer!

Speedball Fabric Screen Printing Ink Starter Set, 6-Colors, 4 Fl Oz for T-Shirt and Silkscreen Printmaking
VIBRANT EASY MIXING COLORS – Includes 6 must-have colors for your next print project. Use as-is or mix…
As an affiliate, we earn on qualifying purchases.
As an affiliate, we earn on qualifying purchases.
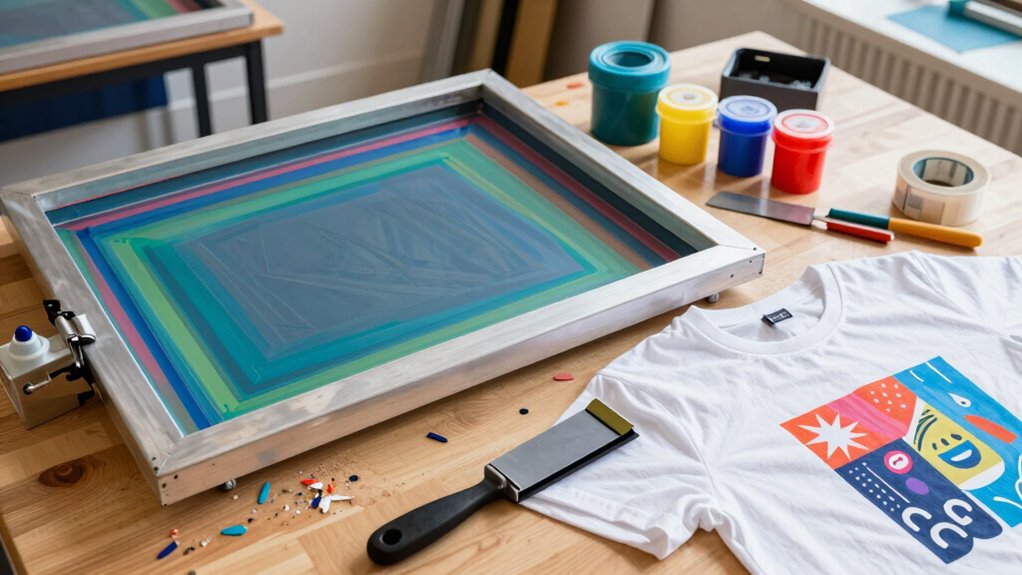
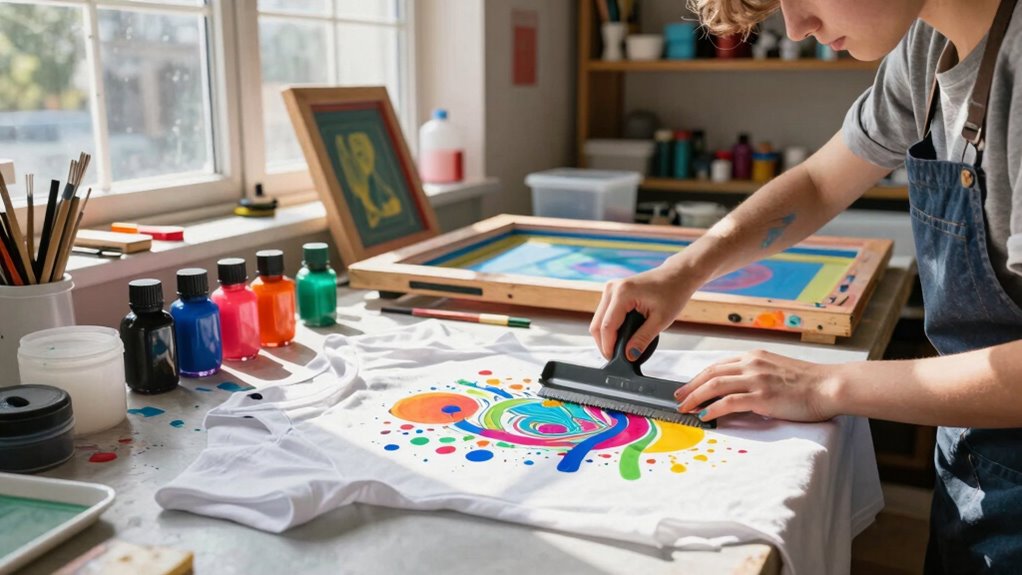
Step-By-Step Setup for Your Screen Printing Project
Setting up your screen printing project involves several essential steps that can make or break your final product. First, choose your fabric carefully; it affects the final look. Next, focus on your screen setup, guaranteeing it’s clean and ready. For print preparation, create your design and pay attention to design placement on the screen. Use stencil application techniques to transfer your design accurately. When it comes to color layering, plan how each color will interact with the others. Don’t forget alignment tips to keep everything straight! Finally, implement effective drying techniques after printing to confirm your work lasts. Follow these steps, and you’re well on your way to a successful screen printing project!

Screen Print Direct® Screen Printing Washout Booth – Reclaim Screen Printing Screens from Screen Printing Emulsion, Plastisol and Water Based Inks – Silk Screen Cleaner, Screen Printing Supplies
Reclaim with Style – Looking for a new Screen Printing Washout Booth to reclaim your screen printing screens?…
As an affiliate, we earn on qualifying purchases.
As an affiliate, we earn on qualifying purchases.
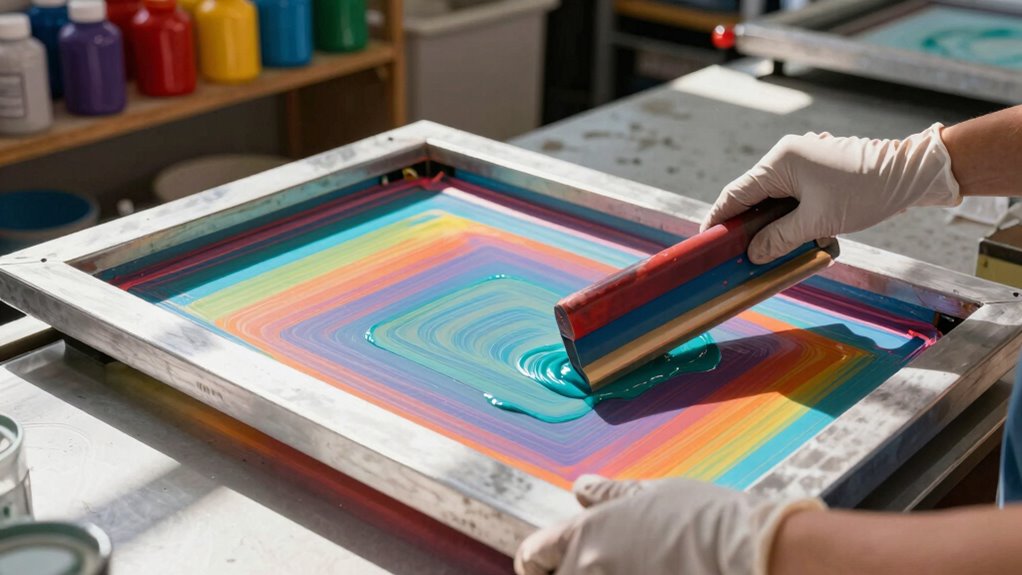
Using the Squeegee for Great Prints
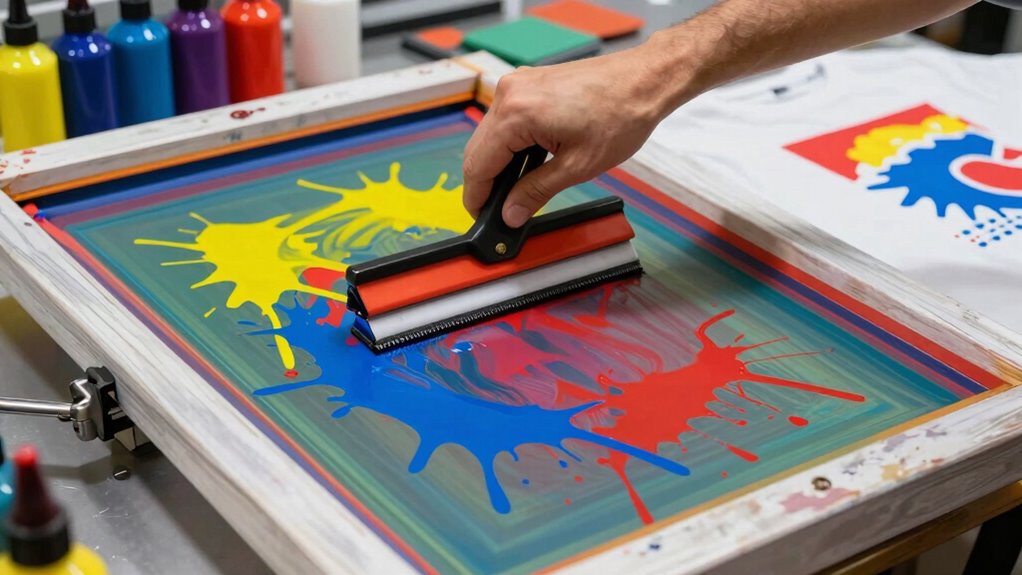
When it comes to screen printing, your squeegee plays a vital role in achieving great prints. Choosing the right squeegee and mastering your technique can make all the difference in the final outcome. Let’s explore how to get the most from this essential tool.
Choosing The Right Squeegee
Choosing the right squeegee is essential for achieving great prints in screen printing. Here’s what to take into account:
- Squeegee Types: Decide between standard or dual-durometer squeegees for different effects.
- Squeegee Materials: Look for rubber or polyurethane, which offer durability and flexibility.
- Squeegee Sizes: Choose a size that matches your design; wider squeegees cover more area.
- Squeegee Grip: Make sure your grip feels comfortable to maintain control during printing.
Don’t forget about squeegee pressure and angles; they impact the ink flow. Regular squeegee maintenance keeps it in top shape, guaranteeing consistent results. With the right squeegee, you’re on your way to creating amazing prints!
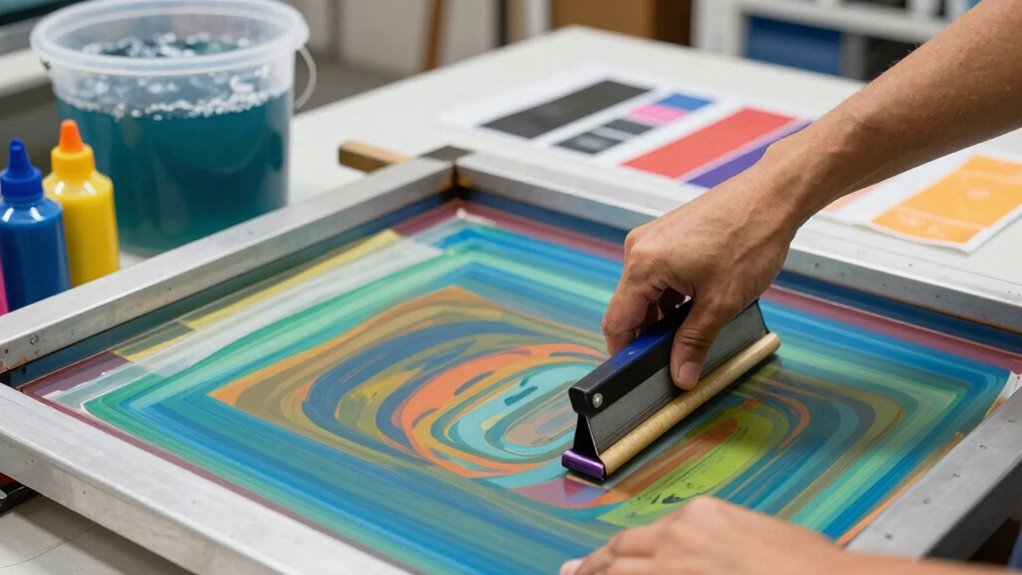
Mastering Squeegee Technique
Mastering squeegee technique is essential for achieving high-quality prints, as it directly affects ink distribution and overall design clarity. Start by choosing the right squeegee materials and types for your project. When printing, maintain consistent squeegee pressure to guarantee even ink flow. Experiment with squeegee angle; a 45-degree angle often works best for smooth application. Adjust your squeegee speed—too fast can lead to incomplete prints, while too slow may cause smudging. Use various squeegee techniques, like pushing or pulling, to find what suits you best. Regular squeegee maintenance keeps your tools in top shape, enhancing control and longevity. Practice makes perfect, so keep honing your skills for those crisp, vibrant prints you desire!
Troubleshooting Your Screen Printing Mistakes
Although screen printing can be a rewarding craft, mistakes are part of the learning curve. Here are some common mistakes and troubleshooting tips to help you improve your print quality:
- Screen Preparation: Verify your screen is clean and properly coated. A poorly prepared screen can lead to ink inconsistencies.
- Ink Consistency: Check your ink’s thickness. If it’s too thick or too thin, it won’t transfer well.
- Design Adjustments: If your design isn’t printing as expected, tweak it. Sometimes, slight changes can make a big difference.
- Drying Issues: Make certain your prints have enough time to dry. Rushing this step can ruin your project.
Creative Ideas for Your Screen Printing Projects
When you’re looking to elevate your screen printing projects, exploring creative ideas can make all the difference. Start by seeking pattern inspiration from nature or geometric designs. Think about design themes like retro, minimalism, or bold graphics that resonate with your audience. Experiment with vibrant color combinations to make your prints pop, and don’t forget seasonal prints for holidays or events. Mixing different graphic styles can create something truly unique, especially when you consider color accuracy to ensure your prints look their best. Incorporating quality materials into your projects can also enhance the overall finish. Additionally, understanding print durability can help you choose the right inks and fabrics for long-lasting results. Ergonomic workspaces can significantly impact your comfort and creativity while working on your designs. Typography ideas can add a personal touch—play with fonts to convey your message. Consider using unique substrates like canvas or wood for added texture. Finally, engage in DIY projects that showcase your individuality while honing your skills. Incorporating clay bead bracelets can add an extra creative touch to your designs. Let your creativity flow!
Frequently Asked Questions
Can I Screen Print on Fabric Other Than T-Shirts?
Yes, you can screen print on fabric types other than t-shirts! Think about all those creative projects you can tackle—like tote bags, hoodies, or even pillows. Just make sure the fabric is suitable for screen printing; cotton and polyester work great. Experimenting with different materials allows you to express your style in unique ways. So grab your supplies, and let your imagination run wild with screen printing!
How Do I Clean My Screen After Printing?
Cleaning your screen after printing’s like washing a painter’s brush; you need to do it right. Start by using screen cleaning techniques like a high-pressure water spray to blast off excess ink. For stubborn spots, try ink removal tips like using a specialized cleaner or a solvent. Make certain to rinse thoroughly and dry your screen before storing it. Keeping it clean guarantees your next print’s as vibrant as the first!
What Types of Ink Are Best for Beginners?
For beginners, water-based and plastisol inks are your best bets. Water-based inks are easy to clean up and produce soft prints, while plastisol inks are durable and work well on various fabrics. When starting out, remember these beginner tips: always test your inks on scrap material, and don’t hesitate to mix colors for unique effects. Experimenting with different ink types will help you discover what you enjoy most in your screen printing journey!
How Long Does the Screen Printing Process Take?
The screen printing process can take anywhere from a few hours to a couple of days, depending on your project’s complexity. Notably, drying times can vary greatly; some inks dry in just 30 minutes, while others may take several hours. For smoother results, consider these screen preparation tips: make certain your screens are clean and properly coated. With practice, you’ll streamline the process and enjoy quicker turnarounds on your designs!
Can I Reuse Screens for Different Designs?
Yes, you can reuse screens for different designs! After you finish a print run, clean the screen thoroughly to remove any ink and emulsion. This screen preparation lets you transfer a new design later. Just keep in mind that the process might take some extra time, as you’ll need to reapply emulsion and expose the screen again for the new design. With proper care, your screens can serve you multiple times!
Conclusion
Now that you’ve got the basics of screen printing down, you’re ready to release your creativity! Did you know that over 20 billion printed T-shirts are made each year? That’s a lot of opportunities for you to get involved! Whether it’s for fun or a side hustle, screen printing lets you turn your ideas into reality. So grab your materials, experiment, and enjoy the process of making something uniquely yours!