Creases in your tumbler wraps often happen due to material compatibility issues or misalignment. If your wraps aren’t designed for your tumbler’s material, they won’t adhere well. Misalignment can lead to uneven pressure, creating those frustrating wrinkles. It’s also essential to adjust your pressure settings and guarantee consistent heat distribution. Check your temperature calibrations regularly to improve your results. Want to avoid these pitfalls? There’s more to learn that can help you achieve flawless transfers.
Key Takeaways
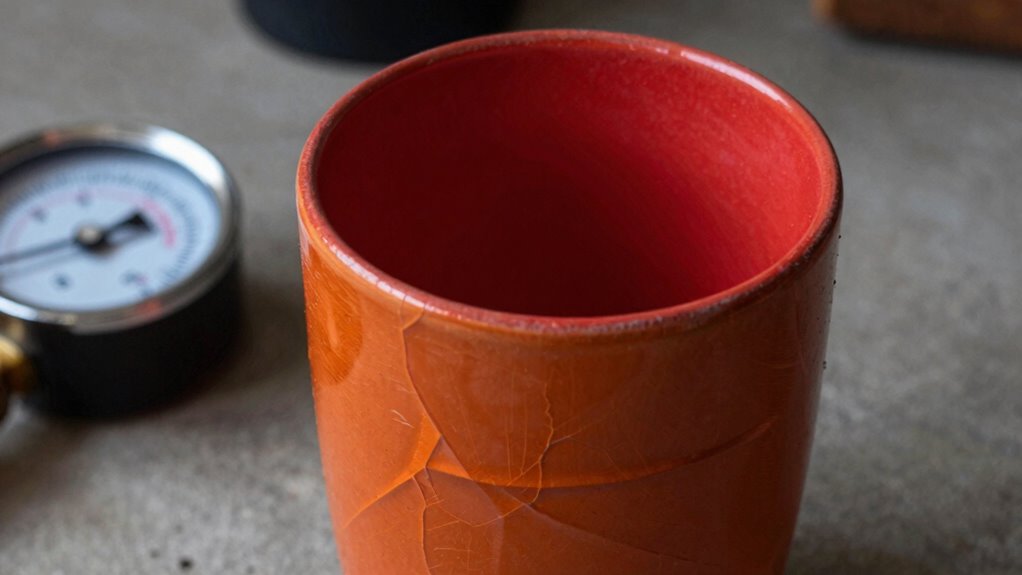
- Material compatibility issues can prevent proper adhesion, leading to creases in tumbler wraps.
- Misalignment of wraps during pressing causes uneven pressure, resulting in creased areas.
- Inadequate securing of wraps can lead to shifting, which contributes to wrinkling.
- Using high-quality, stretchable materials enhances adhesion and minimizes creasing.
- Regular calibration of temperature and pressure settings ensures consistent pressing results.
tumbler wrap heat press
As an affiliate, we earn on qualifying purchases.
As an affiliate, we earn on qualifying purchases.
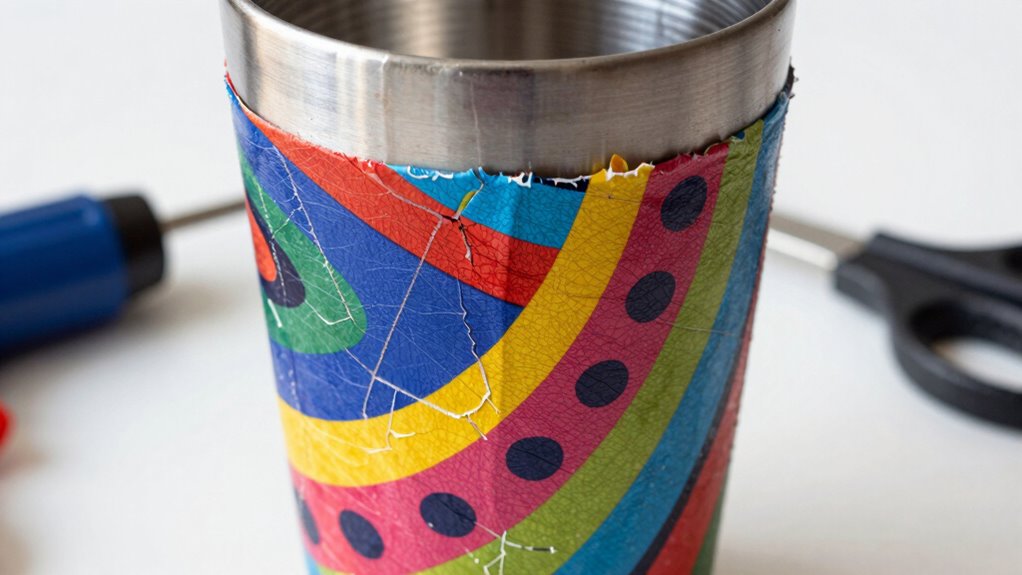
Common Causes of Tumbler Press Creases and How to Fix Them
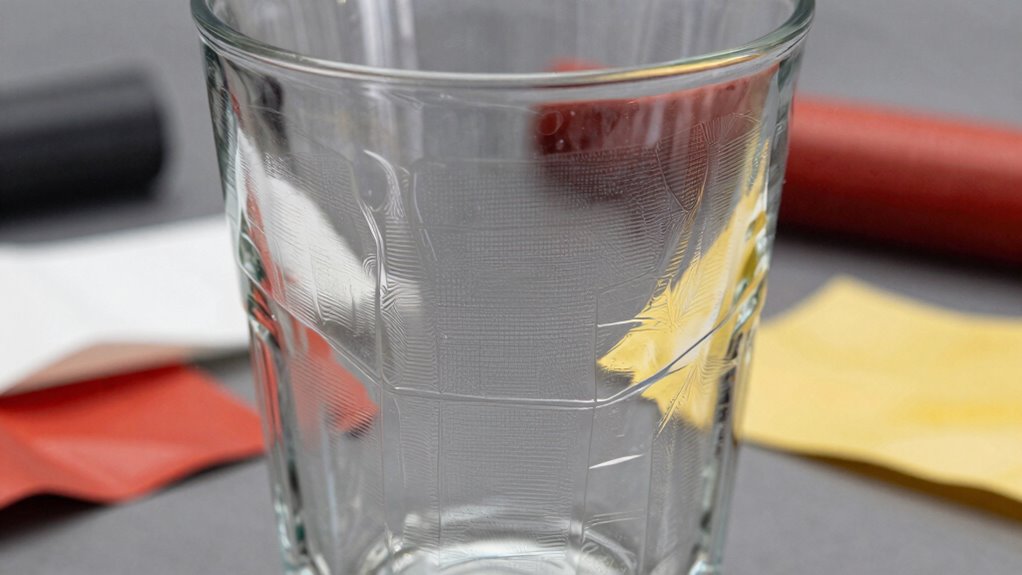
When working with a tumbler press, creases can be a frustrating issue. One common cause is material compatibility. If your wrap isn’t designed for the tumbler type you’re using, it might not adhere properly, leading to unsightly creases. Always check that your materials are compatible with your press and the heating elements.
Another issue is wrap alignment. If your wrap isn’t perfectly aligned when you start pressing, it can shift during the process, causing uneven pressure and creases. To fix this, make sure you secure the wrap tightly and check for proper alignment before pressing. By addressing these two key factors—material compatibility and wrap alignment—you can greatly reduce the chances of creases and improve your overall results.
tumbler heat transfer wraps
As an affiliate, we earn on qualifying purchases.
As an affiliate, we earn on qualifying purchases.
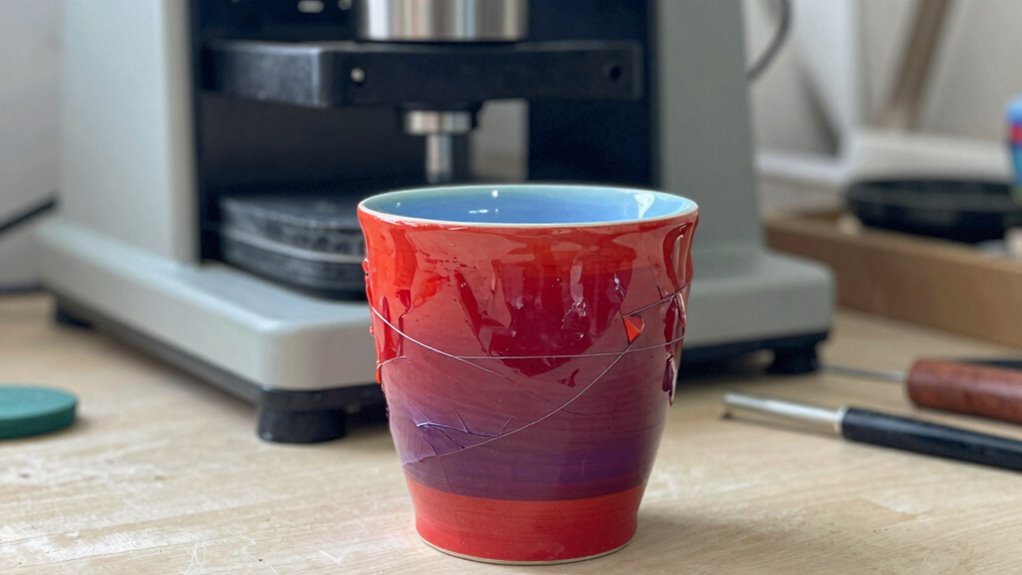
Troubleshooting Tumbler Press Failures
Even the best tumbler presses can encounter failures, and knowing how to troubleshoot them can save you time and frustration. Start by checking these common issues:
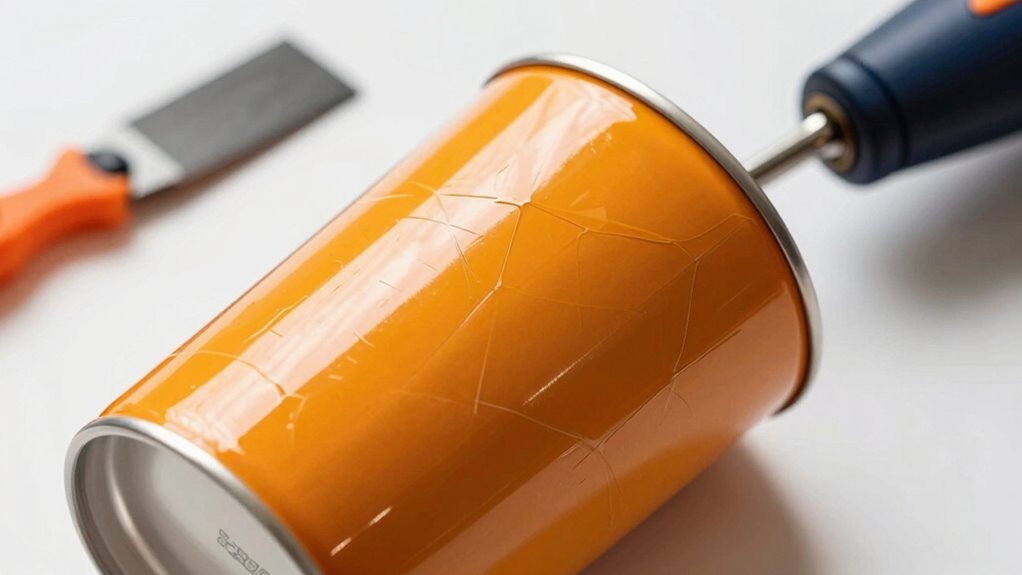
- Material Compatibility: Confirm your wraps are compatible with the tumbler material. Using the wrong type can lead to poor adhesion and creasing.
- Wrap Alignment: Double-check your wrap alignment. Misalignment can cause uneven pressure, leading to unwanted creases during pressing.
- Temperature Settings: Verify that your temperature settings are appropriate for the materials you’re using. Incorrect temperatures can affect the transfer quality.
tumbler heat press calibration tools
As an affiliate, we earn on qualifying purchases.
As an affiliate, we earn on qualifying purchases.
Identifying and Solving Heat Distribution Issues in Tumbler Pressing
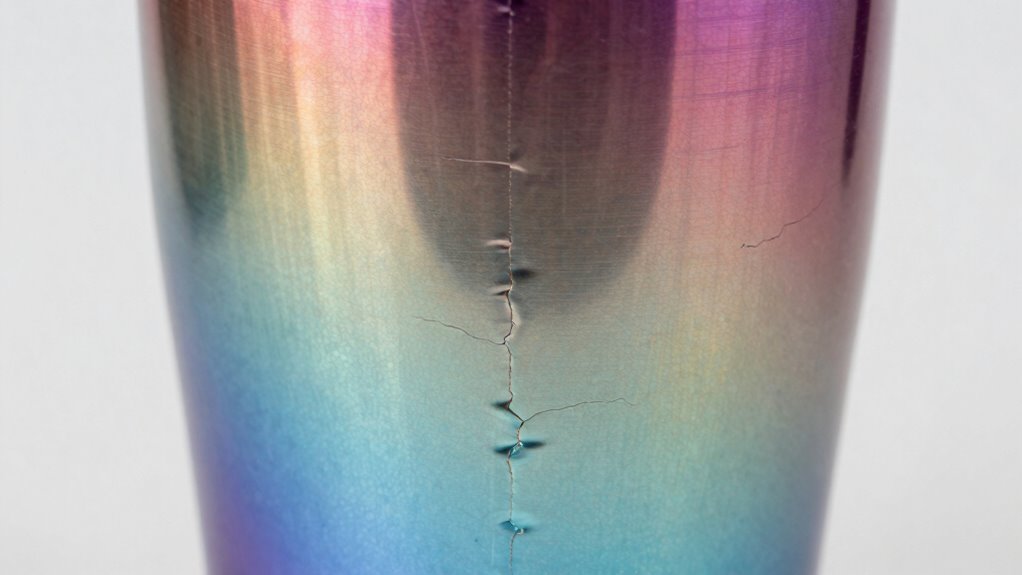
Identifying and solving heat distribution issues in tumbler pressing can greatly impact your final product. Start by using heat mapping to pinpoint areas that aren’t heating evenly. This technique helps you visualize temperature variations across your tumbler press, allowing you to see where adjustments are necessary. Next, confirm your temperature calibration is accurate. If your press isn’t set to the right temperature, you’ll likely end up with uneven results, leading to creases and other imperfections. Regularly check your calibration settings, and don’t hesitate to make adjustments based on the heat mapping results. By addressing these issues, you’ll improve the consistency and quality of your wraps, minimizing the chances of frustrating fails. Additionally, consider investing in pet-friendly vacuums to keep your workspace clean and free from debris that could affect your pressing process.
heat mapping thermometer for heat press
As an affiliate, we earn on qualifying purchases.
As an affiliate, we earn on qualifying purchases.
Adjust Your Pressure Settings for Better Results
Adjusting your pressure settings can greatly enhance your tumbler pressing results. Proper pressure calibration guarantees even heat distribution, preventing those frustrating creases. Here are a few tips to get you started:
- Test Different Pressures: Experiment with various pressure settings to find the ideal balance for your specific tumbler.
- Monitor Heat Settings: Adjust your heat settings alongside pressure to achieve the best combination for your materials.
- Check Consistency: Regularly check your settings to maintain consistent results and avoid the pitfalls of uneven pressing.
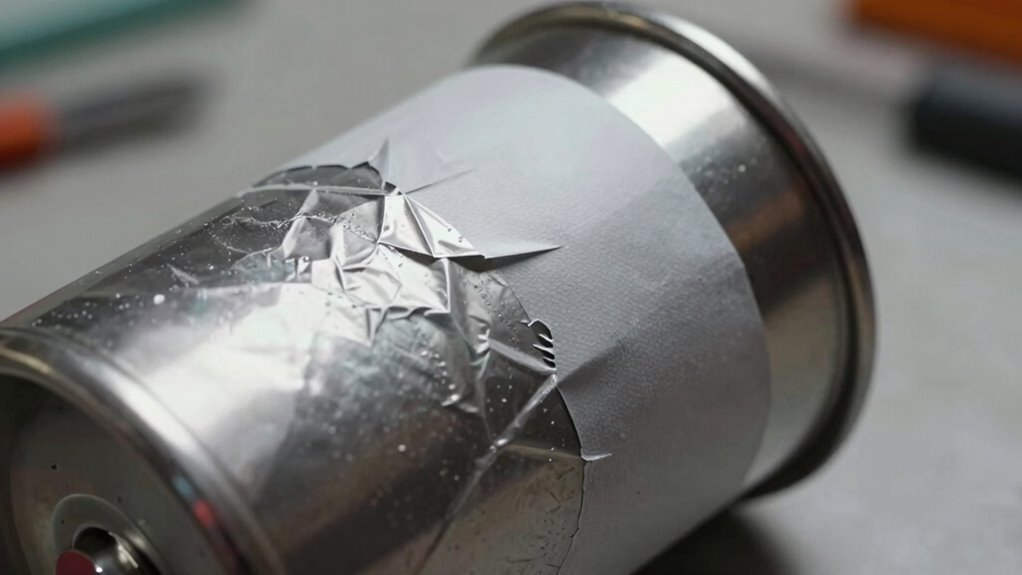
Choosing the Right Materials to Avoid Creases
Choosing the right materials is essential for preventing creases during tumbler pressing. Your material selection can greatly impact the final result. Opt for high-quality wraps that are designed for tumbler use; this guarantees better wrap compatibility with your tumblers. Look for materials that have a bit of stretch, as they can conform better to the surface, reducing the chance of creasing. Avoid materials that are too rigid, as they may not adhere properly and could lead to unsightly wrinkles. Additionally, consider the thickness of your wraps; thinner materials can often result in smoother applications. By prioritizing the right materials, you’ll enhance your pressing results and enjoy a cleaner, more professional finish.
Proper Techniques for Applying Your Wraps
While applying your wraps, it’s important to guarantee even pressure throughout the process. This ensures a smooth finish and helps avoid creases. Here are some wrap application techniques to keep in mind:
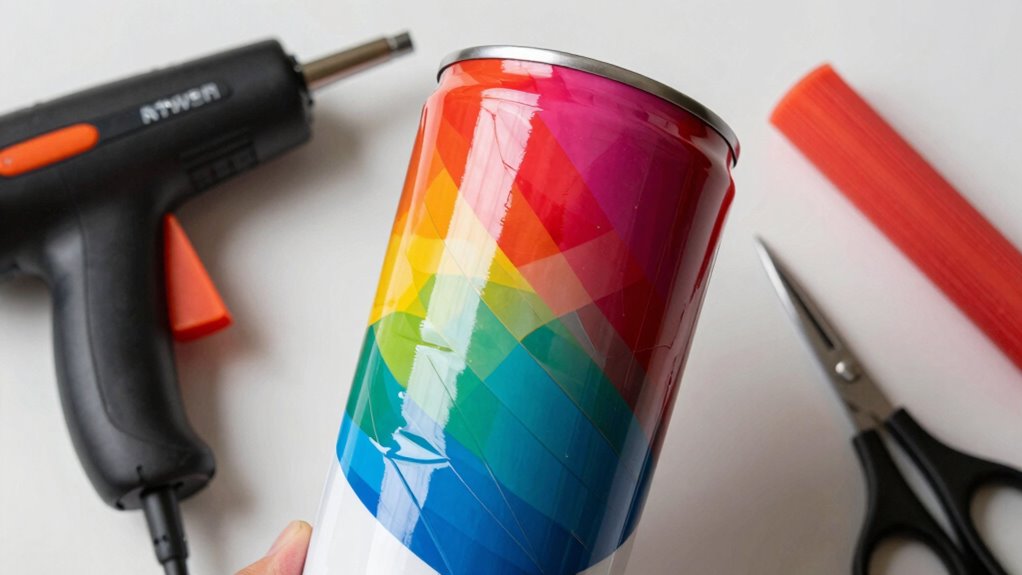
- Start from the center: Apply the wrap from the middle and work your way outwards to minimize wrap tension.
- Use a heat gun: Gently heating the wrap can make it more pliable, allowing for a better fit.
- Smooth as you go: Use a squeegee or your fingers to press out air bubbles, ensuring the wrap adheres properly.
Best Practices for Flawless Tumbler Transfers
To achieve flawless tumbler transfers, it’s vital to focus on the details that make a difference. First, choose high-quality wrap materials that adhere well and resist creasing. Selecting the right transfer methods is equally important; whether you’re using a heat press or a tumbler oven, make certain you follow the specific temperature and timing guidelines for your materials. Prepping your tumbler surface is essential—clean it thoroughly to avoid any debris that could affect adhesion. When applying your wrap, verify it’s snug and smooth, eliminating any air bubbles. Additionally, understanding filtration/suction basics can help improve your overall cleaning process. Incorporating effective stain removal techniques will also ensure the surface is pristine before application. Maintaining good indoor air quality is crucial, as contaminants can settle on surfaces and interfere with adhesion. Furthermore, using a humidity control system can help prevent moisture build-up that may affect the transfer process. Moreover, ensuring home safety practices are in place can further protect your workspace from potential hazards. Finally, allow sufficient cooling time after pressing to set the design properly. By paying attention to these practices, you’ll enhance your chances of achieving a flawless result every time.
Frequently Asked Questions
What Types of Tumblers Are Best for Pressing?
For pressing, stainless steel tumblers are your best bet. They offer durability and excellent heat retention, ensuring your designs adhere well. Look for tumblers with a variety of color options to enhance your projects. Popular choices include 20 oz and 30 oz sizes, as they provide ample surface area for customization. When you choose high-quality stainless steel, you’ll enjoy better results and long-lasting designs that stand out!
Can I Use Regular Wraps for Tumbler Pressing?
You can’t use regular wraps for tumbler pressing; they don’t hold up under high heat and pressure. Instead, opt for specialized tumbler wrap materials designed to withstand these conditions. These wraps guarantee even coverage and help prevent creases. When you use the right pressing techniques, like maintaining consistent pressure and temperature, you’ll achieve a smooth, professional finish. Investing in quality wraps will make all the difference in your tumbler projects!
How Do I Clean My Tumbler Press?
To clean your tumbler press, start with basic tumbler maintenance. Unplug the press and let it cool down. Use a soft cloth and mild detergent to wipe down the exterior. For stubborn residue, try a gentle scrub brush. Don’t forget to clean the heating elements carefully, ensuring no debris remains. Regular cleaning techniques will keep your press in top shape, enhancing its performance and extending its lifespan. Always follow the manufacturer’s guidelines for best results.
Is It Safe to Reuse Wraps for Multiple Projects?
They say, “A stitch in time saves nine.” When it comes to reusing wraps, you can do so if they maintain good wrap durability. Just inspect them for wear and tear; damaged wraps can lead to project inefficiency. If they’re still in decent shape, feel free to use them for multiple projects. Just remember, the quality of your results depends on the condition of your wraps, so check carefully!
What Is the Average Lifespan of a Tumbler Press?
The average lifespan of a tumbler press is about 3 to 5 years, depending on how well you maintain it. Regular maintenance is key; keep it clean and check for any worn parts. Using proper pressing techniques also guarantees you don’t wear it out too quickly. If you treat your tumbler press well, you’ll maximize its lifespan and keep producing great results for your projects.
Conclusion
To wrap it up, avoiding creases in your tumbler press is all about attention to detail. By fine-tuning your pressure settings, checking heat distribution, and using the right materials, you can achieve flawless transfers that’ll impress everyone. Remember, the difference between a perfect tumbler and a creased disaster can be as thin as a hair! So, keep these tips in mind, and you’ll be on your way to tumbler success in no time!