
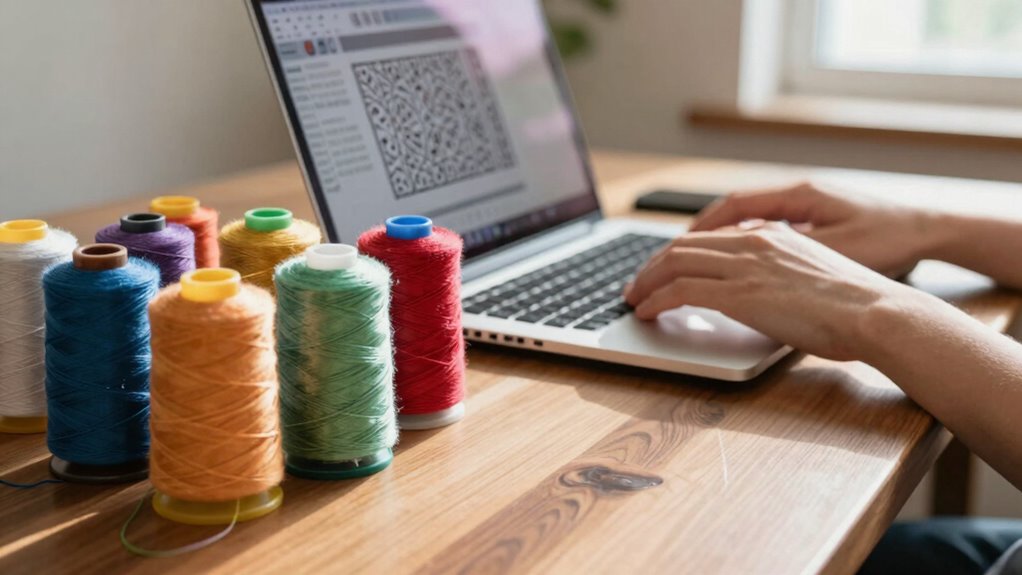
Before you hit stitch, grasp the digitizing process and the importance of design principles. Get familiar with user-friendly software and invest in quality tools like an embroidery machine and stabilizers. Understand key stitch types, file formats, and layout choices that align with your project’s purpose. Avoid common mistakes like overlooking stitch density and neglecting testing. By focusing on these fundamentals, you’ll set yourself up for success. There’s much more to explore to refine your skills.
Key Takeaways
- Understand the digitizing process and design principles to create effective digital embroidery designs.
- Choose user-friendly software and familiarize yourself with basic stitch techniques for better outcomes.
- Select the appropriate file format (like .DST) based on your design’s purpose and audience needs.
- Avoid common mistakes, such as ignoring stitch density and failing to test designs before finalizing.
- Engage with resources and communities for support, tutorials, and feedback to enhance your skills.

Embrilliance StitchArtist Level 1, Digitizing Embroidery Software for Mac & PC
- Ideal for Hobby Embroiderers: Create stitches easily without complex tools
- Simplified Design Tools: Limited stitch types for quick creation
- Suitable Projects: Applique, running stitches, filled shapes
As an affiliate, we earn on qualifying purchases.
As an affiliate, we earn on qualifying purchases.
What Is the Digitizing Process? A Beginner’s Guide
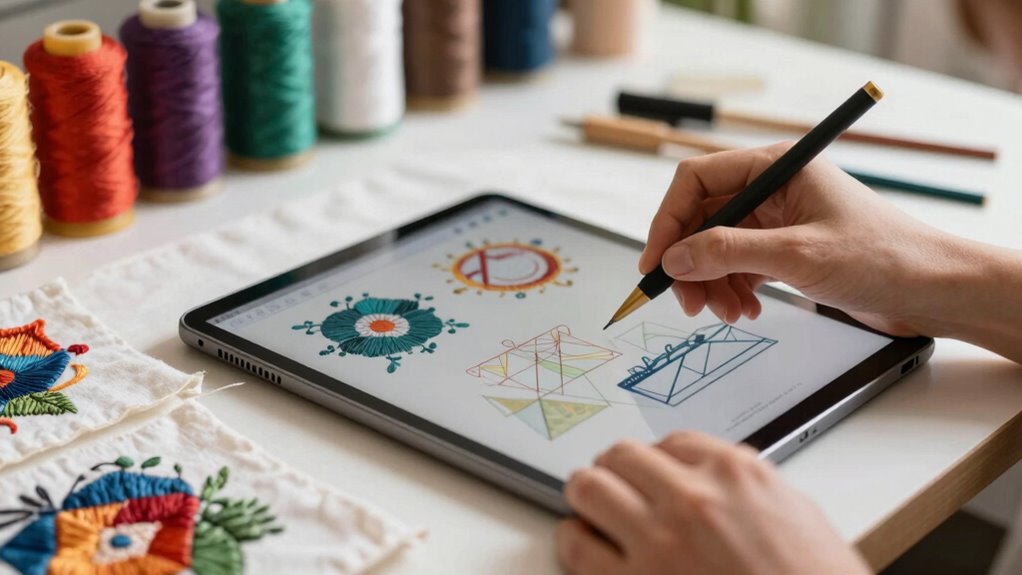
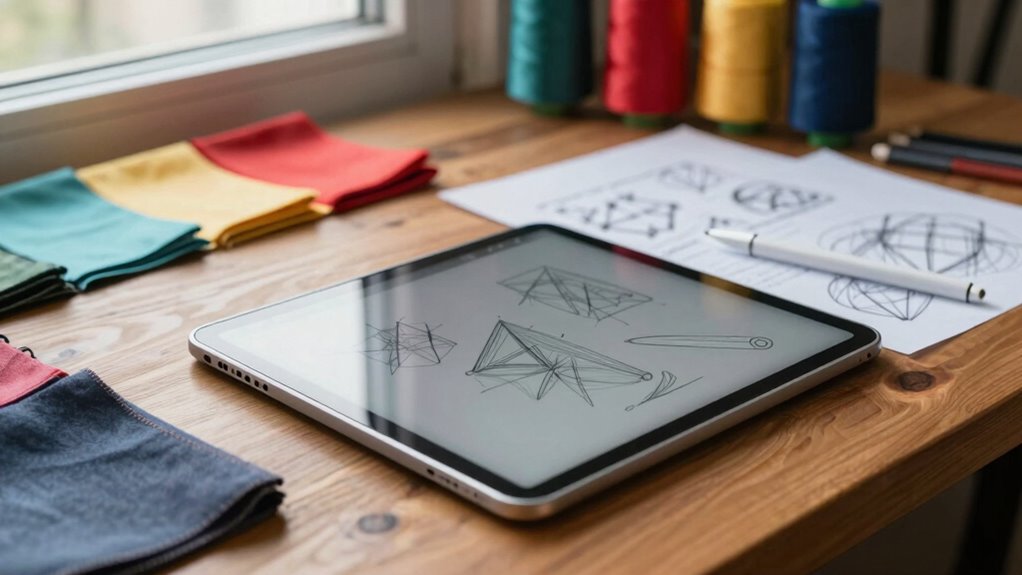
The digitizing process can seem overwhelming at first, but it’s really just about converting visual designs into digital formats. You’ll want to start by grasping design principles that guide effective digitization. Choosing the right software options is essential; explore various programs that suit your needs, including performance fundamentals that can enhance your workflow. Additionally, investing in anti-fatigue mats can improve your comfort during long hours of design work. As you plan your project, keep current embroidery trends in mind to guarantee your designs resonate with your audience. Gathering customer feedback can also refine your approach and enhance brand consistency. Don’t forget to incorporate design inspiration from various sources, as this can spark creativity. Understanding smart choices in your design approach can lead to more effective results. If you encounter issues, apply troubleshooting techniques to resolve them quickly. With these steps, you’ll navigate the digitizing process with confidence and clarity. Additionally, consider exploring creative craft ideas that can elevate your projects and inspire unique designs. Remember, understanding kitchen science can also inform your approach to design, making your projects even more effective.
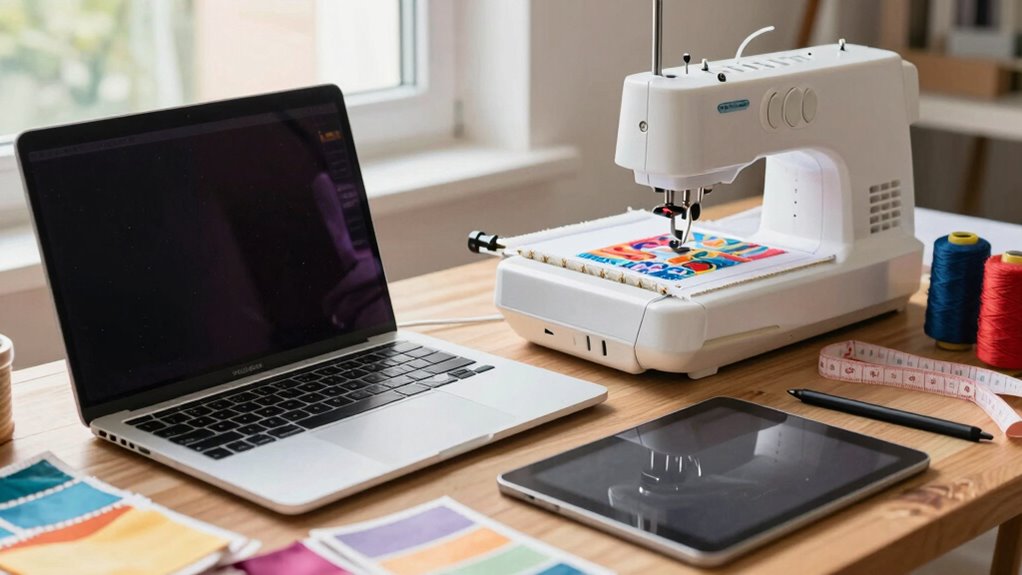
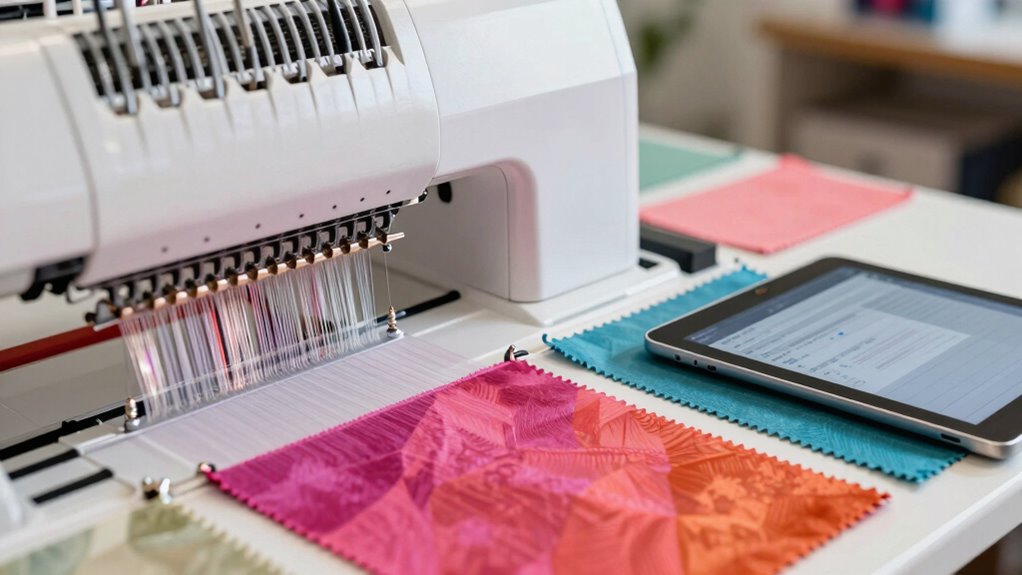
Essential Tools for Getting Started

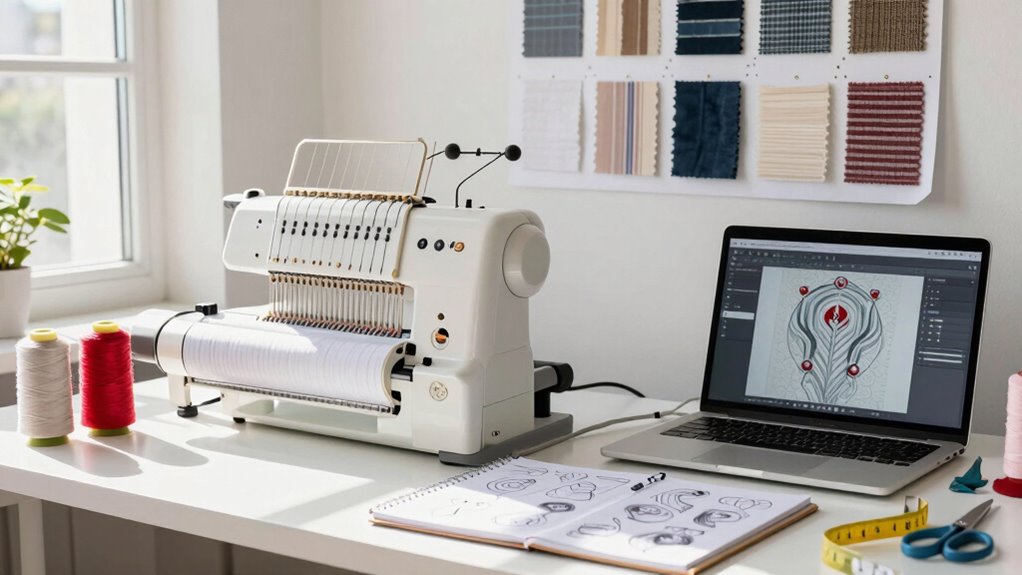
Before diving into digitizing, it’s essential to gather the right tools that will make your journey smoother and more efficient. Start with basic software that’s user-friendly, allowing you to create designs without a steep learning curve. Next, invest in essential equipment like a quality embroidery machine and stabilizers, which are vital for achieving professional results. Exploring beginner tutorials to familiarize yourself with different stitch techniques and embroidery trends is crucial for skill development. For creative applications, keep a folder of design inspiration to spark your imagination. Additionally, understanding home improvement techniques can enhance your design process and execution. Using tools like pressure washers not only helps in cleaning your workspace but also ensures a neat environment for your creative projects. For optimal results, consider the importance of color accuracy in your designs as it can significantly impact the final outcome. Incorporating acoustic drum shields into your workspace can also help in reducing noise distractions and enhancing focus. Joining online communities can provide valuable insights and support as you navigate your digitizing journey. With the right tools, you’ll be ready to hit stitch with confidence!
Key Concepts: Stitch Types and Their Applications

Now that you have your tools, it’s time to explore stitch types and their applications. Understanding common stitch types will help you choose the right ones for your projects. Let’s break down how each stitch can enhance your designs and when to use them.
Common Stitch Types
Understanding common stitch types is essential for anyone looking to digitize effectively, as each type serves a specific purpose in embroidery. You’ll encounter basic stitch techniques like satin and fill stitches, which form the foundation of your designs. For more flair, explore decorative stitch options such as zigzag and wave stitches. Keep in mind stitch density factors, as they impact the final look and texture of your embroidery. Experimenting with stitch length variations can also enhance your designs, making them more dynamic. Don’t forget about specialty stitch types like appliqué and 3D puff, which add unique dimensions. Use these stitch application tips to choose the right type for your project, ensuring a polished and professional finish every time.
Choosing Appropriate Stitches
Choosing the right stitches for your embroidery project can greatly affect its overall look and functionality. Understanding stitch density and stitch direction helps you make informed choices. For instance, a higher stitch density provides a more detailed finish but can make the fabric stiff. Conversely, lower density allows for flexibility and a softer feel.
Here’s a quick reference table for common stitch types:
| Stitch Type | Application |
|---|---|
| Satin Stitch | Borders and lettering |
| Fill Stitch | Large areas of color |
| Running Stitch | Outline work |
| Zigzag Stitch | Textured effects |
| Backstitch | Strong outlines |
Additionally, considering stitch direction can enhance the overall texture and visual appeal of your design.
Choosing the Right File Format for Digitizing Embroidery
When you’re getting ready to digitize embroidery, picking the right file format is essential. Each format serves specific purposes, so understanding common options helps you make an informed choice. Let’s explore which formats work best for your needs.
Common File Formats Explained
While selecting the right file format for your embroidery project might seem challenging, it’s crucial for achieving the best results. Understanding the differences between vector graphics and raster images is key. Vector graphics scale without losing quality, while raster images depend on DPI settings and image resolution.
Here’s a quick overview:
| File Format | Key Features |
|---|---|
| .SVG | Vector graphics, scalable |
| .PNG | Raster image, no background |
| .JPG | Compressed raster, quality loss |
| .DST | Embroidery-specific, software compatibility |
Consider color profiles and export settings to guarantee your files are optimized. Keep in mind file compression affects quality; choose wisely for your project!
Choosing Based On Purpose
Understanding file formats lays the groundwork for selecting the right type for digitizing embroidery. The choice you make should align with your design objectives and resonate with your target audience. For instance, if you’re creating promotional items, a simple, clean file format like DST might work best. On the other hand, if you’re aiming for intricate designs, consider formats like PES or ART that support more detail. Think about how your audience will use the finished product; this influences not just the design but also the format. Always prioritize ease of use and compatibility with your embroidery machine. By selecting the right file format, you enhance the quality and appeal of your finished embroidery, ensuring it meets your goals effectively. Additionally, consider how file formats can impact smart home technology integration in your designs, as modern appliances increasingly support digital embroidery features. It’s essential to recognize that AI advancements are shaping the future of design, offering new tools that can streamline your work process. Moreover, exploring eco-friendly gadget options can inspire innovative approaches to sustainable design solutions. Remember, color theory principles play a significant role in how your designs are perceived, influencing the overall success of your embroidery projects. A well-chosen format can also improve workout structure in your design process, allowing for a more streamlined approach to achieving your creative goals.
How to Choose the Right Layout for Your Design
Choosing the right layout for your design can greatly impact how your message is received. Start by considering layout considerations that align with your theme relevance and audience preferences. Pay attention to design alignment and visual hierarchy to guide viewers’ eyes effectively. A well-planned layout can also enhance overall functionality and contributes to creating comfortable, welcoming living spaces that resonate with your audience. Additionally, effective wall surface treatments can provide a backdrop that enhances the overall design aesthetic. Incorporating elements such as kitchen ventilation systems can further improve the functionality and comfort of your space. Furthermore, understanding ergonomics principles can help you design layouts that promote better posture and productivity.
Here’s a simple table to help you:
| Aspect | Tips |
|---|---|
| Size Proportions | Keep elements balanced and proportional. |
| Style Consistency | Use similar fonts and colors throughout. |
| Color Balance | Choose colors that complement each other. |
Top 5 Mistakes Non-Designers Make in Digitizing
When you immerse yourself in digitizing your designs, it’s easy to stumble upon common pitfalls that can hinder your creativity and effectiveness. One major issue is overlooking stitch density, which can lead to unnecessary digitizing errors. Another mistake is not considering design limitations, as complex designs may not translate well into embroidery. Your software choices also matter; using incompatible programs can cause file compatibility issues down the line. Additionally, skipping proper planning can result in misaligned elements. Ultimately, ignoring the importance of testing your designs can prevent you from catching flaws early. By avoiding these mistakes, you’ll enhance your digitizing skills and produce better results. Remember, effective cleaning techniques can also help maintain your materials in top condition, ensuring they withstand the digitizing process. Regularly changing your HEPA filters can also improve air quality in your workspace, supporting a healthier environment for your creative projects. To maintain your rugs and floors effectively, be aware of water damage prevention methods to avoid long-term issues. Additionally, ensuring proper airflow around your workspace can enhance your overall productivity and focus.
Best Practices for Color Selection in Embroidery
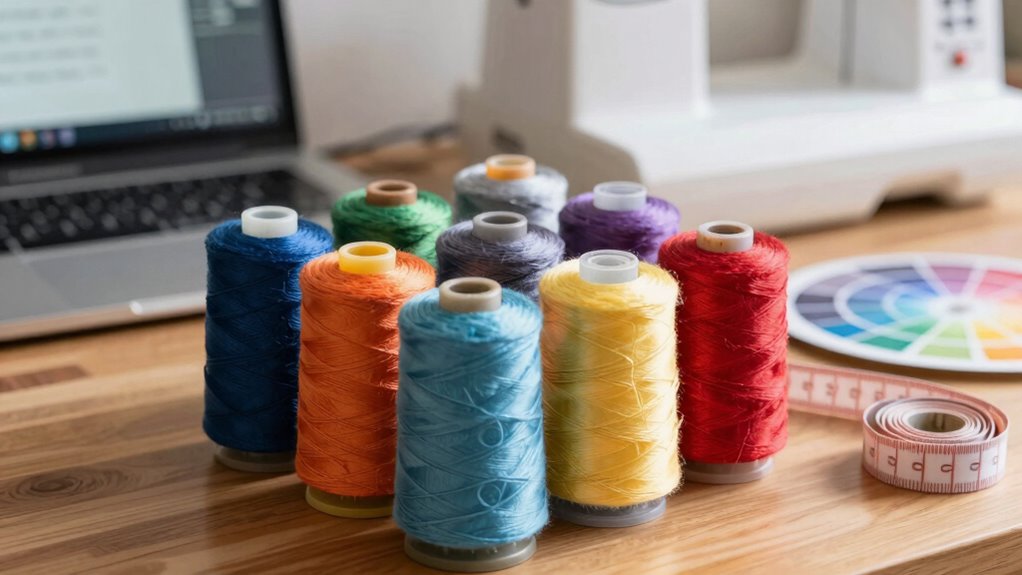
Color selection in embroidery plays a crucial role in bringing your designs to life, as it influences both the aesthetic appeal and overall effectiveness of your project. Understanding color theory helps you create color palettes that achieve harmony and design cohesion. Use contrasting colors to make elements pop, while considering color psychology to evoke specific emotions. When selecting threads, think about color blending for a smooth shift between shades. Seasonal palettes can guide your choices, ensuring relevance and freshness in your designs. Don’t forget your brand colors, as they maintain consistency across your projects. By thoughtfully combining these elements, you’ll enhance the visual impact of your embroidery and create pieces that truly resonate with your audience.
Why Testing Your Design Is Crucial?
After perfecting your color selection, the next step is to confirm your design functions as intended. Testing your design through user testing and prototype evaluation is essential for guaranteeing stitch accuracy and material compatibility. This process allows you to gather design feedback and engage your audience effectively. Embrace design iteration and creative collaboration to refine your work.
| Testing Method | Purpose |
|---|---|
| User Testing | Understand user experience |
| Prototype Evaluation | Assess design functionality |
| Design Feedback | Identify areas for improvement |
| Material Compatibility | Confirm chosen materials work well |
Resources and Communities for Embroidery Support
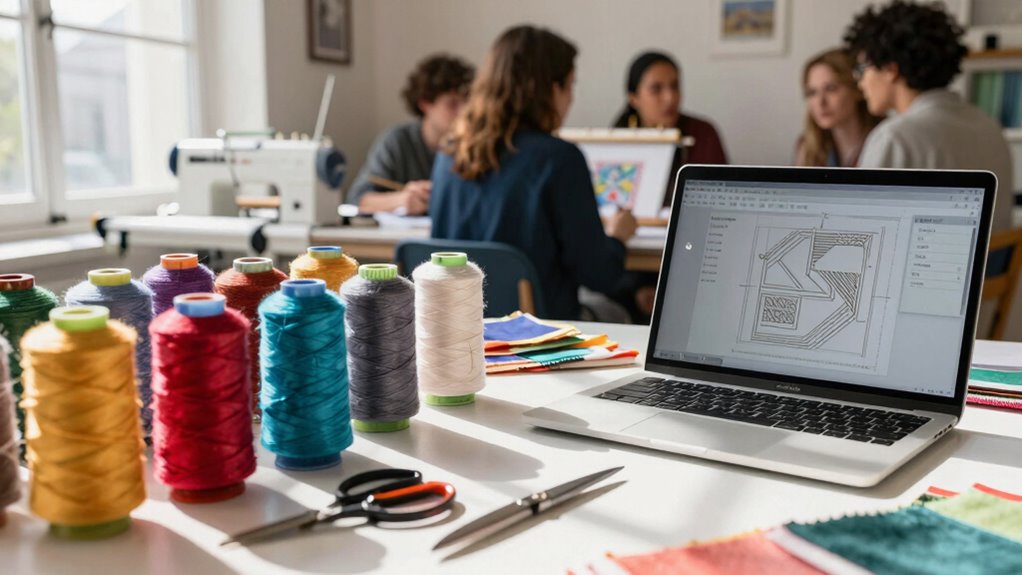
Embroidery enthusiasts often find themselves seeking guidance and support from various resources and communities. Engaging with online forums can provide you with valuable troubleshooting tips and design critiques from fellow embroiderers. Don’t overlook social media; platforms like Instagram and Facebook host groups where you can share projects and gain insights. Tutorial videos are another fantastic resource, offering visual instructions for techniques you might struggle with. Local workshops present opportunities for hands-on learning and mentorship opportunities from experienced embroiderers. You can also explore expert interviews to gain deeper knowledge. By tapping into these community resources, you’ll enhance your skills and connect with others who share your passion for embroidery.
Frequently Asked Questions
How Do I Find the Right Embroidery Machine for Beginners?
To find the right embroidery machine for beginners, start by considering the machine types available. Look for models with user-friendly interfaces and essential embroidery features like built-in designs and adjustable stitch settings. Check if it offers automatic threading and easy maintenance options. Read reviews and watch tutorials to gauge ease of use. Finally, set a budget that suits your needs, ensuring you invest in a reliable machine that grows with your skills.
What Are the Costs Associated With Digitizing Embroidery?
When you step into the world of digitizing, think of it like crafting a fine wine—there’s a cost breakdown involved. You’ll face software expenses, which can range from free options to several hundred dollars for advanced tools. Don’t forget about training costs if you want to hone your skills. Factor in potential upgrades for your machine, and it all adds up. Ready to start your journey? It’s worth every penny!
Can I Digitize My Own Designs Without Formal Training?
Yes, you can definitely digitize your own designs without formal training! Many people successfully use self-taught techniques to create stunning embroidery. Start by exploring online resources like tutorials and forums, which can guide you through the basics. Software programs often have user-friendly features that make learning easier. With practice and patience, you’ll develop the skills needed to bring your creative ideas to life. So jump in and start experimenting!
How Long Does the Digitizing Process Usually Take?
The digitizing process can take anywhere from a few hours to several days, depending on your design’s complexity and your experience. Time factors like software familiarity and design intricacy play a big role. To boost efficiency, break your design into smaller sections and tackle them one at a time. Practice makes perfect, so don’t rush. With each project, you’ll find yourself getting faster and more skilled at bringing your ideas to life.
What Are Common Software Options for Beginners in Digitizing?
For beginners in digitizing, popular software options include Brother’s PE-Design, Hatch Embroidery, and Wilcom’s Truesizer. These programs offer user-friendly interfaces and essential software features that make learning easier. You’ll find tools for adjusting stitch types, managing colors, and previewing designs before stitching. Each has tutorials and community support, so you can quickly get comfortable. Choose one that fits your needs, and you’ll be on your way to creating amazing embroidery!
Conclusion
Now that you’ve got the basics down, it’s time to immerse yourself in digitizing with confidence. Remember, each stitch tells a story, and with the right tools, concepts, and layouts, you can bring your vision to life. Avoid common pitfalls, choose colors wisely, and always test your designs before stitching. As you connect with resources and communities, you’ll find support and inspiration. So, let your creativity flow, and watch your embroidery skills blossom!