Coverstitch binding is your go-to for achieving polished necklines without bulky ridges. It’s easy to create a professional finish on knits and wovens with the right tools, like a coverstitch machine and binding clips. Start by preparing your fabric properly, then cut binding strips on the bias for flexibility. As you align and sew, you’ll notice how clean and comfortable your edges can be. Discover more tips and techniques to take your sewing skills to the next level.
Key Takeaways
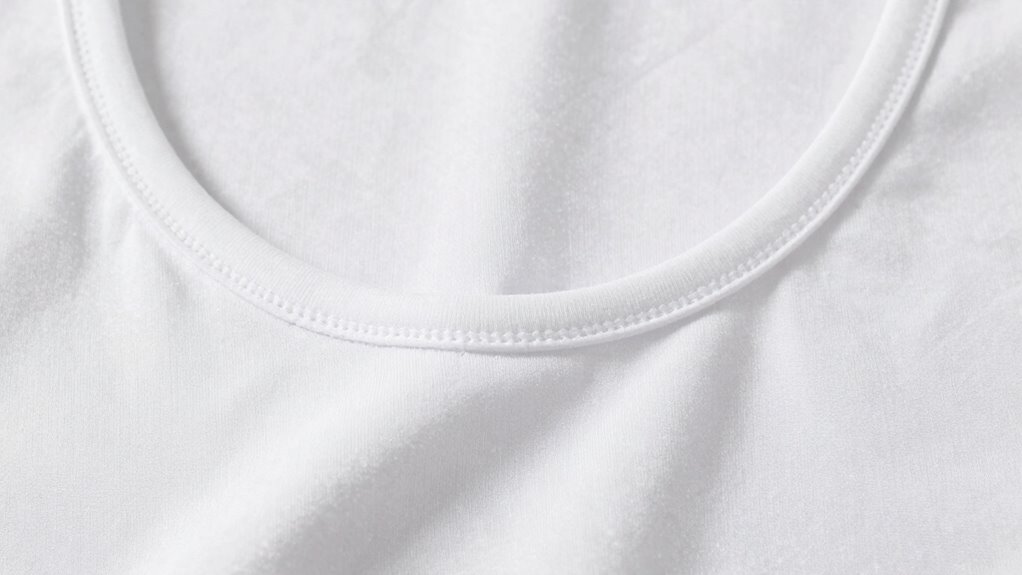
- Coverstitch binding provides a professional finish for necklines, eliminating bulky seams and enhancing comfort.
- Use a coverstitch machine and specialized needles for smooth, durable results on various fabric types.
- Cut binding strips on the bias for flexibility and align them evenly with the neckline for a clean application.
- Regularly check machine settings and binding tension to prevent issues like puckering or waviness.
- Creative applications include using contrasting binding for visual interest and finishing raw edges without bulk.
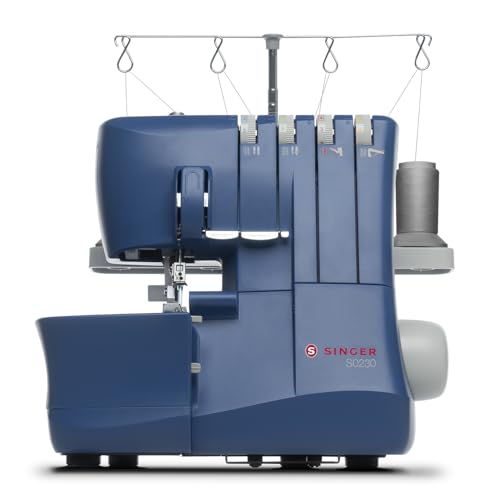
SINGER® S0230 Navy Blue Overlock Serger | 2/3/4 Thread Capability | 1300 Stitches/Min | Color-Coded Threading, Differential Feed, Free Arm, Accessories Included | Professional Seam Finishing
✅ 2/3/4 THREAD SERGING & COLOR-CODED THREADING: Use 2, 3, or 4 threads for a variety of stitch…
As an affiliate, we earn on qualifying purchases.
As an affiliate, we earn on qualifying purchases.
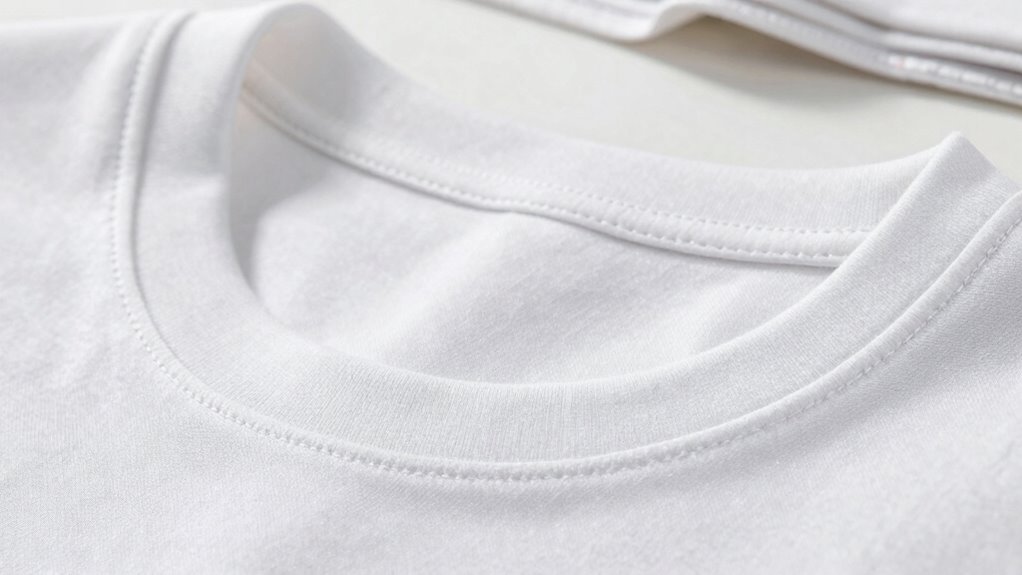
What Is Coverstitch Binding and Why It Matters?
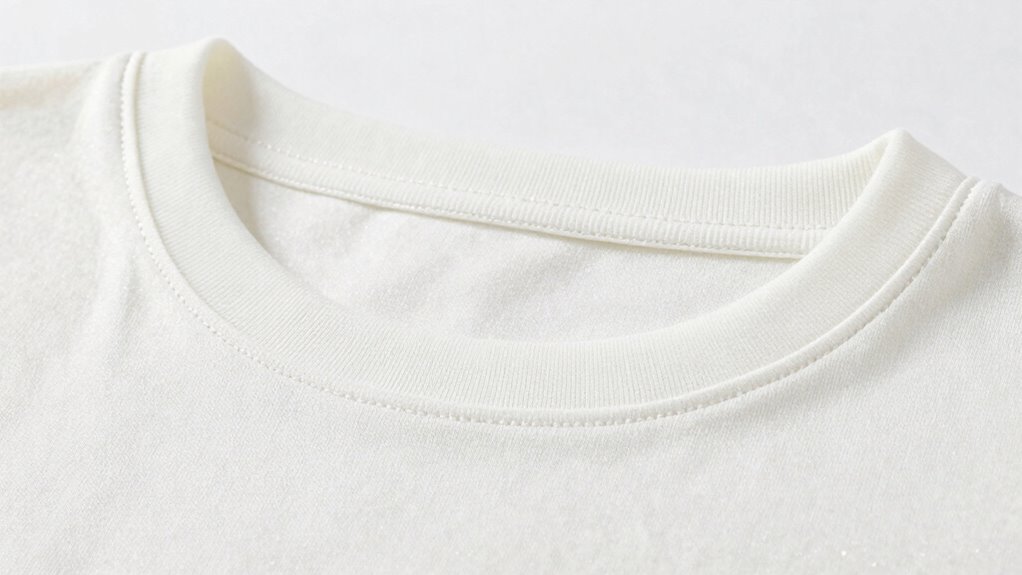
Coverstitch binding brings a professional finish to your sewing projects, enhancing durability and style. This technique is essential for achieving clean, polished edges, especially on necklines and hems. By using specific binding techniques, you can guarantee that your garments not only look great but also withstand wear and tear. Coverstitch binding is a valuable skill for anyone looking to improve their tool skills in sewing.
It works well with various fabric types, from stretchy knits to delicate wovens, making it a versatile choice for any project. The coverstitch creates a flat seam that prevents bulky ridges, providing comfort and flexibility in your clothing. Understanding coverstitch binding matters because it elevates your sewing skills and results in high-quality pieces that impress. With this technique, you’ll transform your sewing game and enjoy the satisfaction of creating beautifully finished garments. Additionally, mastering clean, polished edges can significantly enhance your overall sewing proficiency and project outcomes. Implementing simple systems in your sewing routine can also streamline your creative process, making it easier to maintain organization.
Moreover, adopting strength training fundamentals in your routine can improve your overall dexterity and precision in sewing tasks. Utilizing burnout prevention strategies in your sewing practice can help sustain your creativity and passion for the craft.

Multipurpose Sewing Clips, 100 Pcs Premium Plastic Fabric Clips Supplies, Perfect Alternative Sewing and Quilting Pins, Fit Any Chip, Bag Binding for Food, Assorted Colors
Best Sewing Clips ! The transparent plastic clips are easy to use, Helps you see exactly what your…
As an affiliate, we earn on qualifying purchases.
As an affiliate, we earn on qualifying purchases.
Essential Tools for Successful Coverstitch Binding
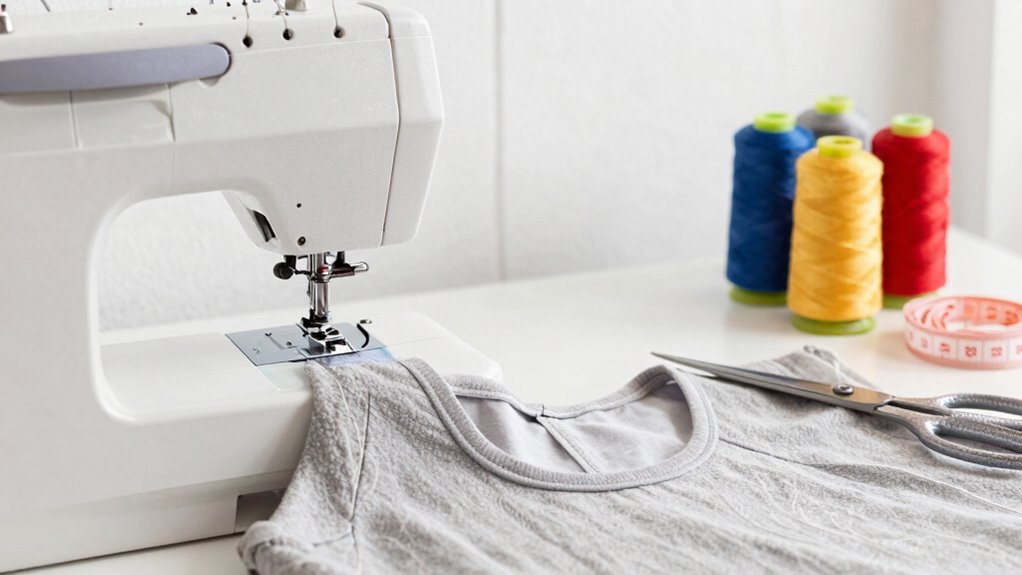
Achieving flawless coverstitch binding requires the right tools at your disposal. With the appropriate equipment, you’ll elevate your binding techniques and create beautiful finishes on various fabric types. Here are three essential tools you shouldn’t overlook:
Achieving flawless coverstitch binding starts with the right tools, enhancing your techniques and finishes on all fabric types.
- Coverstitch Machine: This is your primary tool. It creates that professional finish you desire, especially on knits and stretchy fabrics. A coverstitch machine can enhance your sewing projects by providing a high-quality finish that rivals retail garments, allowing you to experiment with various fabric types for unique creations. Additionally, using a coverstitch machine can help you achieve consistent tension control, ensuring even stitching throughout your project. Investing in a good machine can also improve your sewing efficiency, making it easier to tackle larger projects.
- Binding Clips: These help secure the binding in place, ensuring everything stays aligned as you sew. No more slipping or misalignment!
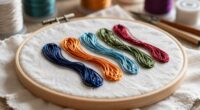
- Specialized Needles: Investing in the right needles for your fabric types can make a world of difference, preventing skipped stitches and ensuring a smooth sewing experience.
Additionally, understanding filtration/suction basics can enhance your cleaning routine, making it easier to maintain your sewing space. With these tools, you’ll find coverstitch binding much easier and more enjoyable!

Jeimier 5 Sizes Bias Tape Makers, Upgraded Bias Binding Tape Making Tool for Fabric Quilting Sewing, Quickly Customize, Solidly Bias Quilting Tool, 1/4IN 3/8IN 1/2IN 3/4IN 1IN
QUICKLY MAKE BIAS BINDING: The Jeimier 5 sizes professional Bias Tape Makers out of any fabric to match…
As an affiliate, we earn on qualifying purchases.
As an affiliate, we earn on qualifying purchases.
Preparing Your Fabric for a Flawless Finish
Certainly! Here’s the revised content with the requested modifications:
—
Before you start sewing, it’s essential to prepare your fabric properly to guarantee a flawless finish. Begin with thorough fabric preparation; wash and iron your fabric to remove any shrinkage and wrinkles. This step guarantees that your project won’t warp after sewing. Additionally, good kitchen ventilation helps prevent any moisture buildup that could affect your fabric. Proper preparation is crucial for achieving high yields in your projects, much like it is in indoor gardening. Poor air quality can also lead to microplastics in dust, which could settle on your fabric during sewing. Next, focus on cutting techniques. Use sharp scissors or a rotary cutter for clean, precise edges and avoid fraying. Always lay your fabric flat and double-check your measurements before cutting to maintain accuracy. If your fabric has a directional print, be mindful of how you position your pieces. Taking these steps will set a solid foundation for your coverstitch binding, helping you achieve that professional look you desire. Additionally, consider investing in camera gear for content to document your sewing process and share your insights with a wider audience.
—
Let me know if you need any further adjustments!

LNKA Industrial Foot DAYUN 410 Two Sides Upward Reverse Belt Loop Binder Folder fit for 2 Needle Sewing Machine (Tape Size:1 Finish Size:1/2)
Purpose: Binding of curve edge. Machine: 2 Needle Lochstitch Machine
As an affiliate, we earn on qualifying purchases.
As an affiliate, we earn on qualifying purchases.
Step-by-Step Guide to Applying Coverstitch Binding

Applying coverstitch binding can transform your sewing project, giving it a polished edge. To achieve this, follow these simple steps:
- Select Your Fabric Choices: Opt for stretchy fabrics like jersey or cotton blends to complement your binding techniques. Choosing sustainable materials can also contribute to eco-friendly disposal practices, while ensuring your projects are ergonomically friendly for long-term use. Consider using fabrics that are easy to care for to maintain the longevity of your creations. Additionally, selecting materials that are versatile in emergencies can further enhance your sewing projects.
- Prepare the Binding: Cut your binding strips on the bias for flexibility. Fold and press them to create a crisp edge.
- Attach with Precision: Align the binding with the neckline, ensuring it’s even. Use your coverstitch machine to sew, keeping a steady pace for a clean finish.
Incorporating techniques from effective preparation for consultations can enhance your overall sewing experience.
With these steps, you’ll not only enhance your project’s aesthetics but also boost your confidence in using coverstitch binding. Enjoy the process and watch your creations shine!
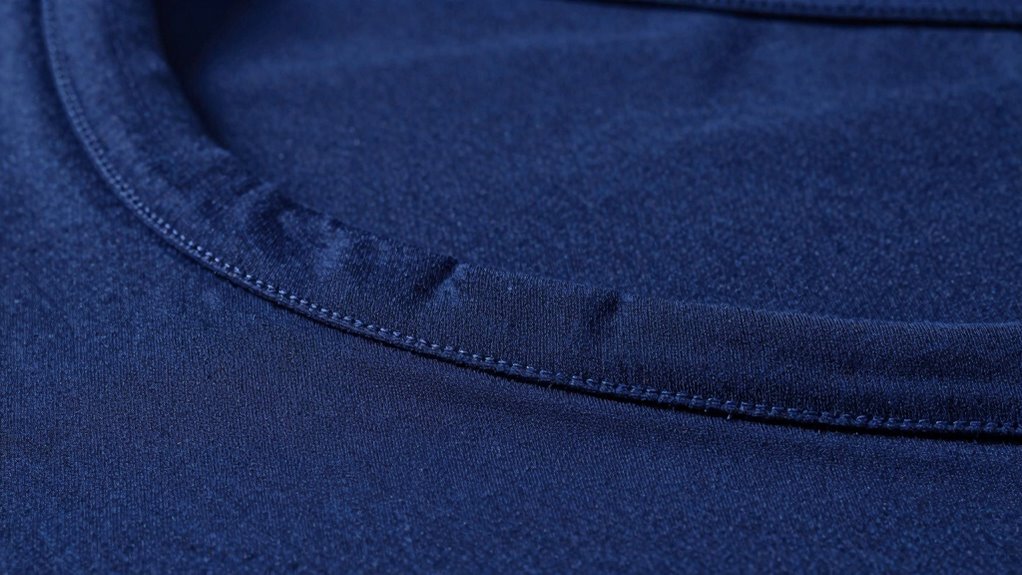
Troubleshooting Common Issues With Coverstitch Binding
Coverstitch binding can sometimes present challenges, but identifying and addressing common issues can make all the difference. If you notice that your binding isn’t lying flat, check your binding tension. Too tight a tension can cause puckering, while too loose might lead to a wavy finish. Also, consider the fabric stretch; using a highly stretchy fabric without the right settings can wreak havoc on your binding. Verify your machine is adjusted to accommodate the stretchiness of your material. If your stitches aren’t forming properly, rethreading your machine can often solve the problem. Regularly testing on scrap fabric helps you troubleshoot effectively before moving on to your project. Additionally, keeping your machine clean and ensuring HEPA filters are in good condition can enhance its performance. Exploring crochet styles for locs can also inspire creative solutions for your binding projects. With patience, you’ll master coverstitch binding!
Coverstitch Binding vs. Other Finishing Techniques
Sure! Here’s the revised content following your instructions:
—
Mastering troubleshooting can help you appreciate the unique qualities of coverstitch binding compared to other finishing techniques. This method stands out with its binding versatility and fabric compatibility, allowing you to create professional finishes without the bulky ridge. Additionally, using smart home technology can enhance your sewing environment, making it more efficient and enjoyable. Incorporating smart lifestyle tips can also inspire you to streamline your sewing process.
Here’s why coverstitch binding might be your best choice:
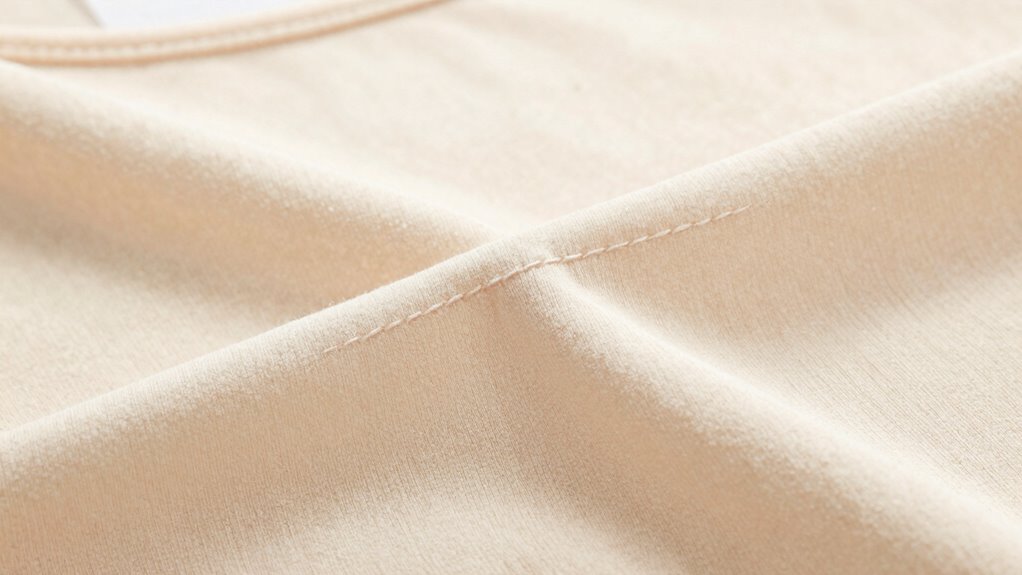
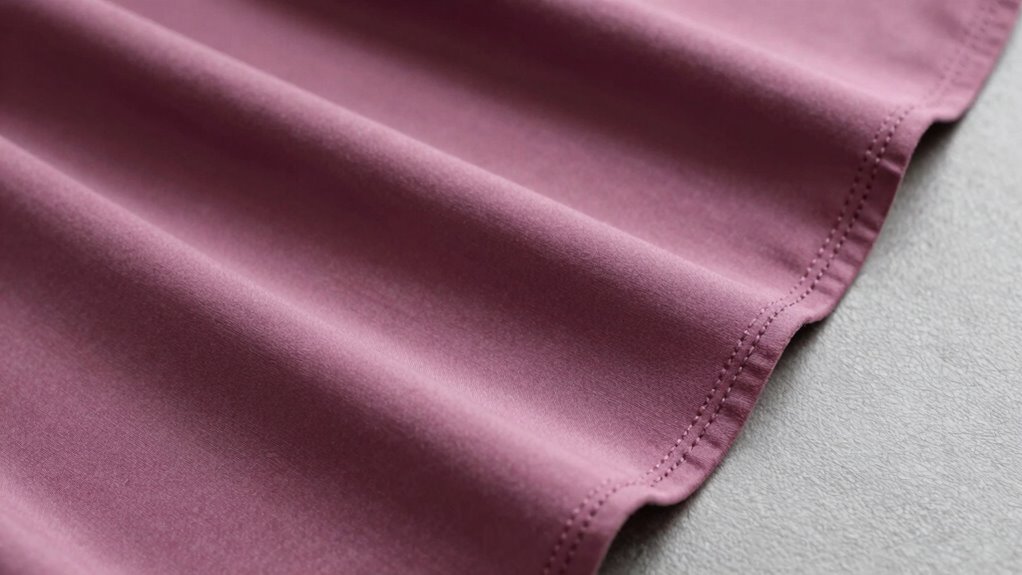
- Smooth Finish: It lays flat, ensuring your garments have a clean look. A well-executed finish can significantly improve the overall aesthetic appeal of your garments.
- Stretchability: Perfect for knits, it maintains the fabric’s elasticity, preventing distortion.
- Durability: This technique offers a strong hold, making your creations long-lasting. Additionally, using the right comedogenic ratings can help you choose fabrics that are gentle on the skin, enhancing comfort in your finished garments.
—
Let me know if you need any further adjustments!
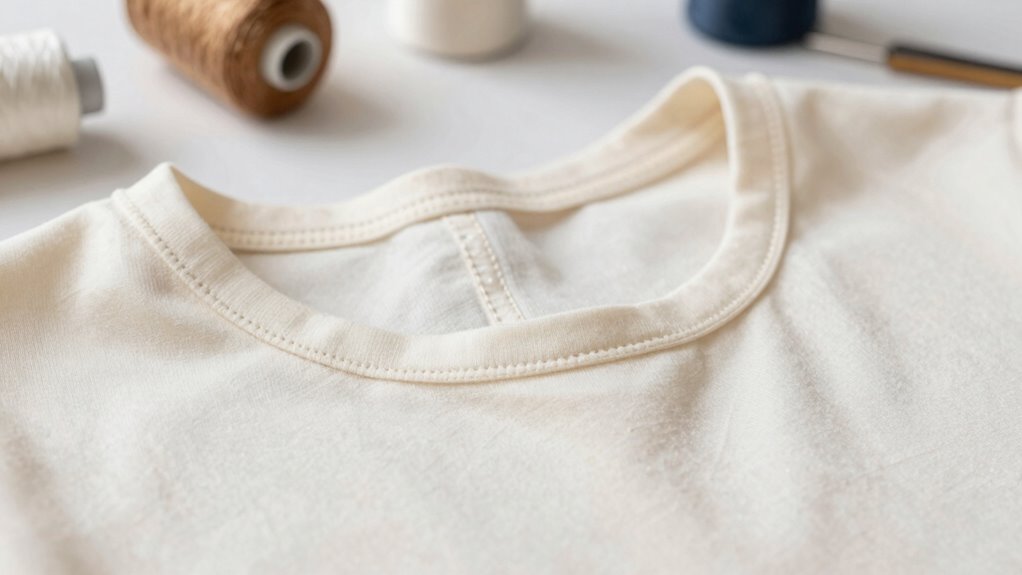
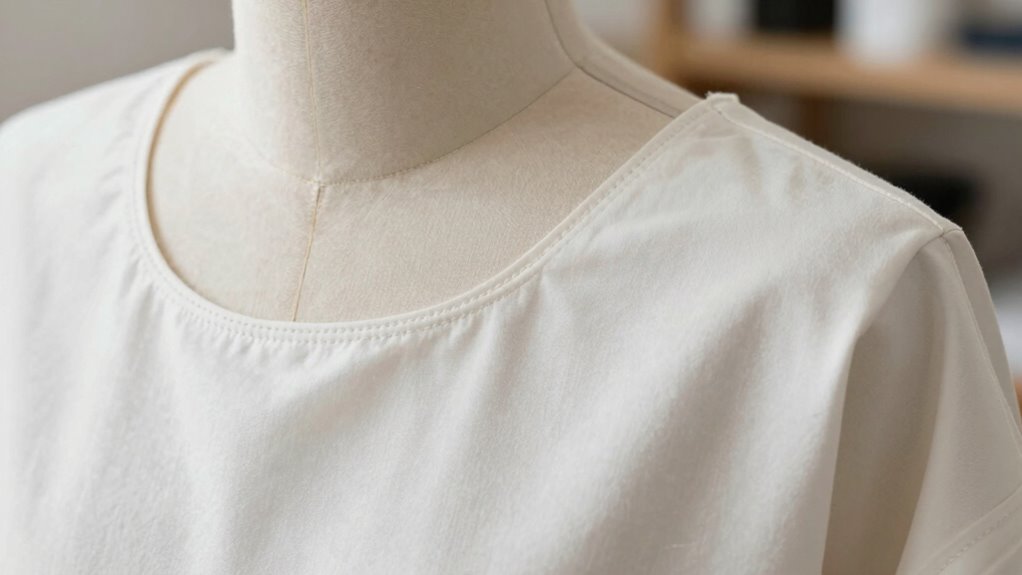
How to Achieve Professional-Looking Necklines
Achieving professional-looking necklines can elevate your sewing projects and give them a polished finish. Start by choosing the right neckline styles that suit your garment’s design and your body shape. Common options include crew, V-neck, and boat neck, each offering a unique look. Next, consider your fabric choices—stretchy knits work well for casual tops, while woven fabrics are ideal for structured garments. Make sure to prewash your fabrics to prevent shrinking. When applying coverstitch binding, maintain even tension and align edges carefully for a clean finish. Don’t forget to press your seams as you go; this simple step can make a significant difference. With attention to detail, you’ll create necklines that look professionally made.
Innovative Applications of Coverstitch Binding
While you might think of coverstitch binding primarily for hems and necklines, its innovative applications extend far beyond these basics. You can elevate your projects by exploring creative fabric combinations and incorporating unique design elements. Here are three inspiring ways to use coverstitch binding:
- Edge Finishing: Use it on sleeves or raw edges to create a polished look without bulk.
- Accent Details: Add contrasting binding to pockets or seams for a pop of color that draws the eye.
- Layered Textures: Combine different fabrics, like knits and wovens, to achieve a stunning visual contrast while keeping seams neat.
These techniques will not only enhance your garments but also spark your creativity, making your sewing projects truly one-of-a-kind.
Maintaining Your Coverstitch Binding for Longevity
To keep your coverstitch binding looking great for years, regular maintenance is key. Start with proper fabric care; always wash your garments in cold water and air dry when possible. This helps prevent shrinking and fading, ensuring your binding remains intact. For binding maintenance, check for any loose stitches or fraying edges after each wear. If you notice any issues, repair them immediately to maintain stitch preservation. Avoid using harsh detergents or bleach, as these can break down the fibers and weaken the binding. Finally, follow some longevity tips: store your garments flat or hung to prevent creasing. By implementing these simple practices, you’ll enhance the durability of your coverstitch binding and keep your projects looking fresh!
Frequently Asked Questions
Can I Use Coverstitch Binding on Knit Fabrics?
Yes, you can definitely use coverstitch binding on knit fabrics! In fact, coverstitch techniques offer several binding advantages, like flexibility and a professional finish. You’ll find that this method allows the fabric to stretch without distorting, which is perfect for knits. Plus, it creates a clean edge that enhances your garment’s appearance. So, go ahead and give it a try; you’ll love the results!
What Types of Stitches Are Best for Coverstitch Binding?
Oh, you’re diving into the glamorous world of coverstitch binding, aren’t you? Well, the best stitch options are the three-needle coverstitch and the two-needle version. They’ll make your knit fabrics look like they’ve been blessed by sewing gods! As for binding techniques, you’ll want to guarantee you’ve got adequate stretch for those active moments. Trust me, your projects will thank you when you skip the bulky ridges and embrace sleek finishes!
How Do I Choose the Right Thread for Coverstitch Binding?
To choose the right thread for coverstitch binding, consider the thread types suited for your fabric. Polyester is a great choice for stretch, while cotton works well for stability. For a professional finish, make sure your thread color matches your fabric closely; this creates a seamless look. Don’t forget to test the thread tension on scrap fabric to get the perfect stitch before you start your project. Happy sewing!
Is Coverstitch Binding Suitable for Woven Fabrics?
Yes, coverstitch binding can work with woven fabrics, but it’s important to take into account the fabric’s compatibility. You’ll want to choose a lightweight woven fabric to avoid puckering. When using coverstitch techniques, make certain your fabric has some give, as this will help create a smooth finish. Test on scrap pieces first to adjust tension and stitch length, giving you confidence in your final project without any unwanted bulky seams.
Can I Add Embellishments After Coverstitch Binding?
Yes, you can definitely add embellishments after coverstitch binding. Once you’ve finished binding, explore various embellishment techniques like appliqué, embroidery, or even fabric paint to enhance your project. Just make sure the materials you choose are compatible with the fabric and won’t interfere with the coverstitching. When considering post binding options, think about placement and how the embellishments will complement the overall design. Get creative and enjoy the process!
Conclusion
Mastering coverstitch binding transforms your sewing game, allowing you to create necklines that are both sleek and professional. As you explore this technique, you’ll likely stumble upon creative uses that surprise you—like adding a pop of color or texture. Suddenly, a simple project becomes a canvas for your imagination. With practice, you’ll not only avoid bulky ridges but also discover a newfound confidence in your skills. So grab your tools, and let your creativity flow!