To avoid coverstitch hems that pop, you need to fine-tune your tension settings based on the fabric type. Start with medium tension for most materials, adjusting lower for light fabrics and higher for heavier ones. Always test your settings on scrap fabric before starting your project. If you run into issues like puckering or skipped stitches, tweak your tension, needle, or feed settings. Keep exploring techniques to achieve that perfect finish every time.
Key Takeaways
- Adjust tension settings based on fabric type: lighter fabrics need lower tension while heavier fabrics require higher tension for optimal results.
- Ensure proper threading and needle quality to prevent skipped stitches and maintain consistent stitch quality.
- Perform tension calibration tests on scrap fabric to find the ideal settings before starting your main project.
- Use high-quality polyester thread for strength and flexibility, matching thread weight to fabric weight for better tension control.
- Regularly maintain your machine to prevent issues like lint buildup that can impact tension and stitch integrity.

Original Tajima Thread Tension Gauge TTG-CM76907 for Embroidery Factory Tools 912500110000
TOWA Bobbin Tension Gauge fit for TAJIMA, RICOMA Embroidery Machine
As an affiliate, we earn on qualifying purchases.
As an affiliate, we earn on qualifying purchases.
Common Coverstitch Hem Problems and How to Solve Them

When working with coverstitch hems, you might encounter a few common problems that can derail your project. One issue is uneven hem finishes, which often happens when fabric stretching occurs. If you notice puckering or distortion, check your fabric tension and adjust it accordingly. Make sure to use a stabilizer if your fabric is particularly stretchy. Additionally, understanding color accuracy can help you select the right thread that complements your fabric choice. Another problem is skipped stitches, usually caused by improper threading or dull needles. Re-thread your machine and replace the needle if necessary. Finally, if your hem looks too tight, it may indicate that your tension settings are too high. Experiment with different tensions to achieve a smooth, professional finish every time. Understanding kitchen science can also help you troubleshoot these issues more effectively.

Tension Assembly for Kenmore Sewing Machines (MO-2052) – Fits 158 Series, and More
Compatibility: This upper tension assembly fits Kenmore 158 series machines. See product description for the full compatibility list.
As an affiliate, we earn on qualifying purchases.
As an affiliate, we earn on qualifying purchases.
Understanding Tension and Its Impact on Coverstitch Hems
Understanding tension is essential for achieving flawless coverstitch hems, as it directly affects the quality of your finish. Proper tension calibration guarantees that your stitches lie flat and securely, preventing popping or puckering. When you adjust your machine, keep in mind that both too much and too little tension can compromise stitch quality.
Here’s a quick reference table to guide you:
| Tension Level | Effect on Stitch Quality | Common Issues |
|---|---|---|
| Low | Loose stitches | Puckering, unraveling |
| Medium | Balanced stitches | Consistent results |
| High | Tight stitches | Fabric distortion, popping |

Eoehro 72pcs Sewing Thread Kit, 36 Colors, 400 Yards per Spool Polyester Thread, Prewound Bobbins, Sewing Machine Threads
1. Eoehro Sewing Thread Set : 36 Colors 400 Yards Spools and Bobbins Assortment with Clear Bobbin Case….
As an affiliate, we earn on qualifying purchases.
As an affiliate, we earn on qualifying purchases.
Adjusting Tension for Various Fabrics
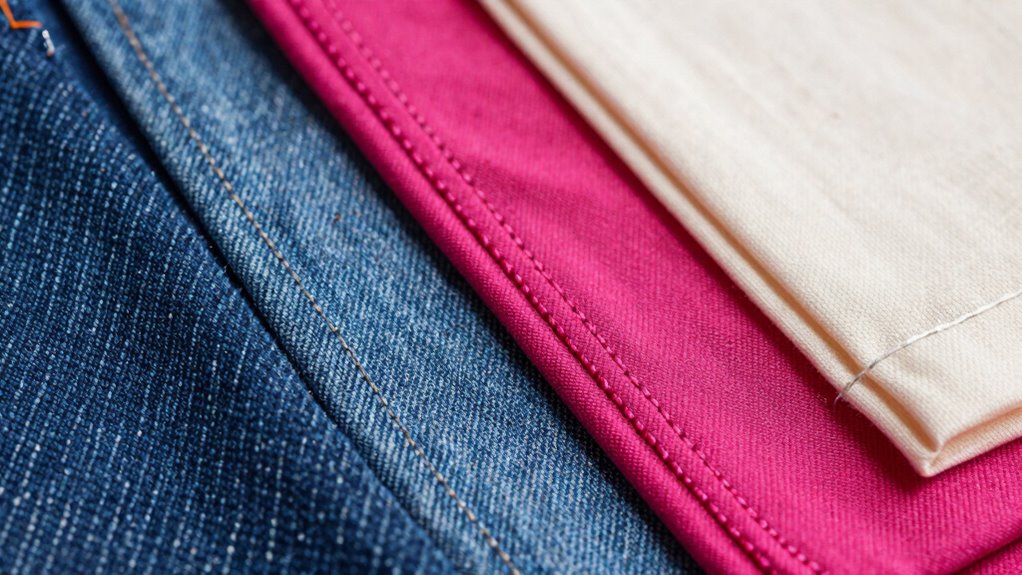
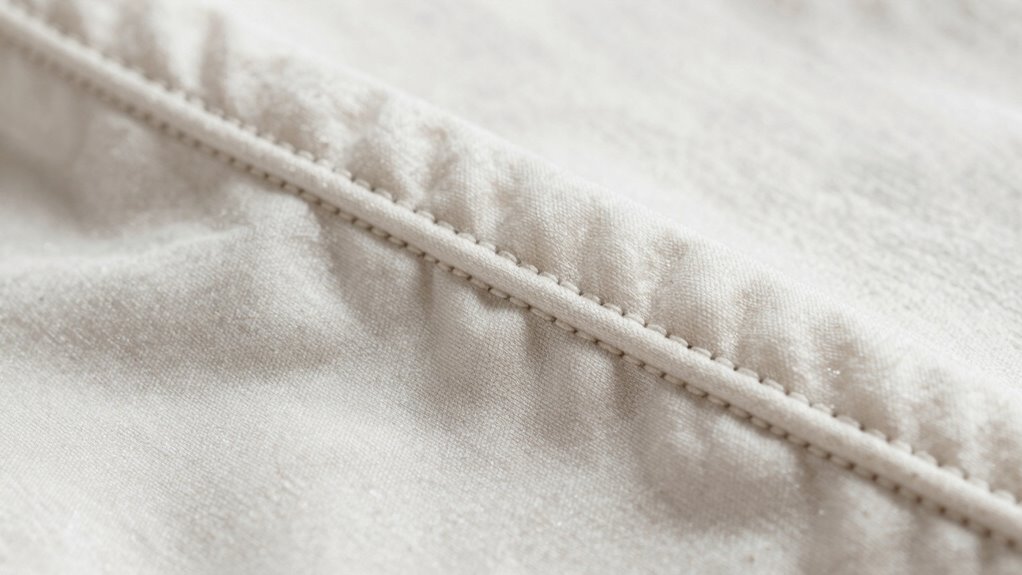
Tension settings need to be adjusted according to the fabric you’re working with for ideal coverstitch hems. For lighter fabrics, like cotton, a lower tension often works best, allowing for a soft hem finish. When you’re using heavier materials, like denim, increase the tension to maintain stability and prevent puckering. Additionally, kitchen ventilation is crucial to keep your workspace comfortable, especially when working with multiple fabrics. Consider the stretch characteristics of your fabric as well; stretchy knits may require a balanced tension to keep the hem elastic without distortion. Moreover, the rise of smart indoor gardens has made it easier for individuals to grow fresh herbs that can enhance your sewing space with natural scents. Additionally, the fiber content plays a vital role—synthetic fibers may need different settings compared to natural ones. Understanding filtration/suction basics can help you choose the right machine for your sewing projects. Moreover, using acoustic drum shields in your workspace can help minimize distractions and enhance focus while sewing. By fine-tuning your tension based on these factors, you’ll achieve a professional-looking hem that doesn’t pop and enhances your project’s overall quality. Proper ergonomic practices during sewing can also contribute to a better experience and improved results.

SINGER 10-Pack Stretch 2045 Sewing Machine Needles, Size 90/14
10 Genuine
As an affiliate, we earn on qualifying purchases.
As an affiliate, we earn on qualifying purchases.
How to Troubleshoot Common Coverstitch Hem Problems?
While you may have adjusted your settings carefully, coverstitch hems can still present issues that need quick fixes. If you notice skipped stitches, check the needle and thread tension; uneven tension can lead to poor results. For fabric puckering, it’s often an issue of feed dogs not working correctly or using the wrong needle type. If your stitches are popping, it might be time for some coverstitch troubleshooting—consider rethreading your machine or switching to a lighter thread. Finally, if hems aren’t lying flat during hem finishing, try adjusting the presser foot pressure. By addressing these common problems, you can achieve the flawless coverstitch hems you desire without unnecessary frustration.
Expert Tips for Perfecting Your Coverstitch Technique

To master your coverstitch technique, you’ll want to focus on proper tension adjustments, fabric selection, and stitch length settings. Each of these elements plays an essential role in achieving a clean, professional finish. Let’s explore how tweaking these factors can elevate your sewing projects.
Proper Tension Adjustments
Achieving the perfect coverstitch hem requires careful attention to your machine’s tension settings. Proper tension calibration is essential for creating a smooth, professional finish that won’t pop. Here are some expert tips to help you adjust your settings:
- Test on Scrap Fabric: Always try your settings on a scrap piece to verify fabric compatibility before committing to your project.
- Adjust Gradually: Make small adjustments to your tension settings, checking the results frequently to find that sweet spot.
- Keep a Record: Document your tension settings for different fabrics, so you can easily replicate successful results in the future.
Fabric Selection Tips
Selecting the right fabric is essential for mastering your coverstitch technique, as it directly impacts the final look and durability of your hems. When choosing fabric types, opt for knits or jerseys; they stretch well and help maintain a smooth finish. Avoid thick materials that can create bulk and uneven stitches.
For thread choices, use a thread designed for stretch, like polyester or nylon, to guarantee your hem moves with the fabric. Test different combinations on scraps to find the perfect match. Remember, lighter fabrics may require different settings than heavier ones, so adjust your tension accordingly. With the right fabric and thread, you’ll achieve professional-looking coverstitch hems that don’t pop.
Stitch Length Settings
Stitch length plays a crucial role in the quality of your coverstitch hems. Adjusting it correctly can enhance the durability and appearance of your work. Here are some key points to reflect upon:
- Stitch Variations: Experiment with different lengths for various effects. Shorter lengths create a tighter finish, while longer lengths offer more flexibility.
- Fabric Compatibility: Reflect on the type of fabric you’re using. Lightweight fabrics may require shorter stitches, while heavier materials can handle longer ones.
- Testing: Always test on scrap fabric first. This helps you gauge how the stitch length affects your final hem.
- Budget Consideration: Keep in mind the importance of budget planning to manage costs associated with fabric and supplies effectively.
Recommended Tools and Resources for Coverstitch Success
To guarantee your coverstitch projects turn out flawlessly, having the right tools and resources at your disposal is essential. Start by investing in high-quality thread types that suit your fabric; this can greatly impact your stitch quality. A reliable coverstitch machine is vital, but don’t overlook regular machine maintenance—cleaning and oiling your machine will keep it running smoothly. Additionally, having a set of tweezers and a seam ripper handy can save you from frustration. Consider joining online communities or forums for tips and troubleshooting advice. You’ll find plenty of resources that share best practices and personal experiences. By equipping yourself with these tools and knowledge, you’ll enhance your coverstitching skills and achieve professional results every time. Furthermore, understanding strength training fundamentals can help you develop a more structured approach to your sewing projects and boost your overall skill set.
Frequently Asked Questions
What Is the Best Fabric for Coverstitch Hems?
The best fabric for coverstitch hems is typically medium-weight, stretchy fabrics. Look for cotton blends, rayon, or polyester with a bit of spandex for that perfect stretch. These fabric blends help you achieve a smooth finish without popping. Avoid heavy or rigid fabrics, as they can create tension issues. Experiment with different weights and blends to find what works best for your projects, ensuring a professional and durable result every time.
Can I Use Coverstitch on Stretchy Materials?
Yes, you can definitely use coverstitch on stretchy materials! Coverstitch techniques work well with fabrics like knits and spandex, providing a professional finish that allows for flexibility. Just make sure your fabric compatibility aligns with the machine settings. Adjusting tension and using the right needle will help prevent popping stitches. So go ahead, experiment with your stretchy fabrics and enjoy the results that a coverstitch can bring to your projects!
How Do I Clean My Coverstitch Machine?
A stitch in time saves nine, so keeping your coverstitch machine clean is essential. Start by unplugging it and removing any fabric or threads. Use a soft brush to clear out dust and lint, especially around the tension discs and feed dogs. Check the thread tension settings, adjusting as needed. Wipe down surfaces with a damp cloth. Regular machine maintenance will keep your coverstitch running smoothly for all your sewing projects!
Is It Necessary to Prewash Fabrics Before Coverstitching?
Yes, it’s necessary to prewash fabrics before coverstitching. Prewashing helps you avoid surprises like fabric shrinkage after you’ve completed your project. If you skip this step, your finished hems might pucker or lose their shape. Also, confirm your thread compatibility matches the prewashed fabric; this prevents issues with tension and guarantees a smooth finish. By prewashing, you set yourself up for success and keep your projects looking great!
What Needles Work Best With Coverstitch Machines?
Choosing the right needle for your coverstitch machine is like finding the perfect key to a locked door. You’ll want to use ballpoint needles for knits and stretch fabrics, ensuring smooth stitching. If you’re working with woven fabrics, universal needles shine. Remember, thread compatibility is essential—match needle size to your thread’s thickness for seamless results. With the right combination, your projects will flow like a well-composed symphony, free from skipped stitches and frustration.
Conclusion
By mastering your tension settings and understanding your fabric, you can achieve coverstitch hems that rival the craftsmanship of a seasoned tailor. Think of your machine as a musical instrument; with a little practice and the right adjustments, you’ll compose beautiful seams that sing rather than pop. Embrace the art of coverstitching, and soon, you’ll create garments that not only fit perfectly but also stand the test of time. Happy sewing!