
Making durable patches at home is all about choosing the right materials and backing methods. Start with sturdy fabrics like cotton canvas or denim for longevity. Use heavyweight backing and reliable adhesives like fabric glue or fusible webbing to guarantee a strong hold. Attaching patches can be done through hand stitching or machine sewing for added security. With proper care, your patches will last. Stick around for tips on creative designs and troubleshooting common issues!
Key Takeaways
- Select durable fabrics like cotton canvas or denim for long-lasting patches that resist wear and tear.
- Use heavyweight backing materials such as canvas or felt to enhance patch durability.
- Explore iron-on adhesives or strong fabric glue for secure attachment methods.
- Combine hand stitching and machine sewing for added strength and precision in patch application.
- Maintain patches by cleaning gently and avoiding harsh chemicals to prevent fading and wear.

KING MOUNTAIN Canvas Repair Patch 9 x11 Inch 2 Pcs Self-Adhesive Waterproof Fabric Patch for Sofas, Tents, Furniture,Tote Bags, Car Seats (Black)
- Size: 9×11 inches, 2 pieces
- Universal Fabric Compatibility: Suitable for linen, velvet, leather, and more
- High-Quality Material: Made of durable 100% cotton canvas
As an affiliate, we earn on qualifying purchases.
As an affiliate, we earn on qualifying purchases.
How to Make Your Own Patches at Home
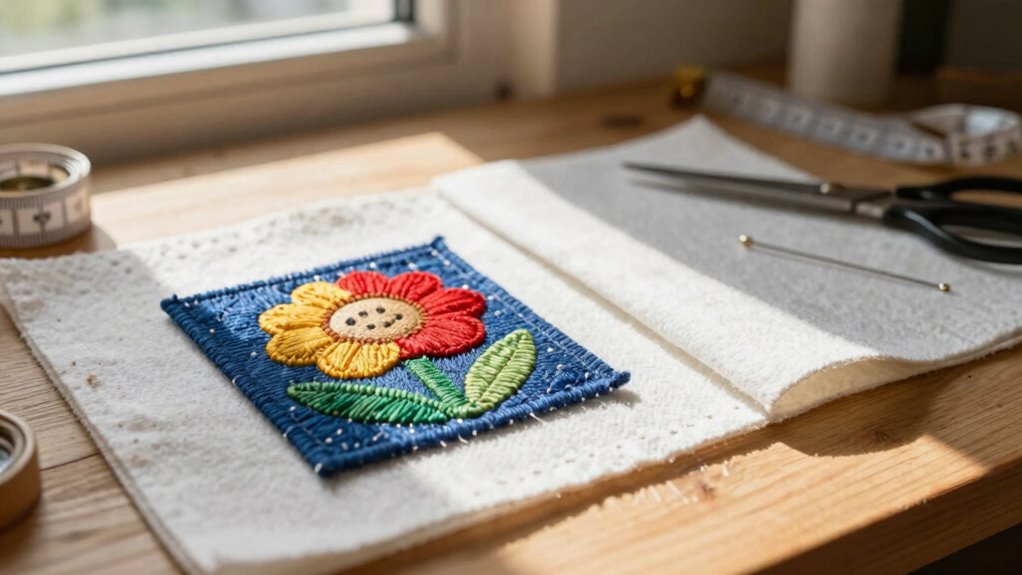
Making your own patches at home can be a fun and creative project, especially if you want to personalize your clothing or accessories. Start by brainstorming your patch design—think about colors, shapes, and images that reflect your style. Once you’ve settled on a concept, sketch it out to visualize the final product. For patch embroidery, choose a sturdy fabric and use an embroidery hoop to keep everything taut. Select your thread colors and begin stitching your design, adding details as you go. Don’t forget to reflect on the size of your patch; it should complement the item it’ll adorn. Finally, finish it off with a backing material for durability, ensuring your custom patch lasts through wear and washing.
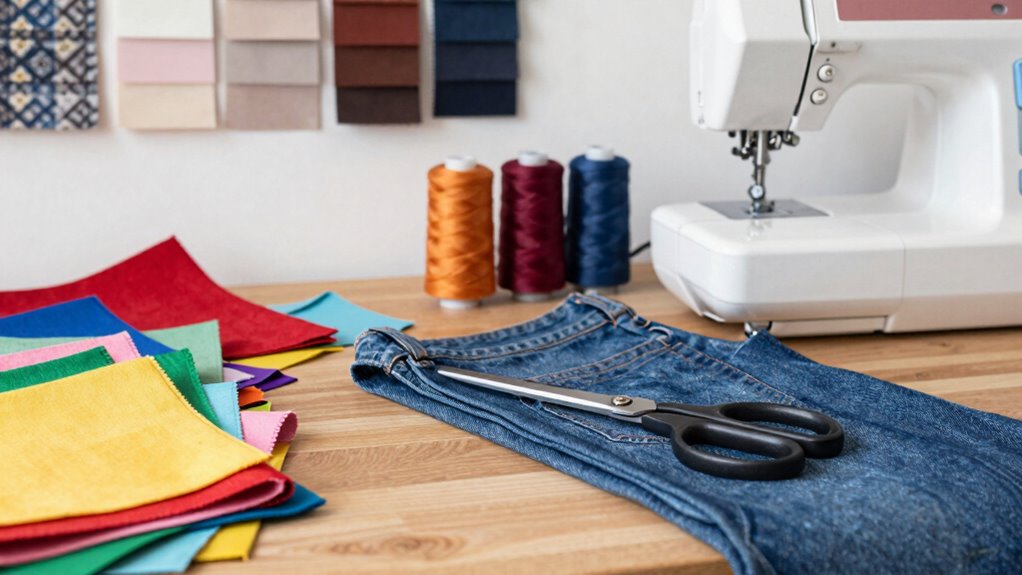
Essential Materials for DIY Patches
To create eye-catching DIY patches, you need to choose the right fabric and adhesive. Selecting a durable fabric guarantees your patches last, while the right adhesive keeps them securely attached. Let’s explore some tips for fabric selection and the best adhesive options available.
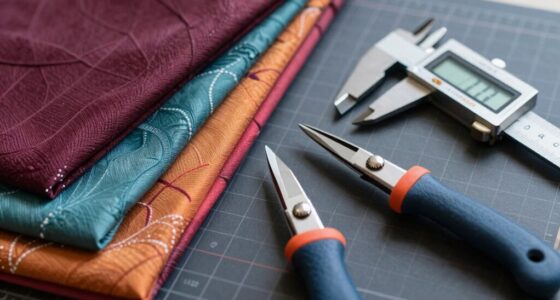
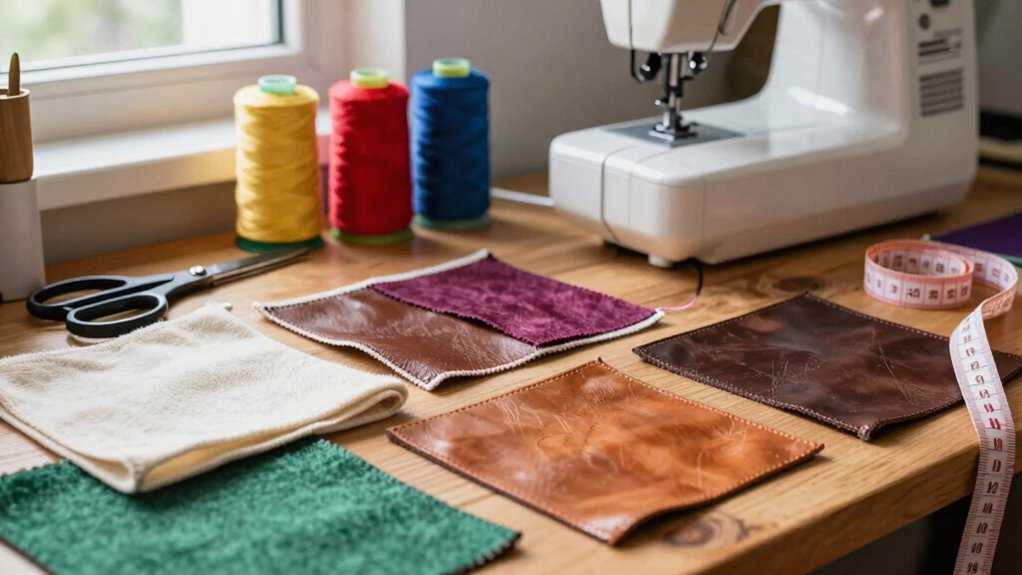
Fabric Selection Tips
Choosing the right fabric is essential for creating durable and visually appealing DIY patches. Different fabric types can greatly affect the final look and longevity of your patches. Here are some key texture considerations to keep in mind:
- Cotton Canvas: This sturdy fabric holds its shape well and can withstand wear and tear, making it perfect for patches. Additionally, kitchen science shows that the right fabric can enhance the durability of your creations, especially when used in conjunction with emerging trends in textile technology. It’s also important to consider the air quality in your workspace, as poor air can affect your crafting experience. Furthermore, using anti-fatigue mats in your workspace can provide comfort during long crafting sessions, helping to maintain focus.
- Denim: With its rugged texture, denim adds a stylish flair while offering durability, ideal for jeans or jackets. This fabric’s resilience makes it a popular choice among DIY enthusiasts.
- Felt: Soft and easy to work with, felt is great for intricate designs but may not be as long-lasting when exposed to heavy use. Additionally, choosing eco-friendly materials can enhance both the look and sustainability of your patches, aligning with smart/eco home & garden gear.
Adhesive Options Explained
After selecting the right fabric for your patches, the next step is determining how to attach them securely. You’ve got several adhesive types to evaluate, each suited for different projects. Fabric glue is great for lightweight patches, while fusible webbing provides a strong bond when heat is applied. You can also try double-sided tape for a quick fix, though it might not last as long.
When using these adhesives, master a few application techniques. For fabric glue, apply a thin layer to both surfaces and press them together firmly. With fusible webbing, use an iron to activate the adhesive and seal the edges. By choosing the right adhesive and technique, your patches will stay put and look great!
Choosing the Right Fabric for Durability
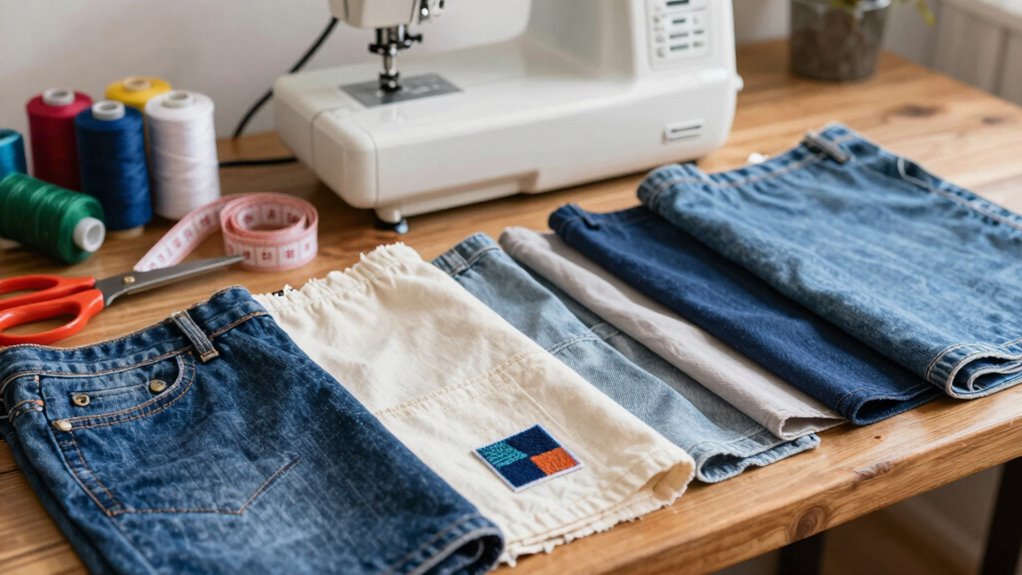
When selecting fabric for your patches, it’s essential to prioritize durability to guarantee they withstand wear and tear. The right fabric types can make all the difference, so keep these durability factors in mind:
- Canvas: This heavyweight fabric is tough and resistant to fraying, making it ideal for patches that see a lot of action. Additionally, using dryer balls can help optimize your laundry process, ensuring your patches are cleaned effectively. Moreover, maintaining appliance efficiency is crucial to prolonging the life of your washing machine, which can aid in keeping your patches in top condition. For optimal cleaning results, consider pressure washing your fabric before sewing, as it removes dirt and prepares the surface. Additionally, understanding cybersecurity best practices can help protect your designs from digital theft during the creation process.
- Denim: Known for its strength, denim can handle rough use and still look great, giving your patches a classic vibe.
- Ripstop Nylon: Lightweight yet incredibly strong, this fabric is perfect for outdoor patches that need to endure harsh conditions. Additionally, using safe operating procedures when crafting your patches can ensure a smoother and more efficient process.
Choosing the right fabric will assure your patches look good and last longer, so take the time to find what suits your needs best.
Durable Backing Methods for Your Patches
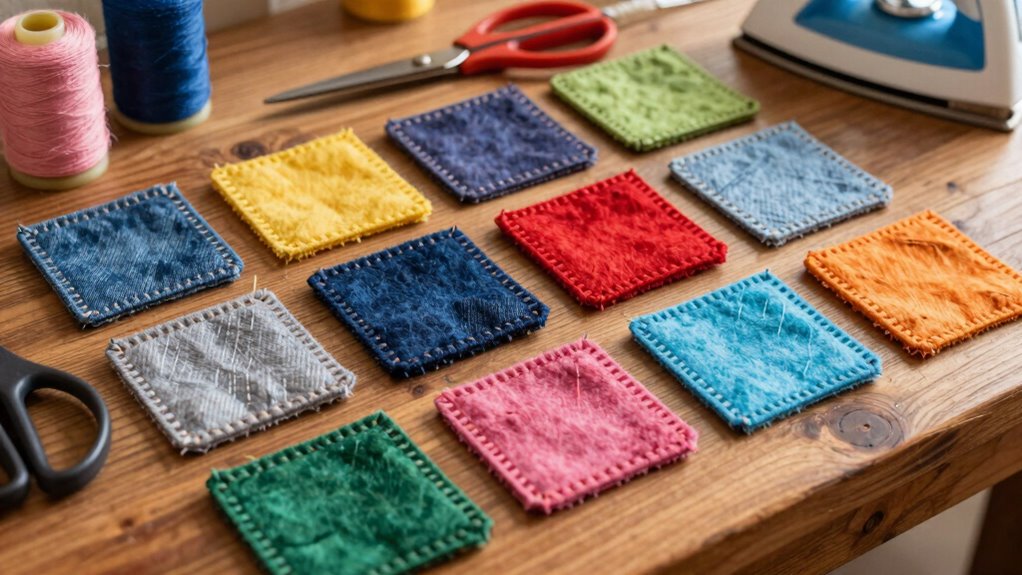
When you’re crafting patches, choosing the right backing is essential for durability. Consider your fabric options, explore iron-on adhesives, and understand sewing techniques to secure your designs effectively. Let’s look at how each method can enhance the longevity of your patches. Additionally, using acoustic drum shields can provide a better environment for your crafting, ensuring that your workspace remains free from unwanted noise and distractions. Proper kitchen ventilation is also important in maintaining a comfortable crafting atmosphere, as it helps to clear out any fumes from adhesives or other materials.
Fabric Choices For Backing
Choosing the right fabric for backing your patches is essential, as it determines both durability and functionality. The fabric weight plays a significant role in how well your patch holds up. Here are three great fabric choices to take into account:
- Canvas: Known for its heavy weight and textile durability, canvas creates a sturdy backing that withstands wear and tear.
- Denim: This classic choice offers a unique texture variety and pairs well with many patterns, making it versatile for color coordination.
- Felt: Lightweight yet durable, felt allows for interesting textures and can easily match different designs.
Iron-On Adhesive Techniques
Once you’ve selected the right backing fabric for your patches, it’s time to explore iron-on adhesive techniques that guarantee a strong hold. Choosing the right adhesive types is essential for durability. You’ll typically find options like fusible web, heat-activated glue, and pre-cut adhesive sheets.
Here’s a quick reference table to help you decide:
| Adhesive Type | Application Technique |
|---|---|
| Fusible Web | Cut, place, and iron |
| Heat-Activated Glue | Apply, cover with fabric, iron |
| Pre-Cut Adhesive Sheets | Peel, position, and iron |
Sewing Methods Explained
Sewing methods provide a reliable way to secure your patches, ensuring they withstand wear and tear. Whether you’re a beginner or have some experience, you can choose the method that suits you best. Here are three popular techniques:
- Hand Stitching: This method allows for precision and control. Use a needle and thread to carefully sew around the edges of your patch, creating a sturdy hold.
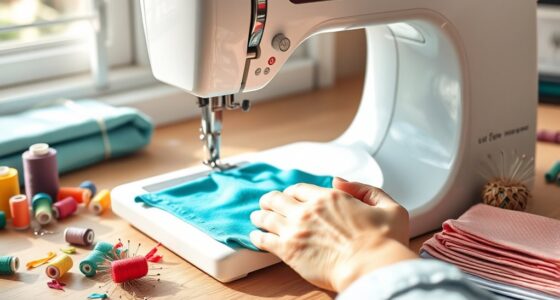
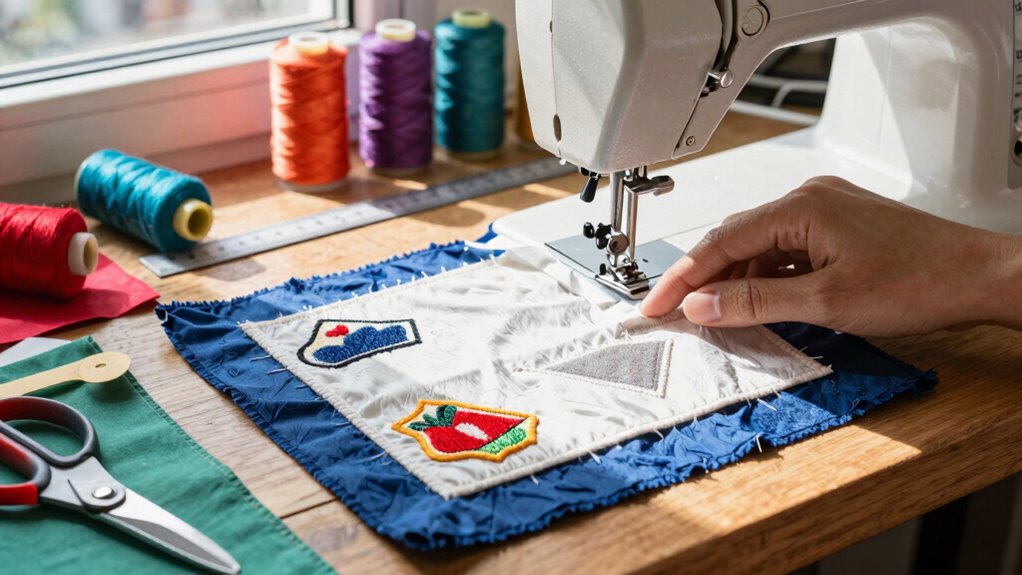
- Machine Sewing: If you have a sewing machine, this technique speeds up the process. Set it to a zigzag stitch for added durability.
- Combining Both: For extra strength, start with machine sewing and finish with hand stitching. This gives your patch a professional look while ensuring it stays put. Additionally, consider color accuracy when choosing materials, as it can enhance the overall appearance of your patches.
Attach Your Patches Securely
To guarantee your patches stay in place, it’s essential to attach them securely. Start by choosing the right method for your fabric type. If you’re using a heavy fabric, sewing is a reliable option; it provides strong patch attachment. For lighter materials, consider fabric glue or iron-on backing, but make certain you follow the manufacturer’s instructions for the best results. Whichever method you choose, always clean the area where you’ll attach the patch to create a strong bond. If you’re using glue, apply an even layer and press firmly. For iron-on patches, use a cloth barrier to avoid damage. By using these secure methods, you can keep your patches looking great and intact for a long time. Additionally, consider how pet-friendly materials can enhance both durability and ease of maintenance in your projects.
How to Care for Your Patches

Caring for your patches is essential to keeping them looking fresh and vibrant. With a little effort, you can guarantee your patches stay in great shape. Here are some patch maintenance tips:
Caring for your patches ensures they remain vibrant and fresh, requiring just a bit of effort for lasting beauty.
- Regular Cleaning: Use mild soap and a damp cloth to gently wipe any dirt off your patches. Avoid harsh chemicals that can fade colors.
- Avoid the Dryer: When washing items with patches, air dry instead of using the dryer. Heat can damage the adhesive and cause peeling.
- Store Properly: Keep your patched items in a cool, dry place. Avoid folding them in ways that might crush or bend the patches.
Following these patch cleaning methods will help extend the life of your creative designs!
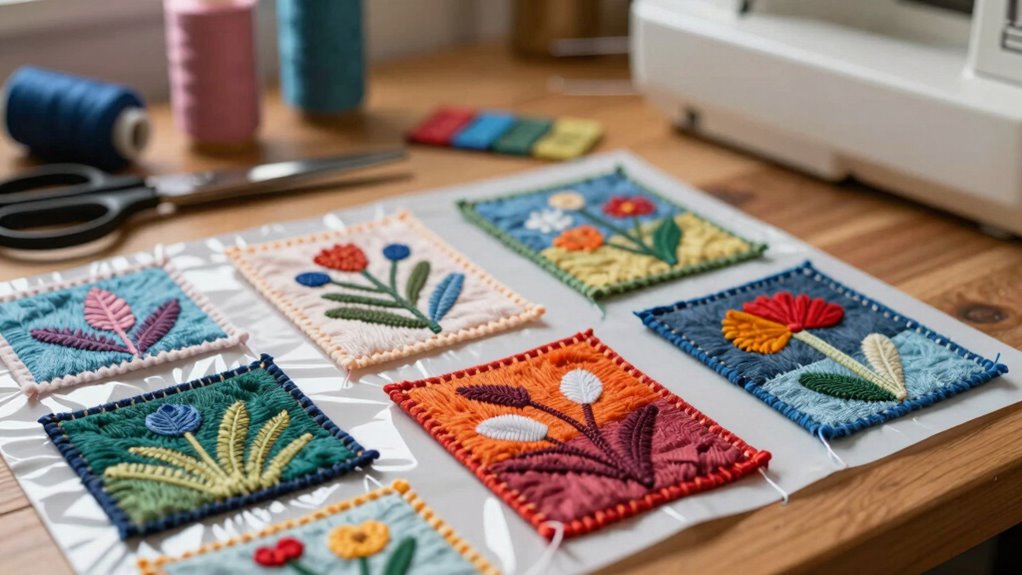
Creative Ideas for DIY Patch Designs
Sure! Here’s the revised content following your instructions:
—
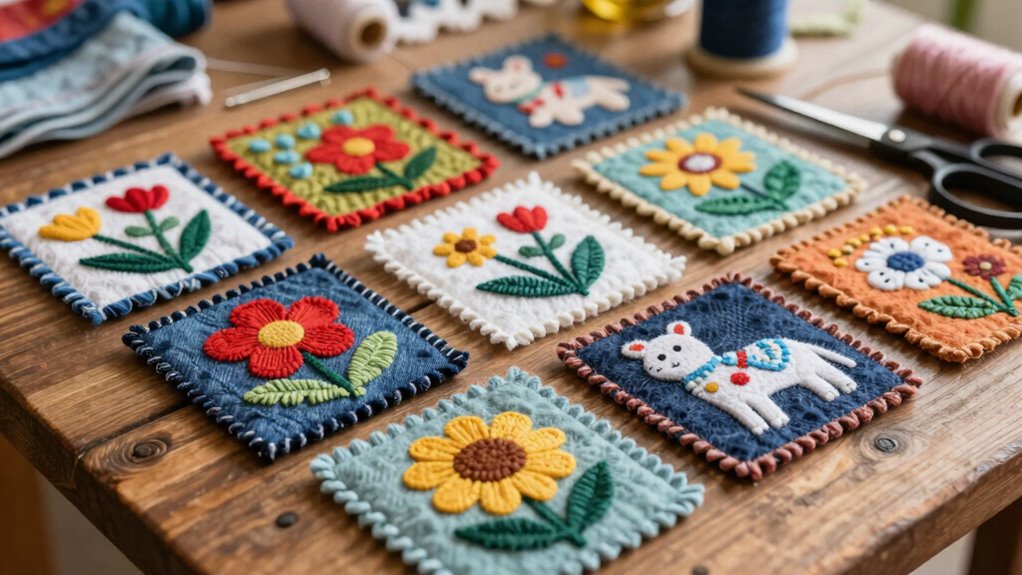
Once you’ve got your patches looking their best, it’s time to release your creativity and design some unique DIY patches. Consider using vintage themes for a nostalgic touch or nature motifs to celebrate the great outdoors. Geometric patterns can add a modern flair, while text art lets you express powerful messages. For a fun twist, incorporate pop culture references that resonate with you or animal illustrations that showcase your favorite creatures. If you’re feeling adventurous, try abstract designs that play with colors and shapes. Additionally, exploring color palettes can enhance your creative process, ensuring your patches are visually striking. Remember that choosing sustainable materials, such as eco-friendly fabrics, can make your patch-making even more impactful. Furthermore, using herbal baths can provide a relaxing atmosphere that stimulates your creativity while you work on your designs. Finally, personalize your patches with monograms to make them truly yours. Each design choice can reflect your personality, so let your imagination run wild! Additionally, exploring the best dishwasher cleaners can help you maintain the fabrics you use, ensuring they stay vibrant and fresh. Additionally, explore using clay bead bracelets as a creative embellishment to enhance your patch designs.
—
Let me know if you need any further modifications!
Troubleshooting Common Patch-Making Issues
While creating patches can be a fun and rewarding experience, you might encounter some common issues along the way. Here are a few to watch out for:
- Patch Alignment: If your patch isn’t aligned correctly, it can throw off the entire design. Use a fabric pencil to mark placement before securing it. Additionally, maintaining good indoor air quality can enhance your crafting environment, making it more enjoyable. A well-ventilated space with air purification systems can help reduce dust and allergens while you work.
- Adhesive Failure: Sometimes, the adhesive doesn’t hold up. Confirm your backing is compatible with your fabric, and consider adding extra stitching for durability.
- Color Bleeding: To prevent color bleeding, wash your fabric before use. This helps set the dye and keeps your design vibrant. Additionally, understanding small-space design principles can inspire creative ways to incorporate your patches into your decor. Keeping humidity levels in check is also crucial, as high humidity can affect dye stability and fabric integrity.
Frequently Asked Questions
Can I Use Old Clothes for Patch Materials?
Absolutely, you can use old clothes for patch materials! It’s a great way to embrace upcycling techniques while giving your garments new life. When selecting fabric, look for sturdy materials like denim or canvas that can withstand wear. Avoid thin, delicate fabrics that might fray easily. By choosing the right pieces, you’ll create durable patches that not only fix holes but also add a unique touch to your clothing. Get creative!
How Do I Remove Patches Without Damaging Fabric?
Imagine this: you’re peeling away a patch like unwrapping a gift, but you want to keep that fabric treasure intact. For patch removal, use gentle heat from a hairdryer to loosen the adhesive. Carefully lift the edges with a craft knife, and pull slowly. Remember these fabric care tips: test a small area first and avoid harsh chemicals. With patience, you’ll reveal the beautiful fabric beneath without a scratch.
What Are the Best Tools for Cutting Patch Shapes?
The best tools for cutting patch shapes include sharp fabric scissors, rotary cutters, and craft knives. These tools help you achieve precise patch designs. For intricate shapes, consider using a cutting mat to protect your surfaces. Utilize cutting techniques like straight cuts for simple shapes or curved cuts for more detailed designs. Always verify your tools are sharp to avoid fraying edges and to make your patch-making process smoother and more enjoyable.
Can I Wash Patches in a Washing Machine?
Yes, you can wash patches in a washing machine, but it’s essential to follow some patch care tips. Use a gentle cycle and cold water to protect the patch. Turn your garment inside out to minimize friction, and consider placing the item in a mesh laundry bag. Avoid using bleach or harsh detergents, as they can damage the patch. Following these washing tips will help keep your patches looking great longer!
How Long Do Homemade Patches Typically Last?
Homemade patches can last anywhere from a few months to several years, depending on patch longevity and fabric durability. If you use high-quality materials and secure them well, you’ll likely enjoy a longer lifespan. Regular washing and wear can affect their durability, so consider using fabric that withstands frequent laundering. By taking care of your patches, you can keep them looking great and functional for much longer.
Conclusion
Now that you’re armed with the ultimate guide to patch-making, you’re practically a craft wizard! With your durable backing methods and creative ideas, your patches will be so strong and stylish that they might just outlast the fabric they’re sewn onto. There’s no limit to what you can create—your wardrobe will become a masterpiece! So grab those materials, release your creativity, and watch as your DIY patches transform into legendary pieces that everyone will envy!