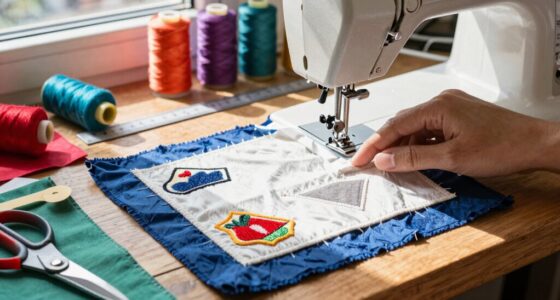
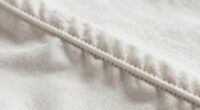
To achieve that boutique-quality rolled hem without the wavy mess, start by choosing the right tools, like a narrow hem foot and fine needles for lightweight fabrics. Fold the edge twice and press well to keep it flat. Make sure your stitch tension is correct, and don’t skimp on cleaning and maintaining your machine. If you’re struggling with waves, you can easily fix them with simple techniques. Keep going to discover more tips for a flawless finish!
Key Takeaways
- Choose lightweight fabrics for rolled hems to prevent wavy edges and achieve a polished finish.
- Use a narrow hem foot and fine needle to create crisp, clean edges on delicate materials.
- Press fabric edges before and after sewing to eliminate ripples and ensure a smooth appearance.
- Maintain consistent stitch tension and presser foot pressure to avoid fabric shifting during sewing.
- Regularly clean and oil your sewing machine to ensure optimal performance and prevent thread jams.

3Pcs Narrow Rolled Hem Sewing Machine Presser Foot Set (3mm, 4mm and 6mm) for All Low Shank Snap-On Singer, Brother, Babylock, Euro-Pro, Janome, Kenmore, White, Elna Sewing Machines
6mm, 4mm and 3mm rolled hem presser foot, Roll fabric edge and hem stitch at the same time
As an affiliate, we earn on qualifying purchases.
As an affiliate, we earn on qualifying purchases.
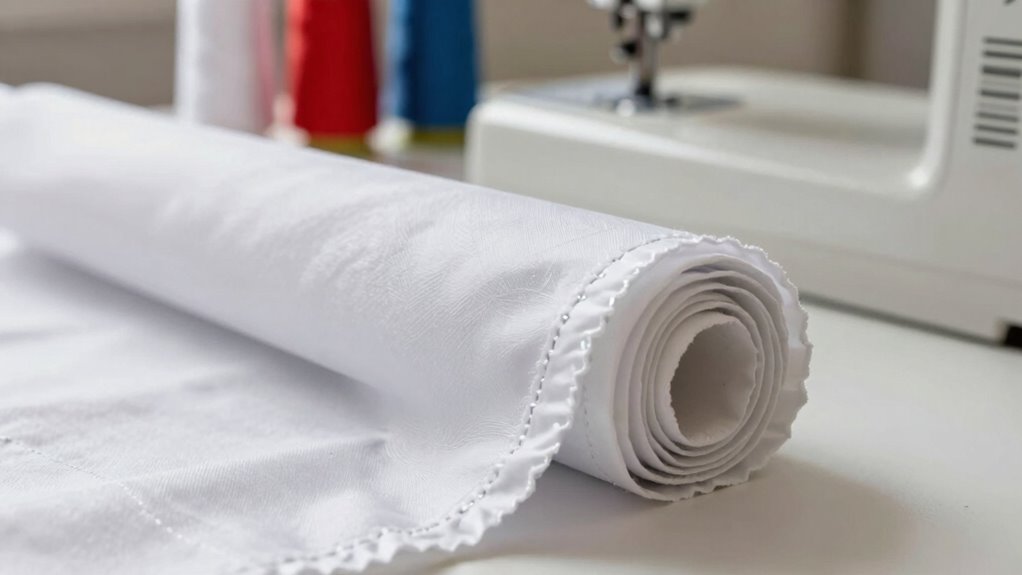
Rolled Hem Basics

When you’re ready to tackle rolled hems, knowing the basics can make all the difference. Rolled hems have a rich history, dating back to when seamstresses sought a neat finish for delicate fabrics. These hems not only enhance the aesthetic of garments but also provide durability, making them a popular choice in fashion. You’ll find rolled hems in various applications, from lightweight scarves to elegant table linens. Understanding the technique allows you to create that polished, boutique look without the wavy mess that often plagues less experienced sewists. Pressure washers can be useful for cleaning fabric before sewing, ensuring a pristine finish. Additionally, using effective stain removal techniques can help maintain the integrity of your fabrics during the sewing process. Mastering this skill can elevate your sewing projects, ensuring that each piece you create stands out for its quality and finesse. DIY enthusiasts emphasize the importance of practicing this technique to achieve consistent results. Immerse yourself in the details, and you’ll be well on your way!
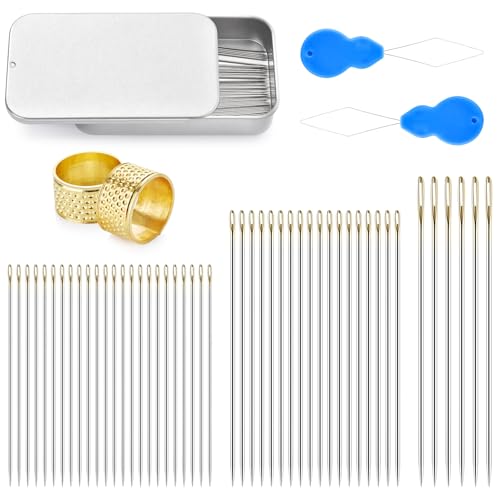
48 Pcs Sewing Needles, Small Eye Stainless Steel Needle with Threader and Thimble, Hand Sewing Supplies for Leather Cotton Fabric Denim, Small Eye Emergency Sewing Kit not Damaging The Leather
48Pcs Small-Eye Sewing Needles & Quilting Supplies: This embroidery needle set includes 48 small-eye hand sewing needles in…
As an affiliate, we earn on qualifying purchases.
As an affiliate, we earn on qualifying purchases.
How to Choose Tools for Rolled Hems

Mastering rolled hems is just the beginning; having the right tools can make the process smoother and more enjoyable. Selecting the right tool types is essential for achieving that polished look, especially considering fabric compatibility. Here’s a quick guide to help you choose the best tools:
| Tool Type | Fabric Compatibility |
|---|---|
| Serger | Lightweight to medium fabrics |
| Rolled Hem Foot | Lightweight fabrics |
| Bias Tape Maker | All fabric types |
| Needle & Thread | Compatible with fabric type |
Using the right tool can save you time and frustration. Investing in high-quality tools suited for your chosen fabric can significantly enhance your home care techniques, and you’ll be on your way to creating beautiful rolled hems effortlessly! Additionally, understanding safe operating procedures can further ensure a seamless sewing experience. For instance, choosing the appropriate fabric compatibility is crucial for achieving flawless results.

YLI Threads Woolly Nylon – Serger Thread for Stretch & Knit Fabrics – Red
Ultimate Stretch & Softness: Woolly Nylon is a textured looper thread that stretches effortlessly, ensuring your garments move…
As an affiliate, we earn on qualifying purchases.
As an affiliate, we earn on qualifying purchases.
Step-by-Step Guide to Achieving a Crisp Rolled Hem

Now that you’ve chosen the right tools, let’s get into how to achieve that crisp rolled hem you’re aiming for. You’ll need to follow some clear techniques to make the process smooth and effective. Let’s break it down step by step so you can master this skill.
Essential Tools Needed
To achieve a crisp rolled hem, you’ll need a few essential tools that make the process smoother and more efficient. First, invest in a sewing machine with adjustable settings; a narrow hem foot is particularly useful for this technique. Next, choose the right needle types—use a fine needle for lightweight fabrics and a larger one for heavier materials. A pair of sharp fabric scissors or a rotary cutter will help you achieve clean edges. Don’t forget quality thread that matches your fabric; this guarantees a polished finish. Finally, a measuring tape and fabric clips or pins will keep everything in place as you sew. With these tools, you’ll set yourself up for success! Additionally, having best fabric decorating markers on hand can allow you to personalize your projects with unique designs.
Step-by-Step Techniques
Achieving a crisp rolled hem involves a straightforward, step-by-step approach that anyone can master with practice. Start by folding the fabric’s edge twice, about 1/4 inch each time. Use an iron to press the folds flat; this sets your hem and minimizes wavy edges. Strength training fundamentals can help you develop the patience required for precise sewing techniques. Additionally, incorporating essential oils like lavender oil can help create a calming environment, making your sewing experience more enjoyable. Creating a smart workspace can further enhance your focus and efficiency, especially with smart furniture that keeps your tools organized and accessible. Next, secure the hem with pins or clips to hold it in place.
Now, using a straight stitch, sew along the edge, keeping your stitch close to the inner fold. Remember to backstitch at the beginning and end for durability.
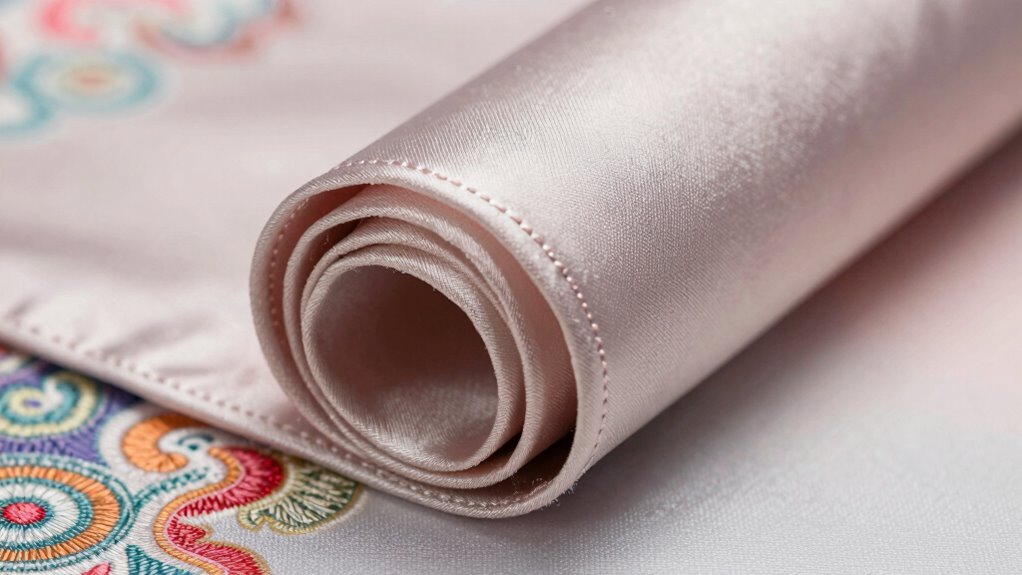
The rolled hem advantages include a professional finish and versatility in rolled hem applications, perfect for lightweight fabrics like chiffon or silk. Additionally, using a baking steel can help in achieving an even heat distribution, ensuring your fabric doesn’t shift while sewing. With these techniques, you’ll achieve that boutique look effortlessly!

Jeimier 5 Sizes Bias Tape Makers, Upgraded Bias Binding Tape Making Tool for Fabric Quilting Sewing, Quickly Customize, Solidly Bias Quilting Tool, 1/4IN 3/8IN 1/2IN 3/4IN 1IN
QUICKLY MAKE BIAS BINDING: The Jeimier 5 sizes professional Bias Tape Makers out of any fabric to match…
As an affiliate, we earn on qualifying purchases.
As an affiliate, we earn on qualifying purchases.
What Mistakes Cause Wavy Edges?

While mastering rolled hems can elevate your sewing projects, several common mistakes can lead to wavy edges. To guarantee your hems turn out beautifully, watch out for these pitfalls:
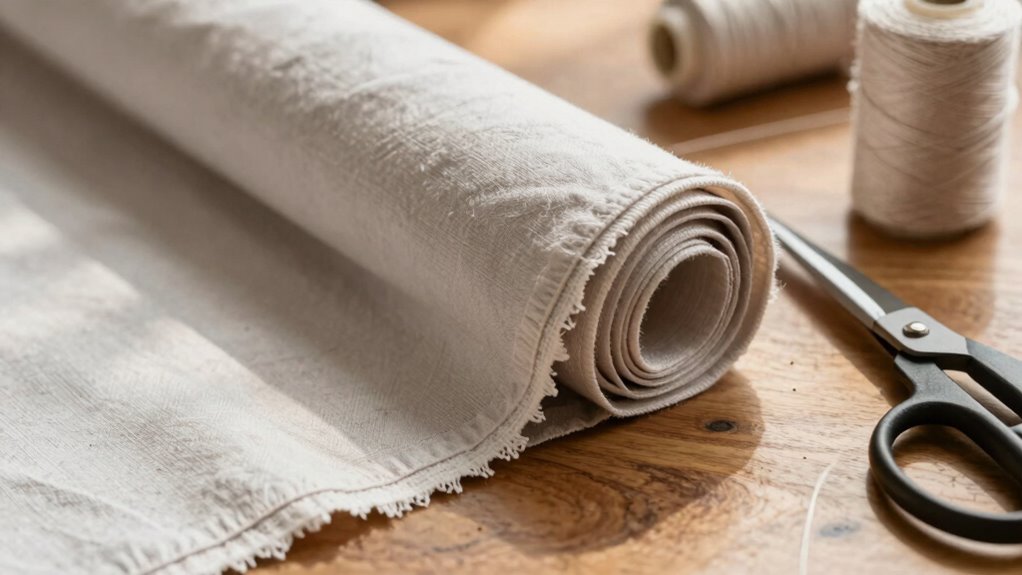
- Incorrect Fabric Selection: Choosing a fabric that’s too thick or stiff can create waves. Lightweight, drapey fabrics work best for rolled hems, as they enhance overall look and allow for smoother finishing. Additionally, using fabrics with better breathability can help prevent moisture buildup that may affect the hem. In small-space living, fabric choice is crucial to maximizing aesthetic appeal.
- Improper Stitch Tension: If your stitch tension is too tight, it can pull the fabric, causing it to ripple. Make sure to adjust your machine for an even, relaxed stitch.
- Neglecting to Press: Failing to press the hem before and after sewing can leave it wavy. Always press your fabric to set the stitches and flatten the edge. Additionally, maintaining your appliance settings can ensure consistent results and prevent unnecessary fabric distortion.
Avoid these mistakes, and you’ll achieve a polished, professional look!
Fixing Wavy Edges
If you’re struggling with wavy edges, understanding the causes is your first step to fixing them. You can use simple techniques to smooth out those pesky hems and achieve a clean finish. Let’s explore what you can do to get your fabric looking its best.
Understanding Wavy Hem Causes
Understanding the causes of wavy hems can save you time and frustration in your sewing projects. Wavy hems often result from improper fabric tension, incorrect sewing techniques, or issues with your presser foot. Here are three key factors to evaluate:
- Fabric Tension: If your fabric isn’t properly tensioned, it can pull unevenly, leading to wavy edges.
- Sewing Techniques: Using the wrong stitch type or length can exacerbate the wavy hem issue.
- Presser Foot: A presser foot that doesn’t apply even pressure can cause the fabric to shift, resulting in unwanted waves. Additionally, understanding proper fabric tension can significantly enhance your sewing outcomes and reduce the likelihood of wavy hems.
Techniques To Smooth Edges
Fixing wavy edges is essential for achieving a polished look in your sewing projects. Start by selecting the right edge finishing technique for your fabric types. For lightweight fabrics like chiffon or silk, consider using a narrow rolled hem or a bias tape finish to keep edges smooth. Heavier fabrics, like denim, benefit from pinking shears or a serged edge, which reduces fraying and keeps the edge flat.
Always press your seams as you sew; this helps eliminate waviness. If you notice any remaining waves, gently steam the edges while holding them taut. Remember, the right combination of techniques and attention to detail can elevate your project from homemade to boutique-quality. You’ll love the results!
Creative Variations on Rolled Hems
How can you elevate your sewing projects with rolled hems? By exploring creative variations, you can add a unique touch to your pieces. Here are three ideas to inspire you:
- Creative Fabric Choices: Opt for lightweight silks or organzas that drape beautifully and showcase the rolled hem’s elegance.
- Decorative Stitching Options: Experiment with contrasting thread colors or fun patterns to make your hems pop.
- Layered Hems: Combine different fabrics for a multi-textured look, using rolled hems to seamlessly integrate them.
These variations not only enhance the aesthetic appeal of your projects but also give them that boutique edge you’re after. Additionally, consider incorporating self-watering planters into your sewing projects for a practical touch that complements your creations. Embrace these techniques, and you’ll transform your garments from ordinary to extraordinary!
Maintaining Your Sewing Equipment for Optimal Results
While you immerse yourself in the world of rolled hems, keeping your sewing equipment in top shape is vital for achieving professional results. Regular sewing machine maintenance, like cleaning and oiling, prevents pesky thread jams and guarantees smooth operation. Don’t underestimate thread quality; using high-grade thread minimizes breakage and enhances your hem’s appearance. Additionally, high-impact recommendations can lead you to the best tools and supplies that will elevate your sewing projects. Regular checks on equipment calibration can also ensure precision in your sewing tasks. Maintaining the right investment strategy for your tools can also enhance their longevity and performance.
| Maintenance Task | Frequency |
|---|---|
| Clean machine | After every project |
| Oil moving parts | Monthly |
| Replace needle | Every 8 hours of use |
| Check thread quality | With each project |
Frequently Asked Questions
Can Rolled Hems Be Used on All Fabric Types?
Rolled hems can be used on many fabric types, but not all. You’ll find that lightweight fabrics like chiffon and silk work beautifully with rolled hem techniques, giving a polished look. However, heavier fabrics like denim or canvas may not roll as neatly, leading to bulkiness. It’s essential to evaluate fabric compatibility when choosing your project, ensuring your rolled hem enhances the overall finish instead of creating unwanted waves or distortions.
How Do I Prevent Fraying on Rolled Hems?
Think of your fabric as a delicate flower; you want to preserve its beauty. To prevent fraying on rolled hems, use fraying prevention techniques like zigzag stitching or serging the edges before rolling. Ironing the hem helps maintain a sharp finish, too. For rolled hem finishes, consider using a narrow hem foot on your sewing machine, which creates a clean edge and minimizes the risk of fraying. Your project will bloom beautifully!
What Needle Size Works Best for Rolled Hems?
For rolled hems, a size 70/10 or 80/12 needle works best. These needle types are fine enough to create a neat finish without causing fabric damage. Adjust your stitch tension to achieve the desired tightness; a slightly looser tension can help prevent puckering. Experiment with different fabrics to see how they respond, and don’t hesitate to switch needles if you’re working with thicker materials. Happy sewing!
Is It Necessary to Press Rolled Hems?
Yes, it’s necessary to press rolled hems. Using rolled hem techniques, pressing helps create a crisp, professional finish. When you press after stitching, you eliminate any waviness and guarantee the fabric lays flat. This step enhances the overall appearance, giving your project that boutique edge. Plus, it sets the stitches in place, reducing the chance of unraveling. So, don’t skip this important part of the process!
Can I Use a Serger for Rolled Hems?
Absolutely, you can use a serger for rolled hems! Think of it like a race car zooming around a track—when you adjust the serger settings for your fabric compatibility, it glides effortlessly. For lightweight fabrics, use a tighter stitch and a narrow cutting width. If you’re working with thicker materials, widen the settings a bit. With practice, you’ll achieve that clean, professional finish that makes your projects stand out.
Conclusion
In the garden of sewing, a well-formed rolled hem is your blooming flower. By choosing the right tools and mastering the technique, you cultivate a clean finish that stands out like vibrant petals. Remember, just as weeds can disrupt growth, wavy edges can mar your masterpiece. Tending to your tools guarantees they’re sharp and ready, nurturing your creativity. So, dig in, embrace the journey, and watch your boutique-style projects flourish with that perfect, crisp hem.