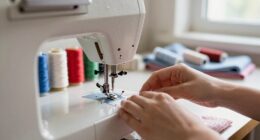
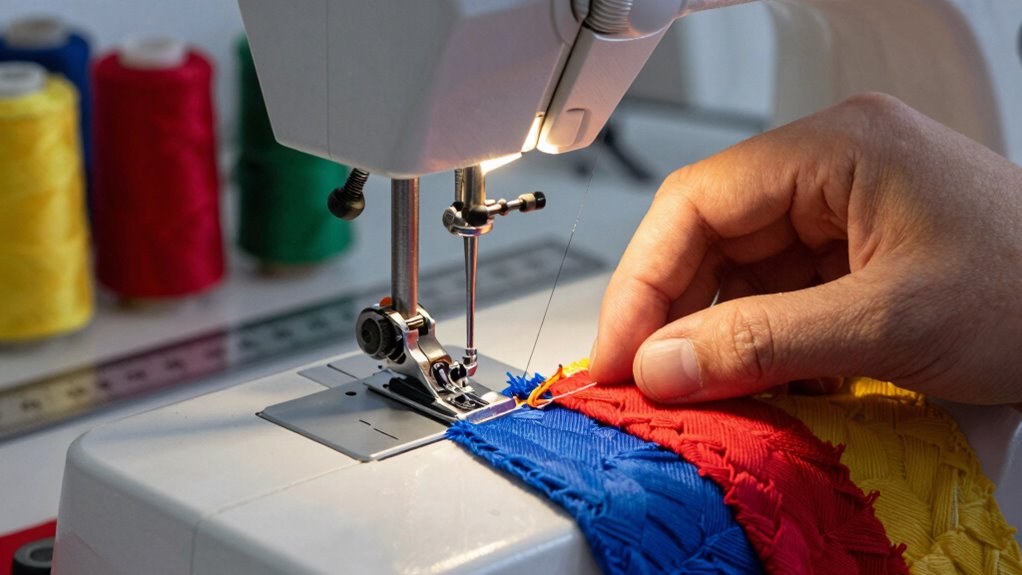
If you’re struggling with stitch quality, start by adjusting your top thread and bobbin tension. Test your settings by sewing on scrap fabric; look for loops or puckering as signs of imbalance. Remember, lighter fabrics need less tension while heavier ones require more. Confirm your threads flow smoothly without knots. If you notice ongoing issues, like thread breakage or uneven stitches, you might need professional help. Keep going to uncover more strategies and tips!
Key Takeaways
- Identify and adjust top thread and bobbin tension based on fabric weight and type for optimal stitch quality.
- Test stitch quality on scrap fabric, examining both sides for balance and making gradual tension adjustments as needed.
- Ensure the thread path is clear of twists or knots; re-threading may solve persistent tension issues.
- Match needle size with fabric type to prevent skipped stitches and uneven tension during sewing.
- Regularly maintain your machine and listen for unusual sounds to catch potential problems early.
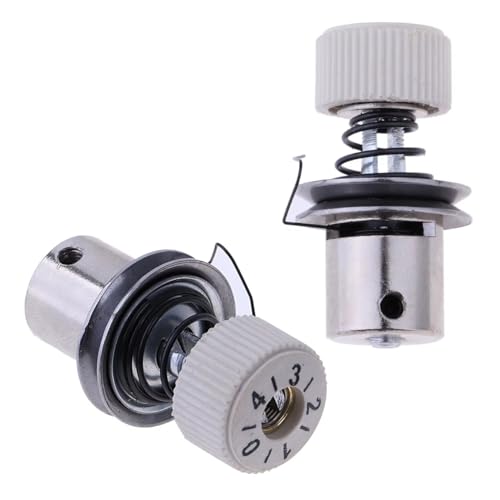
TorSor 2 Pack Thread Tension Assembly Replacement Tension Yarn Trapper Sewing Fittings Regulator Parts For Juki Sewing Machine DDL-5550 DDL-8700 DDL-5530 DDL-8100E DDL-8300N DDL-8500 J-350QVP DDL-8900
Package includes: 2 x Yarn Trapper
As an affiliate, we earn on qualifying purchases.
As an affiliate, we earn on qualifying purchases.
Common Symptoms of Tension Problems
When your sewing machine’s tension is off, you might notice several telltale signs that can disrupt your project. Irregular stitches, like loops or puckering, often arise from mismatched thread thickness and fabric type. If you’re using the wrong needle size or a subpar thread brand, those issues can worsen. Sewing speed also plays a role; too fast can lead to skipped stitches, while too slow can result in uneven tension. Pay attention to your stitch type; some require more precise tension settings. Consider your machine’s age and whether it’s due for a maintenance routine. Regular tension calibration is key. Always refer to your user manual for specific guidelines to keep everything running smoothly.

Superior Threads L-Style Towa Bobbin Tension Gauge – Measuring Tool for Quilting and Sewing Machine
TENSION GAUGE: The Towa Bobbin Tension Gauge is a must-have tool that helps measure thread bobbin tension
As an affiliate, we earn on qualifying purchases.
As an affiliate, we earn on qualifying purchases.
Understanding Sewing Machine Tension
Understanding Sewing Machine Tension
Understanding sewing machine tension is key to achieving perfect stitches. Tension affects how your thread interacts with different fabric weights and thread types. If your tension’s off, you might end up with uneven stitches or puckering. Additionally, the environmental impact of your materials can influence your choice of thread and fabric. Proper home organization of your sewing area can also contribute to maintaining consistent tension while you work. Keeping your space free from allergens can further enhance your comfort and focus, as a well-organized area promotes mental clarity during your sewing projects.
Here’s a quick reference to help you understand the relationship between thread types and fabric weights:
| Thread Types | Recommended Fabric Weights |
|---|---|
| Cotton | Light to Medium |
| Polyester | All Weights |
| Silk | Light |
Use this as a guideline to adjust your machine settings. Remember, matching the right thread type with the appropriate fabric weight guarantees smooth stitching, reducing frustration as you create beautiful projects. Additionally, maintaining filtration basics in your sewing machine can enhance its performance and stitch quality.
Superior Threads L-Style Towa Bobbin Tension Gauge – Measuring Tool for Quilting and Sewing Machine
TENSION GAUGE: The Towa Bobbin Tension Gauge is a must-have tool that helps measure thread bobbin tension
As an affiliate, we earn on qualifying purchases.
As an affiliate, we earn on qualifying purchases.
Adjusting Top Thread Tension: Quick Fixes
When you’re facing stitch quality issues, checking your top thread tension settings is an essential first step. Adjusting the thread path can also help guarantee smooth sewing. Let’s explore these quick fixes to get your sewing back on track.
Identify Tension Settings
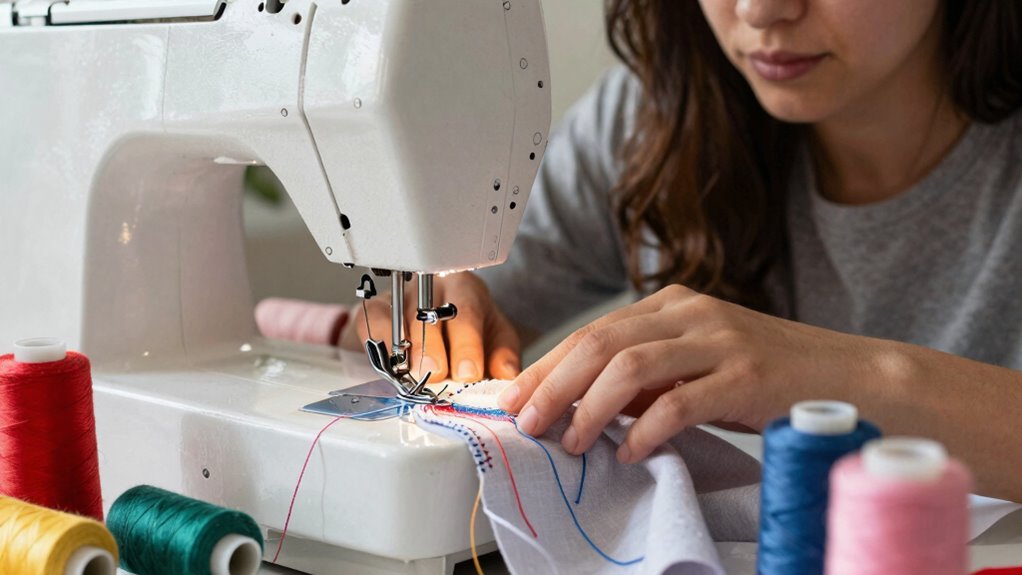
Identifying the right tension settings for your top thread can make all the difference in achieving flawless stitching. Start by considering the thread types you’re using; each type behaves differently under tension. For instance, cotton threads often require different settings than polyester or specialty threads. Additionally, using the correct HEPA filters can help maintain air quality in your sewing space, ensuring a comfortable environment for your projects. Furthermore, investing in anti-fatigue mats can enhance your comfort while standing at a sewing desk. Always remember that using essential tools can greatly simplify the adjustment process. Next, think about the fabric weights. Lighter fabrics, like silk, typically need less tension, while heavier materials, such as denim, might require more. To fine-tune your settings, test stitch on a scrap piece of your fabric. If the stitches look uneven or loose, adjust the tension in small increments. Remember, achieving that perfect balance will lead to professional-looking results and save you time in the long run. Additionally, understanding tool usage basics can help you make more informed adjustments for better outcomes. A well-calibrated tension setting can greatly enhance your sewing experience.
Adjust Thread Path
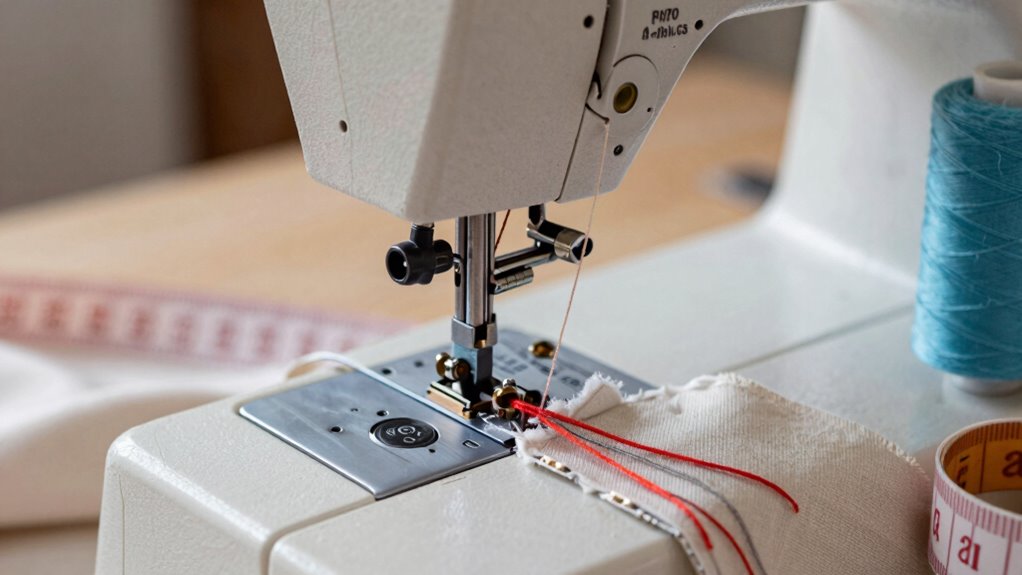
After you’ve set your tension, the next step is to guarantee your thread path is correctly adjusted. Check that your thread is properly threaded through the thread guide; any misalignment here can lead to inconsistent thread tension. Make sure the thread flows smoothly without any twists or knots. If the thread is snagged, it’ll affect how tightly it pulls, resulting in uneven stitches. You might need to re-thread your machine if you notice any issues. Once everything’s in place, test your stitch on a scrap fabric. If the tension’s still off, revisit your initial settings. Adjusting the thread path can make a significant difference in achieving that perfect stitch quality you’re aiming for. Additionally, ensuring your device is properly calibrated can enhance overall performance and reliability.

125 Pcs Sewing Thread Kit, 36 Assorted Colors Machine Threads with Spools, 400 Yards Prewound Bobbins Set with 50 Machine Needles (70/9, 75/11, 90/14, 100/16 110/18) for Universal Sewing Machines Use
【36 Colors Sewing Threads Set】Includes 36 pcs sewing thread spools and 36 pcs prewound bobbins with 36 different…
As an affiliate, we earn on qualifying purchases.
As an affiliate, we earn on qualifying purchases.
Adjusting Bobbin Tension
To achieve ideal stitch quality, adjusting the bobbin tension is essential. The right tension helps your stitches form properly, preventing issues like bunching or loose threads. Start by ensuring correct bobbin placement and use the appropriate thread type for your project. Additionally, maintaining color accuracy can enhance the overall quality of your sewing projects. Proper mobility and recovery techniques can also improve your sewing endurance and reduce strain. Understanding safe operating procedures is crucial to prevent accidents while sewing. Using effective floor scrubber techniques can also help you maintain a clean and organized workspace, contributing to a better sewing experience. Furthermore, a well-organized live audio gear setup can inspire creativity and focus while you sew.
Here’s a quick reference table to guide you:
| Tension Issue | Adjustment Needed | Recommended Thread Type |
|---|---|---|
| Loose stitches | Increase bobbin tension | Polyester or cotton |
| Tight stitches | Decrease bobbin tension | Silk or specialty threads |
| Uneven stitches | Adjust both top and bobbin | Standard sewing thread |
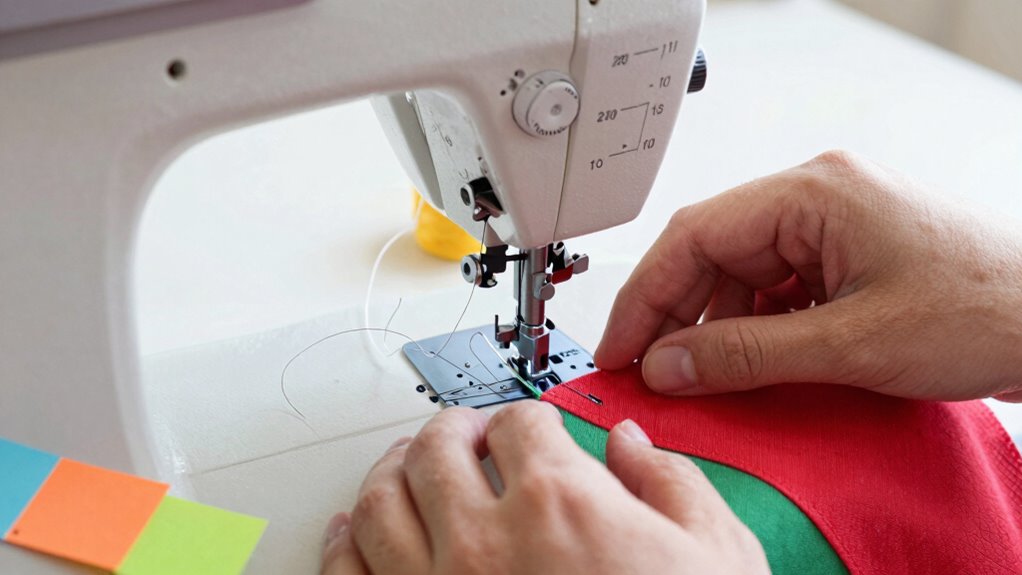
Testing Your Sewing Machine Tension Adjustments
Once you’ve made adjustments to your sewing machine’s tension, it’s crucial to test those changes to guarantee ideal stitch quality. Start by selecting a few different thread types, as each can behave differently under tension. Use tension tools, like a seam ripper or a ruler, to examine the stitches closely. Sew a few sample lines on scrap fabric, checking both the top and bottom sides. You want balanced stitches without loops or tightness. If you notice any issues, tweak the tension slightly and repeat the testing process. Remember, the goal is to achieve a smooth and even stitch, so don’t hesitate to make additional adjustments until you get it just right.
Frequent Tension Adjustment Mistakes to Avoid
While adjusting your sewing machine’s tension might seem straightforward, many common mistakes can lead to frustrating results. One frequent error is ignoring thread quality. Always use high-quality thread that matches your fabric type; poor thread can cause tension issues. Another mistake is not considering needle size. Using the wrong needle size for your fabric can throw off your tension settings and lead to skipped stitches or puckering. Don’t forget to check your needle regularly; a dull or bent needle can also affect tension. Finally, avoid making drastic adjustments. Small, gradual changes are more effective for achieving the right tension. By steering clear of these pitfalls, you’ll enhance your sewing experience and achieve better stitch quality.
When Should You Call a Pro for Help?
Sometimes, you might find yourself stuck with persistent tension problems that just won’t budge. If your machine needs complex repairs you can’t handle, it’s time to call in a pro. Don’t hesitate to seek help when the situation feels overwhelming; it could save you time and frustration.
Persistent Tension Problems
If you’ve tried adjusting your sewing machine’s tension settings but still face issues, it might be time to seek professional help. Persistent tension problems can stem from various sources, including incorrect needle size or fabric type. Don’t struggle alone; here are three signs it’s time to call a pro:
- Consistent Thread Breakage: If your thread keeps snapping despite adjustments, it’s a sign of underlying issues.
- Uneven Stitch Quality: If stitches remain inconsistent, even with a proper needle and fabric match, get an expert’s opinion.
- Machine Malfunctions: If your machine starts making unusual noises or jams frequently, it’s best to consult a professional.
Don’t hesitate to get help; it can save you time and frustration!
Complex Machine Repairs
When your sewing machine shows signs of complex issues, knowing when to seek professional help can save you both time and headaches. If you’ve tried basic troubleshooting and still face problems like unusual noises or inconsistent stitching, it’s time to contemplate a professional. Complex repairs often require specialized repair tools and expertise that go beyond routine machine maintenance.
Additionally, if you notice electrical issues or persistent mechanical failures, don’t hesitate to call a pro. Attempting to fix these problems yourself might lead to further damage. Remember, investing in expert help can extend your machine’s life and enhance your sewing experience. Trust your instincts—when in doubt, reach out for professional assistance.
Frequently Asked Questions
Can Improper Thread Type Affect Tension Settings?
Yes, improper thread type can definitely affect your tension settings. When you use a thread that doesn’t match your needle choice, you’ll likely encounter issues. For instance, thicker threads require larger needles, while finer threads need a more delicate touch. If you don’t guarantee thread compatibility, you might face uneven stitches or breakage. Always check that your thread and needle work well together to maintain ideal tension and achieve the best stitch quality.
How Often Should I Check My Machine’s Tension?
You might think checking your machine’s tension is a hassle, but it’s essential for peak performance. You should check your tension calibration every few projects or whenever you switch thread types. Regular tension maintenance helps prevent issues before they start, keeping your stitches smooth and even. By staying proactive, you’ll avoid frustration later on and enjoy a seamless sewing experience. So, make it a habit to check that tension!
What Tools Do I Need for Tension Adjustments?
You’ll need a few essential tools for tension adjustments. A tension gauge is vital for accurately measuring and adjusting your thread tension. It helps you achieve that perfect stitch. Don’t forget to keep some thread lubricant handy too; it can reduce friction and improve thread flow, making adjustments smoother. With these tools, you’ll be set to tackle any tension issues and guarantee your sewing projects turn out beautifully.
Does Fabric Type Influence Tension Requirements?
Absolutely, fabric type greatly influences tension requirements. Did you know that around 70% of sewing issues stem from mismatched fabric characteristics and thread compatibility? Different fabrics, like denim versus silk, require varying tension settings. Heavier fabrics often need tighter tension to prevent puckering, while lighter fabrics may require a looser setup for smooth stitches. Always adjust your tension based on the fabric you’re using to achieve the best stitch quality!
Can Environmental Factors Impact Sewing Machine Tension?
Yes, environmental factors can definitely impact your sewing machine tension. Humidity effects can cause threads to swell, altering how they feed through the machine. Similarly, temperature variations might affect the oils and lubricants in your machine, leading to inconsistent tension. To maintain ideal performance, keep your sewing area at a stable temperature and humidity level. This’ll help you achieve the best stitch quality in your projects.
Conclusion
Fixing tension issues in your sewing machine can be as simple as tuning a musical instrument. Just like a guitar string needs the right tightness for a perfect sound, your thread tension needs to be just right for flawless stitches. By following these quick tips, you can transform your sewing experience in minutes. So next time you notice those pesky loops or uneven stitches, remember: a little adjustment can make your project sing!