When you’re embroidering plush fabrics like towels, terry, and fleece, start by using the right stabilizers and larger ballpoint needles to avoid snags. Choose medium-weight polyester or rayon threads for beautiful sheen and durability. Lower the tension for thicker materials to prevent puckering. Make sure your fabric is pre-washed and smoothly hooped for the best results. With these tips in mind, you’ll be well on your way to creating stunning designs! You’ll discover even more techniques ahead.
Key Takeaways
- Use tear-away stabilizers and larger ballpoint needles to prevent snagging and ensure clean embroidery on plush fabrics like towels and fleece.
- Pre-wash plush fabrics with mild detergent to remove chemicals and brush the nap for a smooth surface before embroidering.
- Adjust thread tension according to fabric thickness; lower tension for thicker plush and higher for lighter materials to avoid puckering.
- Select medium-weight polyester or rayon threads for durability and sheen, enhancing the visual appeal of your designs.
- Conduct sample stitch-outs to test your setup and ensure proper hooping and fabric placement for crisp embroidery results.

Sulky Of America 275-08 Cut Away Plus Midweight Stabilizer, 7-2/3in x 8yds, White
Provides great permanent stability to stitch computerized embroidery designs, appliques, and monograms on outerwear like jackets, sweaters and…
As an affiliate, we earn on qualifying purchases.
As an affiliate, we earn on qualifying purchases.
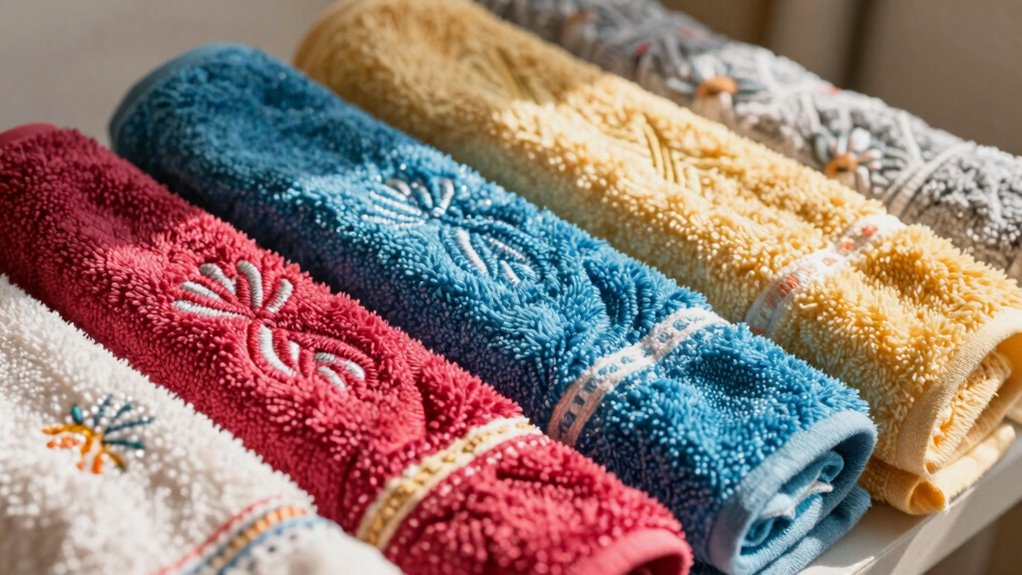
Introduction to Embroidering Plush Fabrics: Benefits and Basics
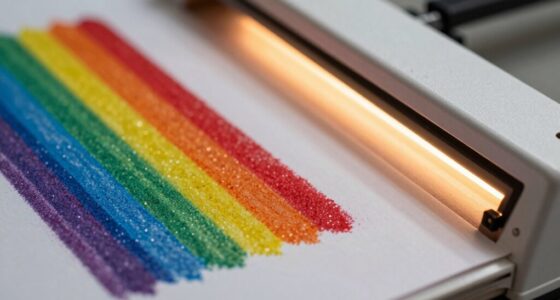
When you immerse yourself in embroidering plush fabrics, you’ll discover a world of texture and vibrancy that can elevate your projects. Plush fabrics like towels, terry, and fleece offer unique benefits, including softness and warmth. These fabric types require specific embroidery techniques to guarantee your designs look crisp and stand out. For example, using a stabilizer can help prevent puckering, while selecting the right needle size will make stitching smoother. You’ll also want to reflect on thread types that complement the plush texture, enhancing the overall appearance of your work. Embracing these aspects not only boosts your creativity but also leads to stunning finished pieces that showcase your skills beautifully. So, immerse yourself and start experimenting!

SCHMETZ Jersey Ball Point Sewing Machine Needles – Stretch Knit & Universal Supplies, Size 80/12, 5-Needle Cards, Pack of 1
Superior Control & Consistency: The SCHMETZ Jersey Ball Point needle features a rounded medium ball point design that…
As an affiliate, we earn on qualifying purchases.
As an affiliate, we earn on qualifying purchases.
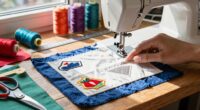
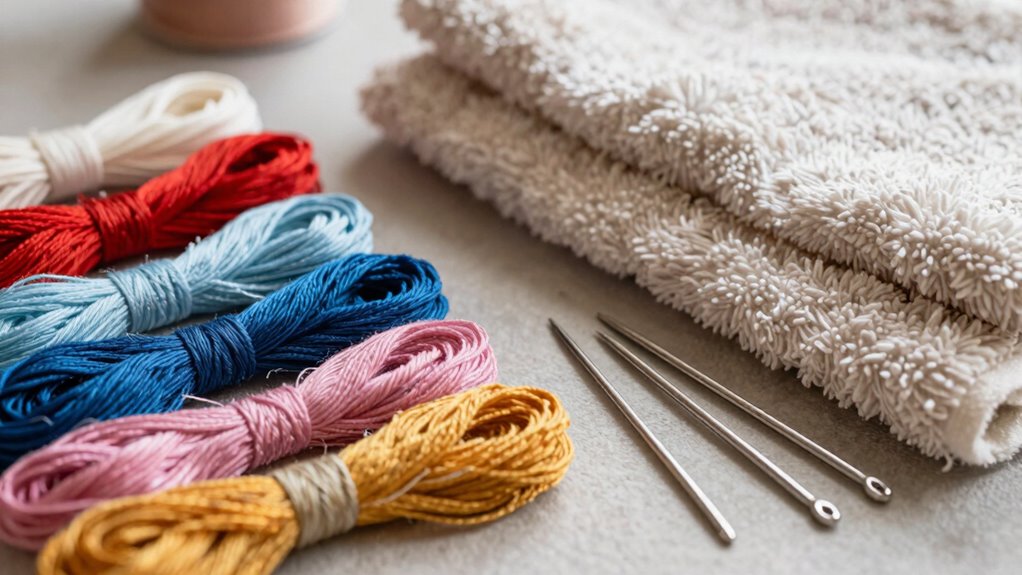
Essential Tools for Embroidering Plush Fabrics
To successfully embroider plush fabrics, you’ll need a few essential tools that make the process smoother and more efficient. These tools not only help you execute various embroidery techniques but also guarantee proper fabric care for your plush materials.
- Embroidery Hoop: A sturdy hoop keeps the fabric taut, preventing puckering during stitching. This is crucial for achieving smooth, clean lines that elevate your embroidery work and ensure consistent results throughout your projects. Additionally, using ergonomic tools can help reduce strain during long crafting sessions, enhancing comfort and well-being.
- Tear-Away Stabilizer: This adds support to plush fabrics, allowing for clean designs without damaging the material.
- Suction-Base Cutting Mat: This provides a stable surface for cutting and positioning your fabric, minimizing movement.
Having these tools on hand will make your embroidery journey enjoyable and successful, ensuring your plush projects look professional every time. Additionally, utilizing affordable DIY tools can enhance your crafting experience and lead to better results.

H.B.I. Products Wash Away Water Soluble Embroidery Stabilizer & Topping Roll 12" x 15 Yards, Clear Dissolving Film for High-Pile Fabrics, Machine & Hand Embroidery
QUALITY CONTROL FOR TEXTURED FABRICS: Designed as a water-soluble embroidery topping to prevent stitches from sinking into towels,…
As an affiliate, we earn on qualifying purchases.
As an affiliate, we earn on qualifying purchases.
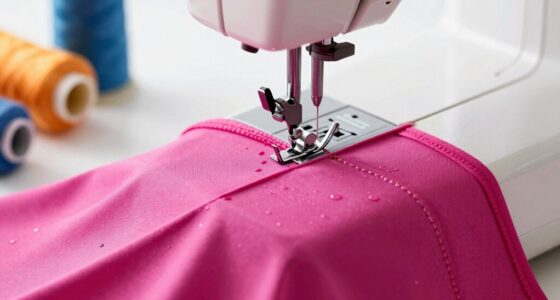
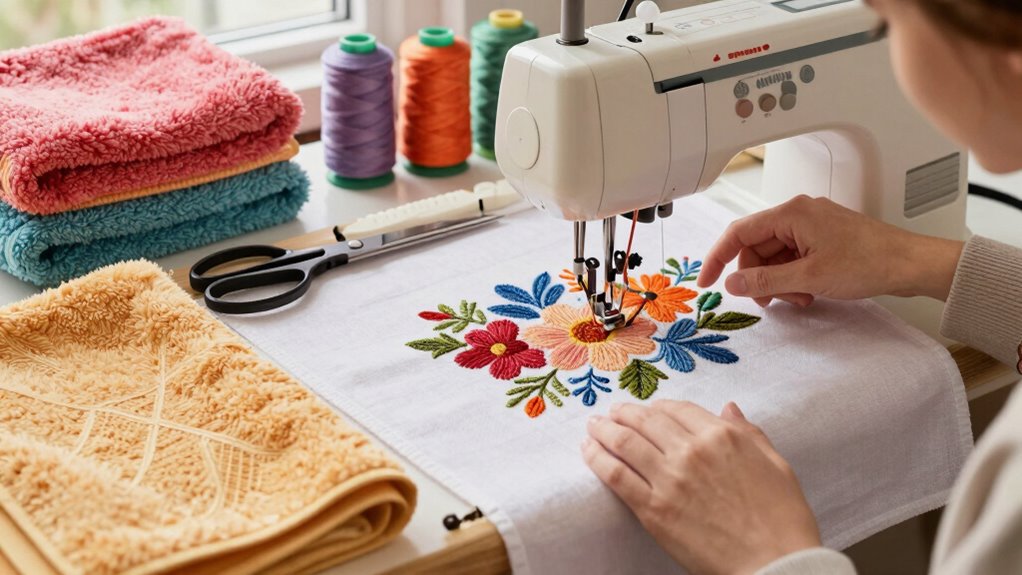
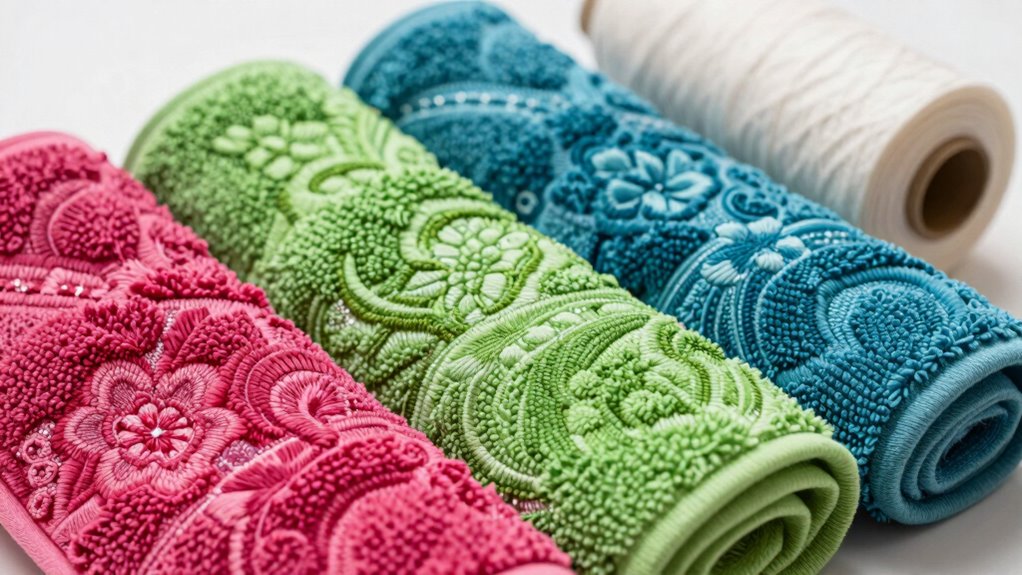
Choosing the Right Thread and Needle for Plush Fabrics
When working with plush fabrics, selecting the right thread and needle is essential for a successful finish. You’ll need to take into account the type of thread that best complements your fabric, as well as the appropriate needle size to avoid snagging. Don’t forget to adjust your tension settings to guarantee a smooth embroidery process.
Thread Type Selection
Thread Type Selection (Choosing the Right Thread and Needle for Plush Fabrics)
Choosing the right thread and needle for plush fabrics is essential for achieving a polished finish. The right thread not only enhances your embroidery effects but also complements the plush texture. Here’s what to keep in mind:
- Thread Type: Opt for polyester or rayon threads. They provide excellent sheen and durability, ensuring your design stands out. Additionally, high contrast ratios can make your embroidery designs pop against the plush fabric, enhancing visibility and overall appeal.
- Weight: Use a medium weight thread to balance the plush pile. This prevents the design from sinking or getting lost in the fabric.
- Thread Sheen: Choose threads with a slight shine for a vibrant look. This adds depth to your embroidery and elevates the overall appearance. Additionally, consider using essential oils for a calming environment, which can enhance your focus and creativity while working on your embroidery project.
Needle Size Matters
While selecting the right needle is essential for successful embroidery on plush fabrics, understanding the appropriate size can make all the difference. When working with plush materials, you’ll want to take into account both the fabric thickness and needle types. A larger needle, like a 90/14 or 100/16, is ideal for thicker fabrics, as it easily penetrates without causing damage. Meanwhile, a smaller needle, such as a 75/11, works best for lighter plushes. Choosing the right needle type, like a ballpoint for knits, helps prevent snags. Remember, using the correct needle size not only enhances your stitching but also guarantees a smooth embroidery experience, making your final project look professional and polished.
Tension Adjustments Needed
To achieve great results when embroidering plush fabrics, you’ll need to adjust your thread tension carefully. Different tension types work better depending on the fabric thickness and the project at hand. Here are three key adjustments to take into account:
- Lower Tension: For thicker plush fabrics, reduce tension to prevent puckering and guarantee the thread sits smoothly on the surface.
- Higher Tension: If you’re working with lighter plush materials, increase the tension to keep the stitches tight and defined.
- Test Swatches: Always run a test on a scrap piece to find the right balance. Additionally, consider using filtration/suction basics to ensure that your machine operates efficiently while embroidering.

Caydo 6 Pieces Embroidery Hoops 3 Inch to 10 Inch Cross Stitch Hoop Small Embroidery Hoop with 16 Pieces Needles for Embroidery, Punch Needle, Craft Sewing and Ornaments
Embroidery Hoop Set: 3.6 inch/9.2 cm, 4.8 inch/12.3 cm, 6.3 inch/16 cm, 7.9 inch/20 cm, 9.5 inch/24.2 cm,…
As an affiliate, we earn on qualifying purchases.
As an affiliate, we earn on qualifying purchases.
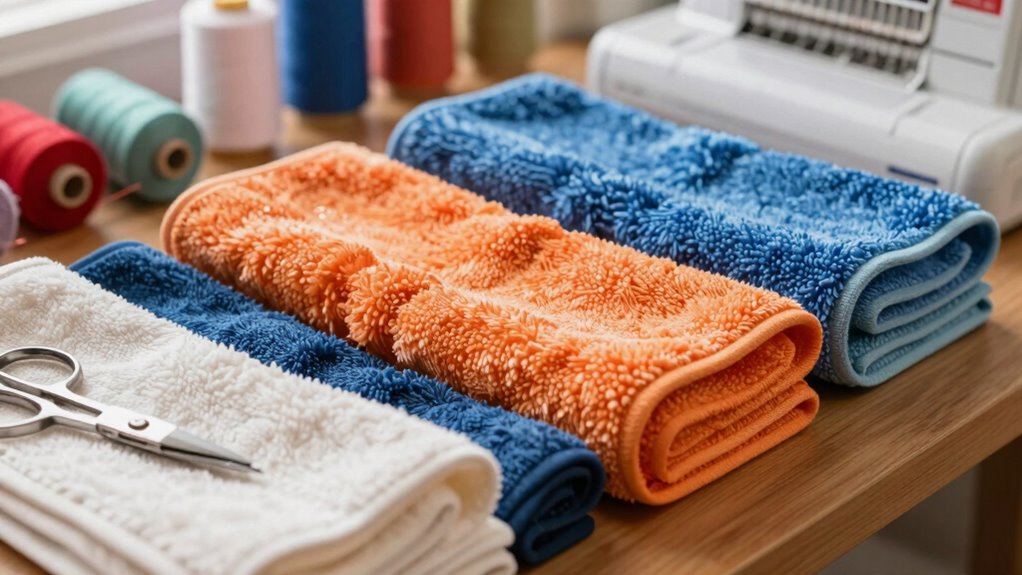
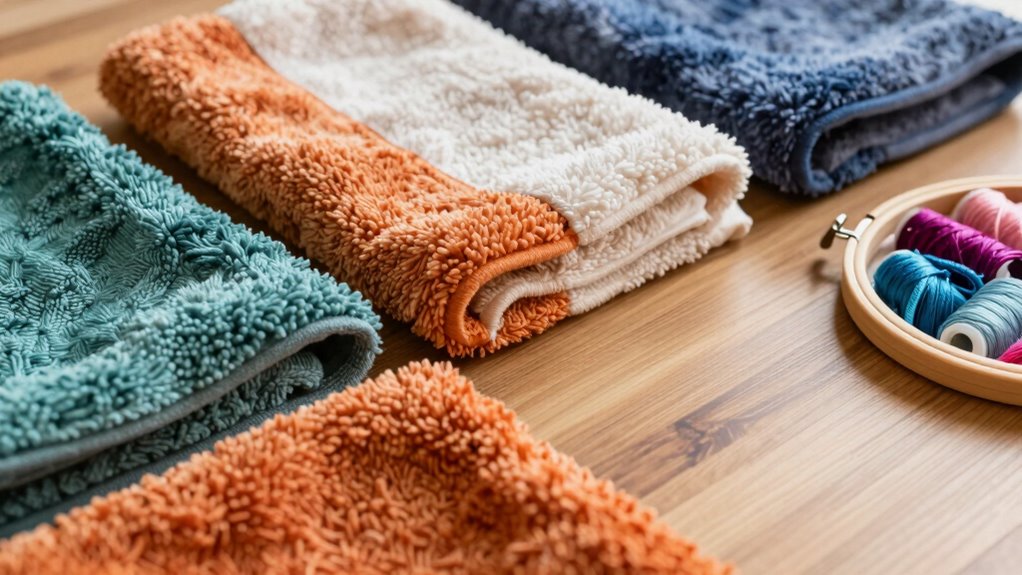
Getting Your Plush Fabric Ready for Embroidery
Sure! Here’s your revised content with the requested modifications:
—
Before diving into embroidery, you’ll want to prepare your plush fabric properly to guarantee the best results. Start with pre-wash preparation, which helps eliminate any chemicals or residues that might interfere with your design. Use cold water and a mild detergent to keep the fabric soft and maintain its color. Additionally, ensure that you avoid excessive moisture during the washing process, as it can lead to water damage that affects the fabric’s integrity. Proper washing techniques can also help prevent studio dividers from being damaged by the embroidery process.
Next, pay attention to the fabric nap. Plush fabrics have a unique texture that can affect how your embroidery looks. Gently brush the fabric in one direction to make sure the fibers lie flat before you start stitching. This helps give your embroidery a clean, professional finish. Additionally, remember that indoor air quality can be influenced by the materials you use, so opt for low-emission products when preparing your workspace. Proper preparation also helps minimize light therapy interference, ensuring your design remains clear and vibrant. Taking these steps will set you up for success, making your embroidery stand out beautifully on plush materials. Furthermore, understanding the importance of selecting the right tools can significantly enhance your embroidery experience and outcomes.
—
Feel free to let me know if you need any further modifications!
How to Stabilize Plush Fabrics for Embroidery Success
To achieve embroidery success on plush fabrics, you need to start with the right stabilizer. It’s essential to hoop the fabric securely to prevent any shifting during stitching. Additionally, using HEPA filters in your workspace can help reduce dust and debris, ensuring a cleaner environment for your embroidery project. Using the correct stabilizer type can also enhance the overall quality of your stitching. Moreover, maintaining a comfortable air quality in your workspace can contribute to a more enjoyable and successful embroidery experience. Let’s explore how these steps can make a difference in your project.
Choose The Right Stabilizer
Choosing the right stabilizer is essential for achieving flawless embroidery on plush fabrics, as the wrong type can lead to distortion or puckering. Here are three key stabilizers to take into account:
- Cutaway Stabilizers: Best for heavier plush fabrics, they provide support without stretching or distorting.
- Tear Away Stabilizers: Ideal for lighter plush materials, they allow for easy removal after stitching while keeping the design intact.
- Water Soluble Stabilizers: Great for delicate designs, they dissolve in water, leaving no residue.
When selecting a stabilizer, take into account the fabric weight and backing thickness to guarantee ideal results. Using the right stabilizer will enhance your embroidery’s longevity and appearance, making your project a success.
Hoop Plush Fabrics Securely
Securing plush fabrics in the hoop is essential for achieving precise embroidery results. Start by choosing the right hoop size; it should fit snugly around your fabric without causing distortion. Use proper hooping techniques, like placing your fabric on top of a stabilizer and guaranteeing it’s taut yet not stretched. Smooth out any wrinkles during fabric placement, as this will prevent puckering during stitching. To ensure effective results, it’s important to understand stabilizer types and their roles in the embroidery process. You can also use adhesive sprays or temporary fabric glue to keep the fabric in place. For extra security, consider using a double layer of stabilizer. Additionally, incorporating stabilizers for plush fabrics can enhance the overall quality of your embroidery. It’s also beneficial to choose lightweight designs that make the hooping process easier. Remember that proper kitchen ventilation can help reduce odors and moisture that may affect your workspace. Finally, always test your setup with a sample stitch-out to confirm everything holds as it should. This will boost your confidence and lead to successful embroidery on plush materials. Additionally, using anti-fatigue mats can enhance your comfort while standing and embroidering for long periods.
Overcoming Common Challenges in Plush Embroidery
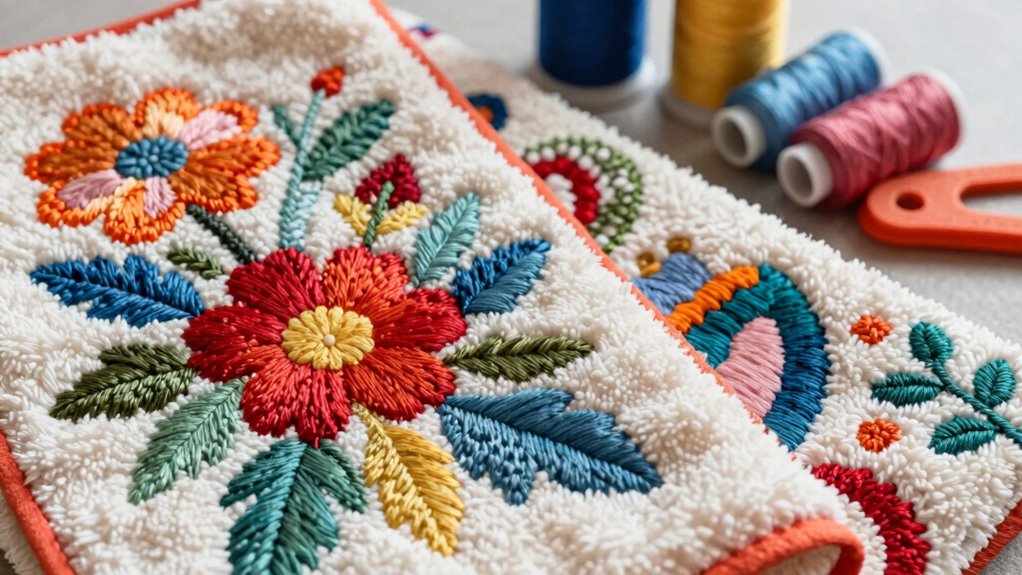
While plush fabrics offer a unique texture and aesthetic for embroidery, they also present several challenges that can be tricky to navigate. To overcome these issues, keep these tips in mind:
- Adjust Thread Tension: Too tight, and your stitches might sink into the fabric; too loose, and they can become fuzzy. Find a balance that works with your plush material.
- Use Appropriate Design Techniques: Opt for simpler designs with fewer details. Intricate patterns can get lost in the plush texture.
- Select the Right Needle: A larger needle can help pierce through the fabric without snagging, ensuring cleaner stitches.
Frequently Asked Questions
Can I Use a Regular Sewing Machine for Plush Embroidery?
Yes, you can use a regular sewing machine for plush embroidery! Just make sure you choose the right stabilizer options, like tear-away or cut-away, to support your design. You’ll also want to use a needle type suited for plush fabrics, such as a ballpoint or a larger size, to avoid damaging the material. With these adjustments, you’ll achieve great results and enjoy creating beautiful embroidered pieces on plush fabrics!
How Do I Wash Embroidered Plush Fabrics Without Damaging Them?
To wash embroidered plush fabrics without damaging them, you should use gentle fabric care techniques. Turn the fabric inside out to protect the embroidery, and wash it in cold water on a delicate cycle. Avoid bleach and harsh detergents, as they can harm the fibers. Air dry or tumble dry on low heat to maintain the plush texture. Following these washing techniques will keep your embroidery looking fresh and vibrant for longer.
What Types of Designs Work Best on Plush Fabrics?
Did you know that designs with a stitch count under 10,000 often yield the best results on plush fabrics? When you’re choosing your design size, aim for smaller, more intricate patterns that complement the fabric’s texture. For thread choice, opt for thicker, high-quality threads that stand out without sinking into the plush. This combination creates vibrant, durable embroidery that enhances the softness rather than detracting from it.
Can I Use an Embroidery Machine for Terry Cloth?
Yes, you can definitely use an embroidery machine for terry cloth! To achieve the best results, use appropriate embroidery techniques and fabric stabilizers. A tear-away stabilizer works well to support the plush texture, preventing distortion during stitching. Make sure to select a needle designed for thicker fabrics, and consider using a larger design to enhance visibility. With the right setup, you’ll create beautiful, professional-looking embroidery on terry cloth.
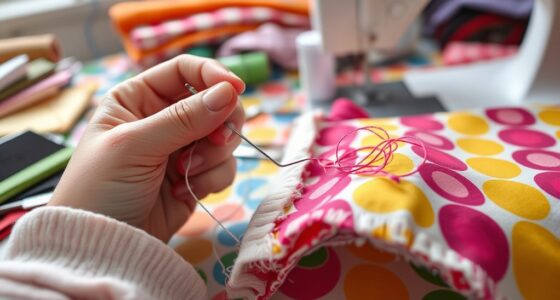
How Do I Fix Mistakes in Plush Fabric Embroidery?
To fix mistakes in plush fabric embroidery, you’ll need to focus on error correction and stitch removal. First, carefully inspect the area to identify the mistakes. Next, use a seam ripper or small scissors to gently remove the incorrect stitches without damaging the fabric. Once everything’s clear, rehoop your fabric, adjust your design if necessary, and stitch again. With patience and precision, you can restore your project to perfection!
Conclusion
Embroidering plush fabrics can feel like crafting a masterpiece from a canvas of clouds. With the right tools, techniques, and a little patience, you can transform towels, terry, and fleece into personalized treasures. Remember to choose your thread carefully, stabilize properly, and tackle challenges head-on. As you practice, your skills will flourish, allowing you to create stunning designs that stand out. So, immerse yourself and let your creativity shine like a beacon in the night!