
Feeling anxious about free-motion quilting? Start with simple loops to build your confidence; they’re perfect for mastering flow and tension. Next, experiment with basic shapes like circles and squares to release your creativity. Finally, try stippling to enhance your designs and improve your rhythm. These practices will make quilting enjoyable and less intimidating. Keep at it, and you’ll discover even more tips and techniques to elevate your quilting journey.
Key Takeaways
- Begin with simple loops to build confidence and improve flow without the pressure of perfection.
- Practice basic shapes like circles and triangles to enhance creative expression and cohesion in your designs.
- Incorporate stippling for smooth transitions and to develop consistent quilting rhythm and control.
- Choose contrasting thread colors to make your stippling stand out and highlight your progress.
- Create a comfortable and organized workspace to reduce anxiety and encourage regular practice.

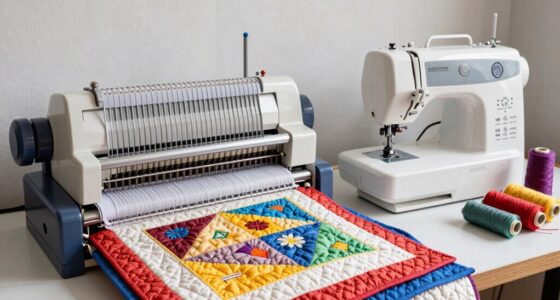
HONEYSEW Free Motion Quilting Template Series 5 with Quilting Frame for Domestic Sewing Machine Ruler (Swirl Template)
- Series 5 Free Motion Quilting Template: For domestic sewing machines
- Includes Swirl Ruler: One internal quilting ruler
- Versatile FMQ Templates: Supports various quilting patterns
As an affiliate, we earn on qualifying purchases.
As an affiliate, we earn on qualifying purchases.
Step 1: Practice Simple Loops to Build Confidence
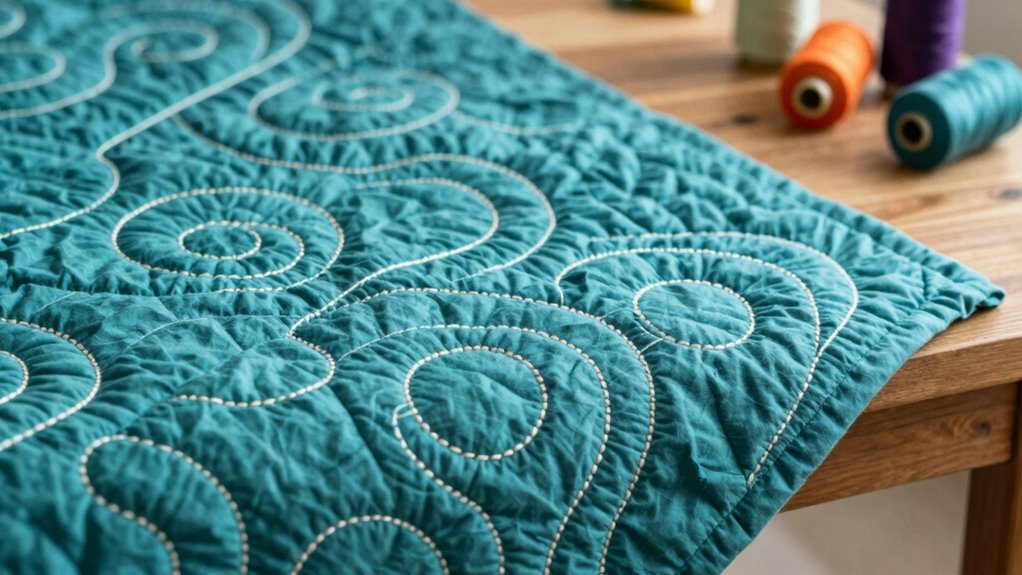
To kick off your free-motion quilting journey, start by practicing simple loops. These loops are the foundation of many designs, so getting comfortable with them is key. Begin with basic loops, then explore loop variations—like different sizes and shapes—to expand your skills. As you practice, focus on maintaining an even flow and consistent tension. This repetition is fantastic for confidence building, helping you feel more relaxed and in control of your machine. Don’t worry about perfection; just enjoy the process! With each loop, you’ll notice your precision improving. Soon, you’ll find your creativity blossoming, ready to tackle more complex patterns. Embrace this step, and you’ll set a solid groundwork for your quilting adventures ahead.
Step 2: Use Basic Shapes for Creative Freedom
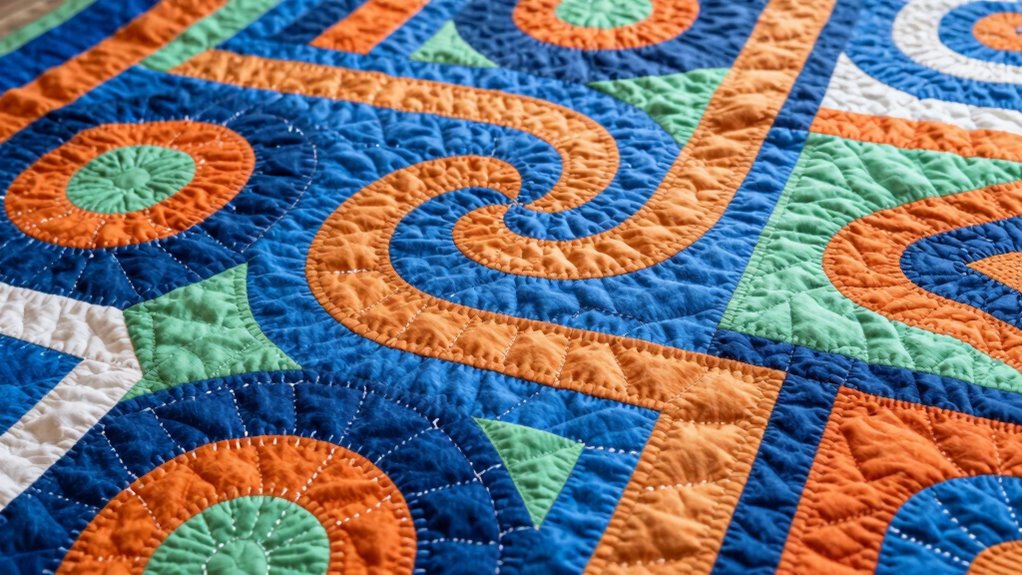
Exploring basic shapes can open a world of creative possibilities in your free-motion quilting. By starting with simple circles, squares, and triangles, you’ll find it easier to express your unique style. Experiment with scale variations to add depth and interest to your designs. For instance, a large circle surrounded by smaller ones can create a dynamic focal point. Incorporating different shape combinations can enhance your overall design and creativity. Don’t hesitate to mix shape combinations; layering shapes can lead to stunning results. As you practice, focus on smooth shifts between shapes to maintain a cohesive look. This approach not only boosts your confidence but also transforms your quilting into an art form. Remember that using the right music gear can greatly improve your creative process by providing a conducive environment. Additionally, maintaining proper filtration systems in your quilting space can help reduce dust and debris, ensuring a cleaner work area. Understanding tool maintenance is also essential to ensure your quilting machine operates smoothly. Immerse yourself in these basic shapes, and watch your creativity flourish!
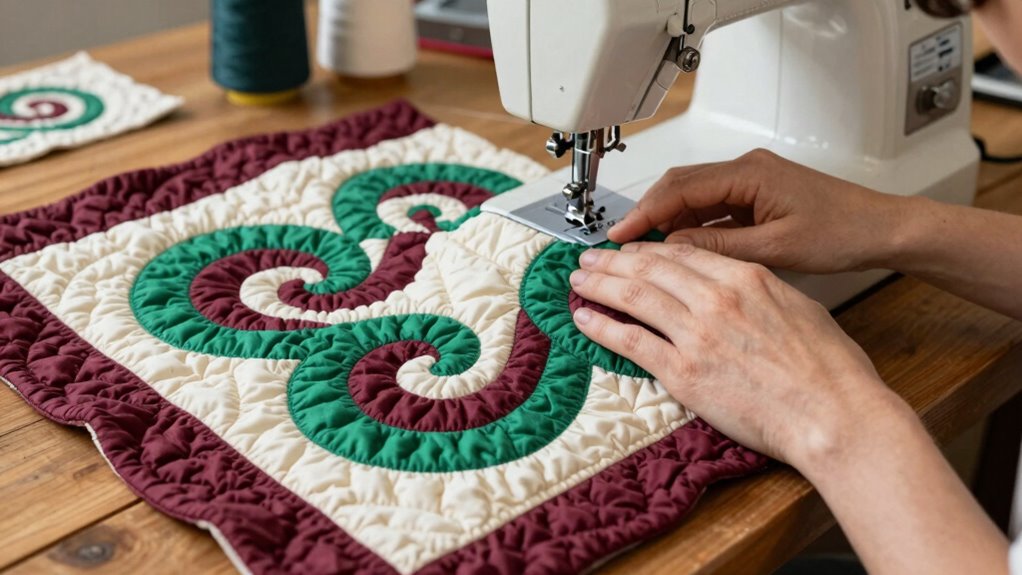
Step 3: Get the Hang of Stippling for Smooth Flow
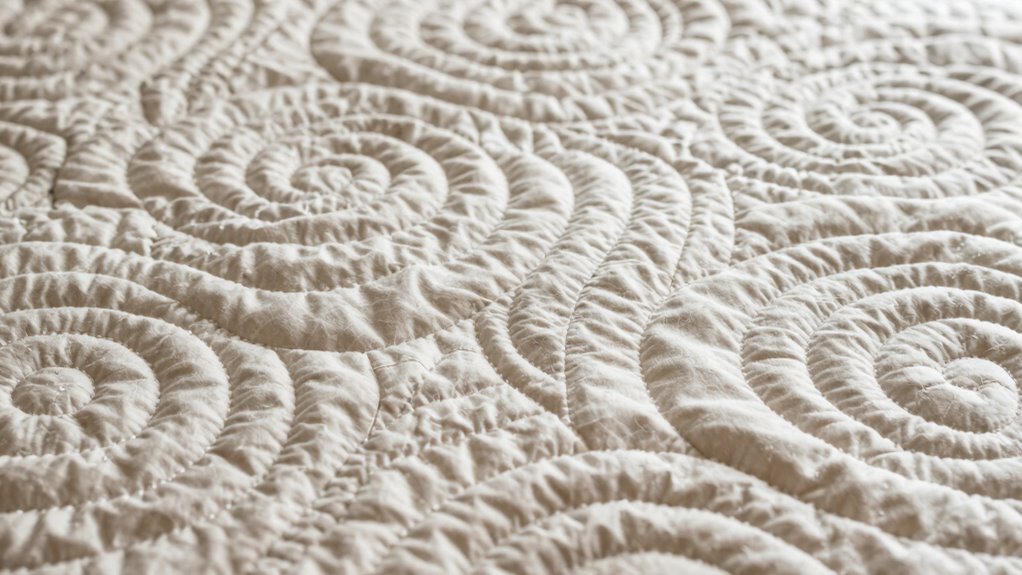
Building on your experience with basic shapes, stippling is a fantastic technique to introduce smooth flow into your quilting. This method helps you create intricate flow patterns, enhancing the overall design. To master stippling techniques, focus on maintaining a consistent quilting rhythm. Here are some practice tips to get you started:
| Practice Tip | Description | Benefits |
|---|---|---|
| Start Small | Use small shapes to build confidence | Easier to control your flow |
| Vary Your Directions | Change angles and curves | Improves versatility |
| Keep a Steady Speed | Maintain even pressure on the pedal | Guarantees consistent stitches |
| Use a Good Thread | Choose a contrasting color | Highlights your stippling |
| Practice Regularly | Dedicate time each week | Builds muscle memory |
With consistent practice, you’ll find your stippling becomes smoother and more fluid. This technique allows you to create intricate flow patterns, which can really elevate your quilting projects.
Frequently Asked Questions
What Tools Do I Need for Free-Motion Quilting?
To get started with free-motion quilting, you’ll need a few essential supplies. First, grab a quilting machine with a free-motion foot, which lets you move the fabric easily. You’ll also want quality thread, a rotary cutter, and a cutting mat. Don’t forget the right needles and a good supply of fabric. Finally, invest in a ruler and a quilting glove for better control. With these quilting tools, you’re ready to create!
How Do I Set up My Sewing Machine for Free-Motion Quilting?
To set up your sewing machine for free-motion quilting, start by lowering the feed dogs or using a cover plate. Adjust your machine settings to a straight stitch and guarantee your thread tension’s balanced; you might need to experiment a bit. Use a free-motion quilting foot to maintain control. Finally, select a suitable needle and thread type for your fabric to assure smooth stitching. You’re ready to create!
Can I Practice Free-Motion Quilting Without a Quilt Sandwich?
You can definitely practice free-motion quilting without a quilt sandwich—it’s not the end of the world! Grab alternative materials like fabric scraps or even paper to try out your practice techniques. These options let you focus on movement and patterns without the pressure of a full quilt. Plus, they’re a great way to get comfortable with your machine. So go ahead, plunge in and let your creativity flow!
What Kind of Fabric Is Best for Beginners?
For beginners, cotton fabric is your best bet. It’s easy to work with and holds up well during free-motion quilting. Look for quilter’s cotton, as it comes in various prints and colors, making your projects fun. Avoid slippery or stretchy fabrics like knits or silks at first. As a beginner tip, practice on smaller pieces to build confidence before tackling larger projects. You’ll find your rhythm and enjoy the process!
How Do I Overcome Frustration While Learning to Quilt?
To overcome frustration while learning to quilt, focus on mindset techniques that help shift your perspective. It’s easy to feel overwhelmed, but remember that mistakes are part of the journey. Incorporate calming exercises, like deep breathing or short breaks, when you feel stuck. Celebrate small victories and keep your goals realistic. Embrace the process, and you’ll find joy in your progress, making each step a rewarding experience rather than a source of stress.
Conclusion
As you embrace these practice designs, think of each stitch as a stepping stone on your quilting journey. Just like a river flows smoothly around obstacles, let your creativity guide you through the curves and shapes. With every loop and stipple, you’re not just stitching fabric; you’re weaving confidence into your craft. So, pick up that needle, and remember: each small effort builds a masterpiece. Your quilt is waiting to tell your unique story.