When it comes to exposure time, understanding its impact on your images is key. You’ll find that the right duration can transform a blurry shot into a crisp masterpiece. It’s all about balancing light, shutter speed, and ISO to create the perfect exposure. Experimenting with these settings lets you capture motion or stillness as you see fit. Master these techniques, and you’ll elevate your photography. There’s so much more to explore on achieving stunning results!
Key Takeaways
- Understand the exposure triangle—aperture, ISO, and exposure time—to achieve well-balanced and crisp images.
- Utilize light metering techniques to accurately assess light conditions and adjust exposure time accordingly.
- Experiment with shutter speeds to either freeze motion for sharp images or create a sense of movement through intentional blur.
- Analyze histograms to evaluate highlights and shadows, ensuring optimal exposure without losing detail.
- Apply exposure compensation strategically to align with your artistic vision and enhance overall image clarity.

ATLI 1080P Time Lapse Camera WiFi HDR APP Control Real-time Preview Timing Shooting Manual Focus Timelapse Video Camera for Indoor Flower Plants Weather Remote Access (White Camera with Black case)
【Easy Timelapse & Instant Sharing】 ATLI is a Full HD time-lapse camera that captures photo sequence files and…
As an affiliate, we earn on qualifying purchases.
As an affiliate, we earn on qualifying purchases.
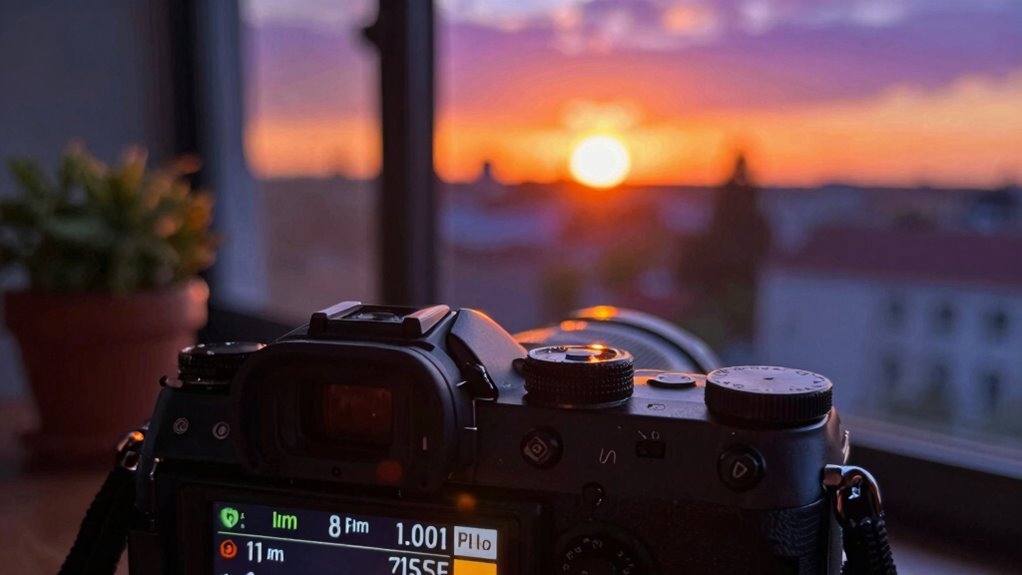
What Is Exposure Time and Why Does It Matter?
Exposure time is the duration your camera’s sensor is exposed to light when capturing a photo, and it plays a crucial role in determining your image’s brightness and motion effects. Understanding exposure importance helps you take control of your photography. Many people fall victim to exposure misconceptions, believing that longer exposure always leads to better images. In reality, the right exposure time depends on the scene and your artistic intent. Too long can result in blurriness from motion, while too short might leave your images too dark. By mastering exposure time, you can create stunning visuals that capture the moment perfectly. So next time you snap a photo, remember: the right exposure can make all the difference.

OfeooAi 3-Pack Magnetic ND Filter for DJI Neo 2 (ND8/ND16/ND32) – Master Exposure in Sunlight, Enable Smooth Motion Blur and Optimal Shutter Speed for Professional Aerial Videography
Magnetic Mount System — Swap Filters in 1 Second Forget about screwing or snapping! Our innovative system uses…
As an affiliate, we earn on qualifying purchases.
As an affiliate, we earn on qualifying purchases.
The Relationship Between Exposure Time and Lighting Conditions
When shooting in varying lighting conditions, understanding how exposure time interacts with available light is vital. Light intensity plays an important role in your exposure calibration. The ambient influence can shift dramatically, affecting scene dynamics. You’ll want to conduct a contrast evaluation to guarantee proper exposure. Use histogram analysis to visualize your image data and make necessary lighting adjustments. Remember that sensor sensitivity varies, so adjust your exposure compensation accordingly. Additionally, mastering cleaning techniques for your shooting environment can ensure optimal conditions. Regularly maintaining filtration systems can also enhance air quality, providing a better backdrop for your shoots. Smart lighting can help create the ideal atmosphere for your photography by adjusting brightness and color temperature. Pay attention to color temperature as well; it can impact your final image quality. Furthermore, understanding contrast ratios is essential, as they can significantly affect your image clarity and depth. Be aware of how microplastics in dust can affect indoor air quality, potentially influencing shooting environments. By mastering these elements, you’ll harness the power of exposure time to capture crisp, vibrant images, regardless of the lighting conditions you face.
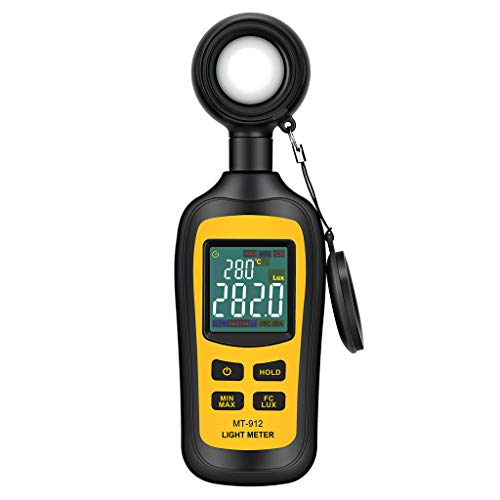
Light Meter Digital Illuminance Meter Handheld Ambient Temperature Measurer, Range up to 200,000 Lux, Luxmeter with 4 Digit Color LCD Screen
Measures luminosity from 0 to 200,000 Lux and ambient temperature
As an affiliate, we earn on qualifying purchases.
As an affiliate, we earn on qualifying purchases.
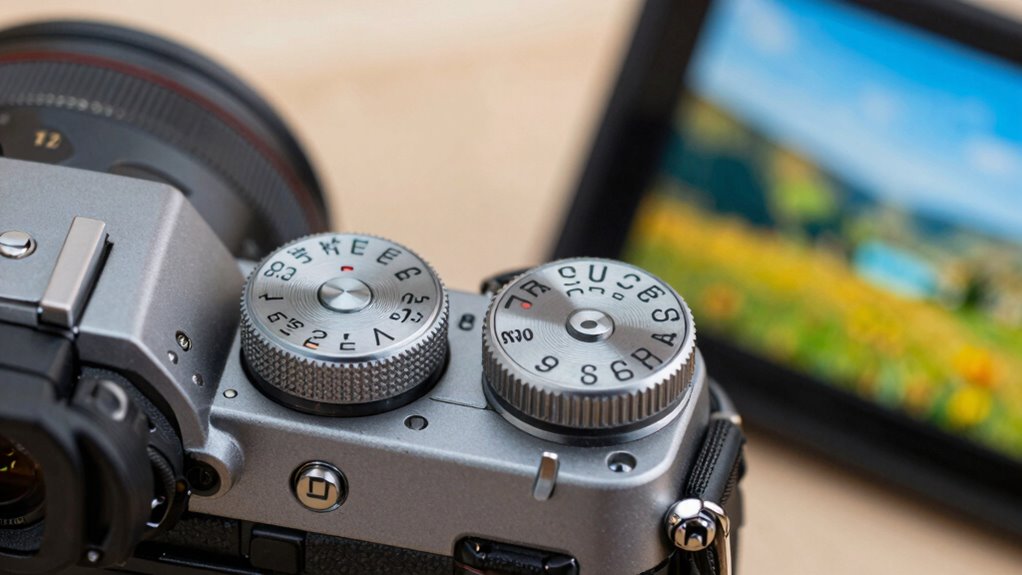
How Shutter Speed and Exposure Time Affect Your Images
Shutter speed plays an essential role in shaping your images, influencing everything from clarity to motion. You’ll notice how adjusting it can create striking motion blur or help you capture sharp details in low light. Understanding these basics will elevate your photography skills and enhance your creative expression.
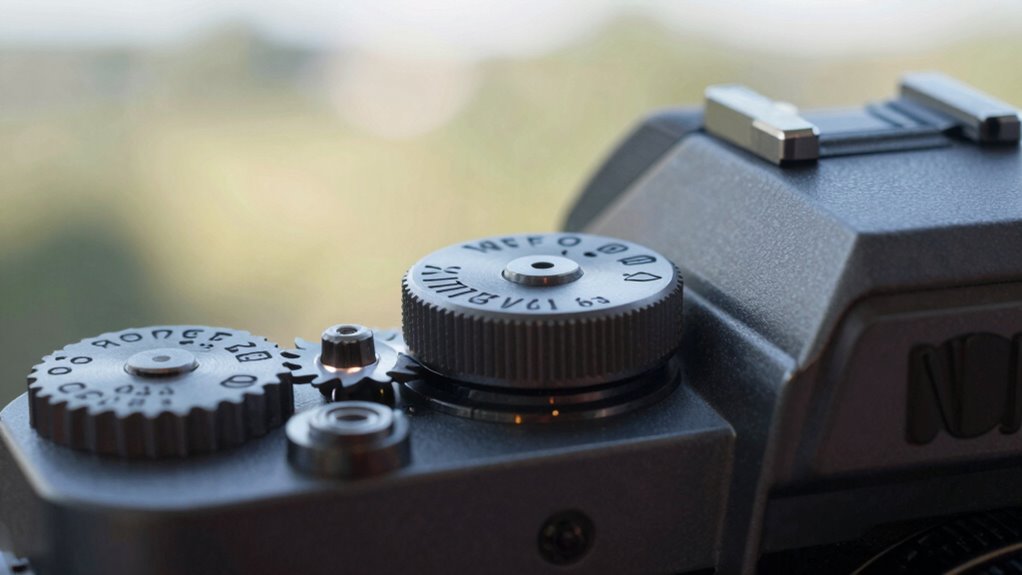
Shutter Speed Basics
Understanding shutter speed is essential for capturing images that convey the right mood and detail. Shutter speed refers to the length of time your camera’s shutter remains open, allowing light to hit the sensor. It directly influences your exposure settings, affecting how bright or dark your images will appear. A fast shutter speed freezes motion, perfect for action shots, while a slow shutter speed lets in more light, ideal for low-light situations. By mastering shutter speed, you can achieve the desired effect in your photos, whether you want crisp images or a more dramatic ambiance. Experimenting with different speeds helps you learn how to balance exposure and creativity, leading to stunning results you’ll be proud to share. Additionally, understanding camera settings can enhance your ability to manage light and motion effectively. Moreover, knowing the fundamentals of exposure can help you make informed choices about your shutter speed and its impact on your photography. Using proper kitchen ventilation can also help improve your photography environment by reducing unwanted reflections and glare from light sources.
Motion Blur Explained
While capturing motion is often a creative choice, the impact of shutter speed and exposure time on your images can be profound. Understanding motion blur types, like directional blur and overall blur, helps you control how movement appears in your photos. A fast shutter speed freezes action, minimizing motion blur effects, while a slower speed creates a sense of movement, enhancing dynamic scenes.
If you’re shooting a moving subject, experiment with varying shutter speeds to discover how each setting changes the image’s feel. You’ll see how brief exposure can result in sharpness, while longer exposure introduces fluid motion, bringing your images to life. Mastering these techniques will elevate your photography, allowing you to convey emotion through motion. Additionally, integrating empathy-driven design into your photography approach can help you better understand how viewers perceive movement and emotion in your images.
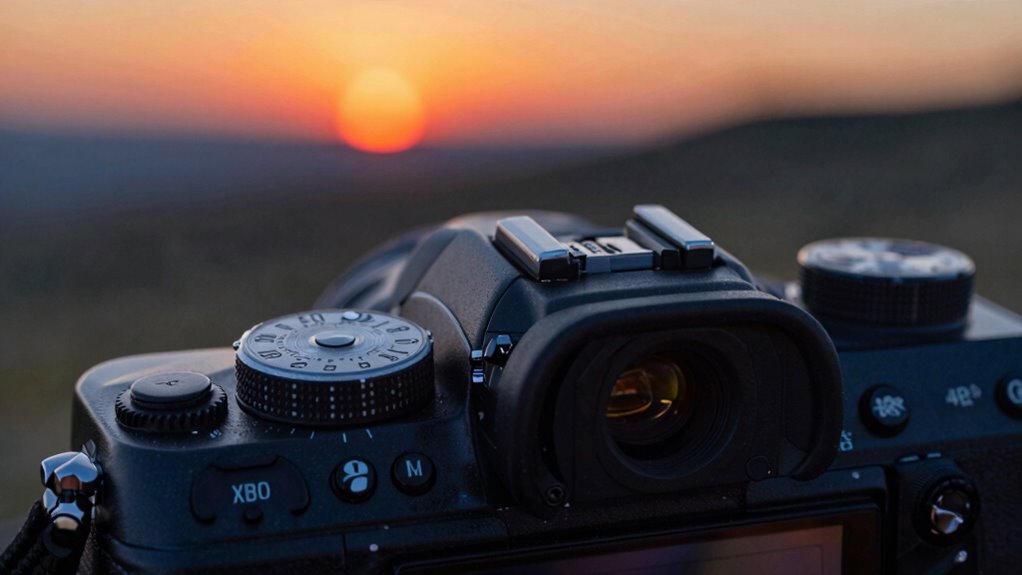
Low Light Techniques
Capturing stunning images in low light can be challenging, but mastering exposure time and shutter speed can make all the difference. For night photography, consider using low light filters to enhance ambient light and improve clarity. Increasing your ISO helps, but be cautious of noise—opt for high ISO settings when necessary, while implementing noise reduction techniques. Understanding smartphone settings can also help you make the most of your camera features. Smart home gym equipment can also benefit from connected technology that enhances your training experience. Image stabilization is essential; it minimizes blurriness from hand movements. Choose the right lens, as wider apertures allow more light, boosting dynamic range. Additionally, using essential oils for toothache relief can provide comfort if you’re experiencing discomfort while shooting in low light. Power tools and equipment can also be invaluable for creating a stable shooting environment. Experiment with longer exposure times to draw in more light without compromising detail. By combining these techniques, you’ll create crisp, vibrant images that truly capture the magic of low-light environments. Remember, understanding technique & form education can significantly enhance your photography skills.
Endoscope Camera with Light, 1920P HD Borescope Tools with 8 Adjustable LED Lights, Endoscope with Semi-Rigid Snake Camera, Inspection Borescope for iOS and Android – 16.4ft Single Lens
1920P HD Resolution: Sewer camera with 7.9mm probe can inspect hard-to-reach places effortlessly. The 2.0MP HD endoscope can…
As an affiliate, we earn on qualifying purchases.
As an affiliate, we earn on qualifying purchases.
The Exposure Triangle: How Aperture and ISO Influence Exposure Time

The exposure triangle is an essential concept for photographers, intertwining aperture, ISO, and exposure time to create the perfect shot. Understanding how aperture impacts exposure time lets you control depth of field and light entry. A wider aperture (lower f-number) allows more light, enabling faster shutter speeds. Conversely, a narrower aperture requires longer exposure times to achieve the same brightness.
ISO sensitivity also plays a significant role. Higher ISO settings increase your camera’s sensitivity to light, allowing you to shoot in darker conditions without sacrificing exposure time. However, raising ISO can introduce noise, affecting image quality. Balancing these elements—aperture, ISO, and exposure time—ensures you capture crisp, well-exposed images in any lighting scenario.
Top 5 Mistakes to Avoid When Setting Exposure Times
When you’re setting exposure times, it’s easy to make mistakes that can ruin your shots. Ignoring lighting conditions, overexposing in bright scenes, and inconsistent frame rates can all lead to disappointing results. Let’s explore these pitfalls so you can capture the best images possible.
Ignoring Lighting Conditions
While many photographers focus on settings like aperture and ISO, ignoring lighting conditions can lead to disappointing results. Understanding natural light and its effects on your scene is essential. You need to make exposure adjustments based on ambient illumination. Conducting a quick scene analysis helps you gauge the dynamic range available, ensuring your sensor sensitivity matches the lighting conditions. Use effective light metering techniques to capture the best details in highlights and shadows. By applying creative exposure strategies, you enhance visual storytelling, bringing your images to life. Don’t overlook the power of lighting techniques; they can dramatically change your results. Anti-fatigue mats can also improve your comfort during long editing sessions, allowing you to focus more on your photography. Additionally, utilizing energy-efficient appliances can help maintain optimal lighting in your workspace. Pay attention to how light interacts with your subject, and your photos will thank you for it. Furthermore, consider the importance of ergonomics in design to ensure your working environment supports both creativity and comfort. Remember that proper water damage restoration can help maintain your equipment’s longevity in varying conditions. Creating a well-lit workspace can significantly enhance mood and productivity, making your creative process more enjoyable and effective.
Overexposing During Bright Scenes
Overexposing during bright scenes can easily ruin your shots, especially if you underestimate the sun’s intensity. To avoid this mistake, keep these tips in mind:
- Use bracketing techniques to capture multiple exposures—this helps you find the perfect balance.
- Analyze your histogram frequently; a well-distributed graph guarantees you’re not losing detail in highlights.
- Adjust your aperture; a smaller opening can reduce light intake, preventing overexposure.
- Consider using ND filters to reduce brightness without altering color, allowing more flexibility with your settings.
- Incorporate smart lighting technology to adapt your shooting environment, enhancing your ability to manage exposure.
Inconsistent Frame Rates
Inconsistent frame rates can throw off your entire video project, leading to choppy motion and distracting visuals. To achieve frame rate consistency, you need to focus on frame rate optimization before filming. Identify potential frame rate challenges in your setup, and don’t hesitate to make necessary frame rate adjustments. Regular frame rate monitoring during production helps catch issues early, ensuring smoother playback. Additionally, using acoustic drum shields can minimize unwanted noise that may disrupt your audio synchronization. Conduct thorough frame rate analysis in post-production to assess how frame rate impacts your final output, especially in relation to AI-driven analytics that can assist in identifying issues. By implementing effective frame rate solutions, you’ll enhance the overall quality of your visuals. Furthermore, incorporating security measures like proper lighting and camera placement can also improve the overall filming environment, which contributes to frame rate consistency. For optimal performance, consider using off-road gear that ensures comfort and stability during filming. Remember, maintaining a consistent frame rate is key to creating professional-looking videos that engage your audience from start to finish. Additionally, understanding Red and Blue teams can provide insights into the technical aspects of video production that may affect frame rate consistency.
Calculating the Perfect Exposure Time for Your Shots
To capture the essence of a scene perfectly, you need to master the art of calculating exposure time. Here’s how to achieve that ideal exposure duration for visual clarity:
Mastering exposure time is essential for capturing a scene’s essence and achieving visual clarity.
- Analyze the scene: Understand the lighting conditions and dynamic range.
- Use light metering: Gauge the light to determine your ideal settings.
- Consider capturing movement: Adjust your exposure time to freeze action or create a blur effect.
- Apply exposure compensation: Tweak settings to guarantee the image reflects your vision.
How to Use Exposure Time for Dramatic Effects

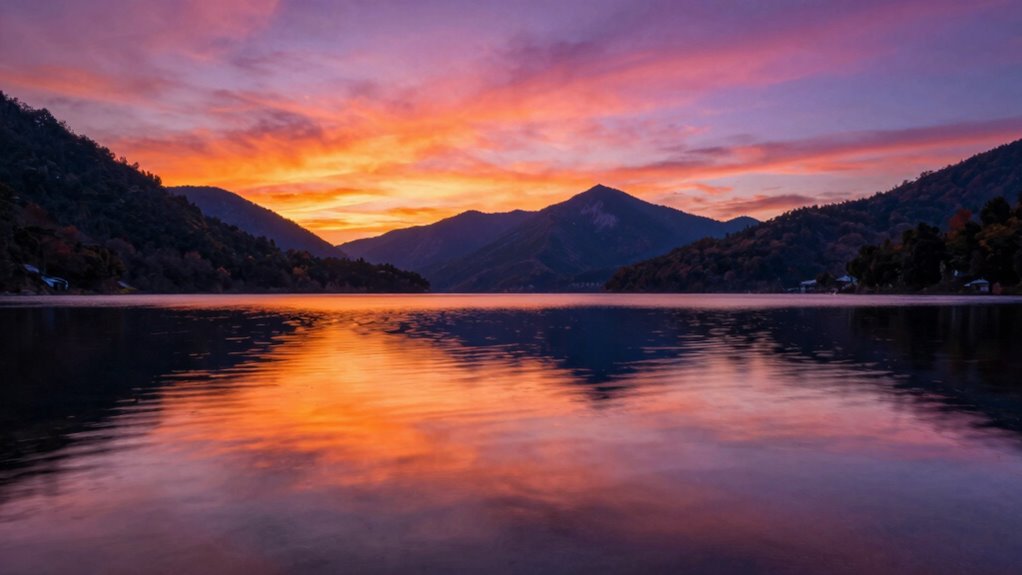
While mastering exposure time is essential for achieving clarity, it can also be a powerful tool for creating dramatic effects in your photography. By experimenting with longer exposure times, you can capture motion, enhancing dynamic storytelling and adding depth to your creative composition. For instance, a flowing waterfall can appear silky smooth, while bustling city scenes can convey energy and life.
| Exposure Time | Effect | Creative Use |
|---|---|---|
| 1/1000 sec | Freezing motion | Sports or action shots |
| 1/30 sec | Blurring motion | Night scenes, light trails |
| 2 sec | Softening elements | Landscapes, water effects |
| 10 sec | Capturing light | Star trails, fireworks |
Use these techniques to transform ordinary scenes into enchanting images.
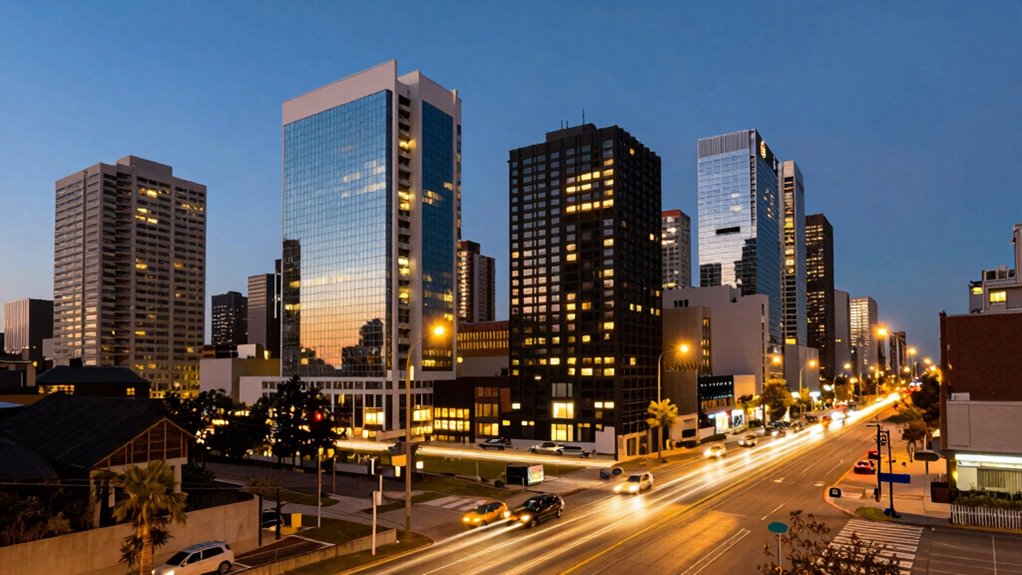
Practical Tips for Adjusting Exposure Times in Various Lighting Conditions
Adjusting exposure times in various lighting conditions can greatly impact your photos. Here are some practical tips to help you make dynamic adjustments for stunning results:
Adjusting exposure times for different lighting conditions can significantly enhance your photography and lead to stunning results.
- Bright Sunlight: Use shorter exposure times to prevent overexposure; think 1/1000 sec for crisp images.
- Golden Hour: Embrace longer exposure times, like 1/60 sec, to capture soft, warm light and rich colors.
- Low Light: Try a slower shutter speed, around 1/30 sec, but steady your camera for sharpness; use a tripod if possible.
- Indoor Spaces: Experiment with medium exposure times, like 1/125 sec, to balance ambient light and avoid graininess.
These creative techniques will enhance your photography, allowing you to adapt to any lighting scenario effectively.
The Role of Exposure Time in Post-Processing Your Visuals
Exposure time plays an essential role in shaping the final look of your visuals during post-processing. When you capture an image, the exposure time directly influences the amount of light hitting the sensor, which impacts the overall quality and detail. If you’ve overexposed, you might struggle with recovering highlights, while underexposure can lead to noise.
In post-processing, employing techniques like exposure adjustment and selective editing helps enhance visual clarity. You can fine-tune shadows and highlights to achieve a balanced image. Additionally, using noise reduction tools can mitigate issues from longer exposure times. Remember, the right exposure time sets the foundation for successful edits, allowing you to create stunning visuals that resonate with your audience.
Frequently Asked Questions
How Does Exposure Time Affect Video Recording Quality?
Exposure time directly affects your video recording quality by influencing dynamic range and frame rate. Shorter exposure times can help capture fast-moving subjects clearly, reducing motion blur, while longer exposure times allow more light, enhancing details in darker scenes. However, if you push it too far, you risk overexposing highlights or losing that crispness in motion. Balancing exposure time with frame rate is essential to achieving that sharp, professional look you’re aiming for.
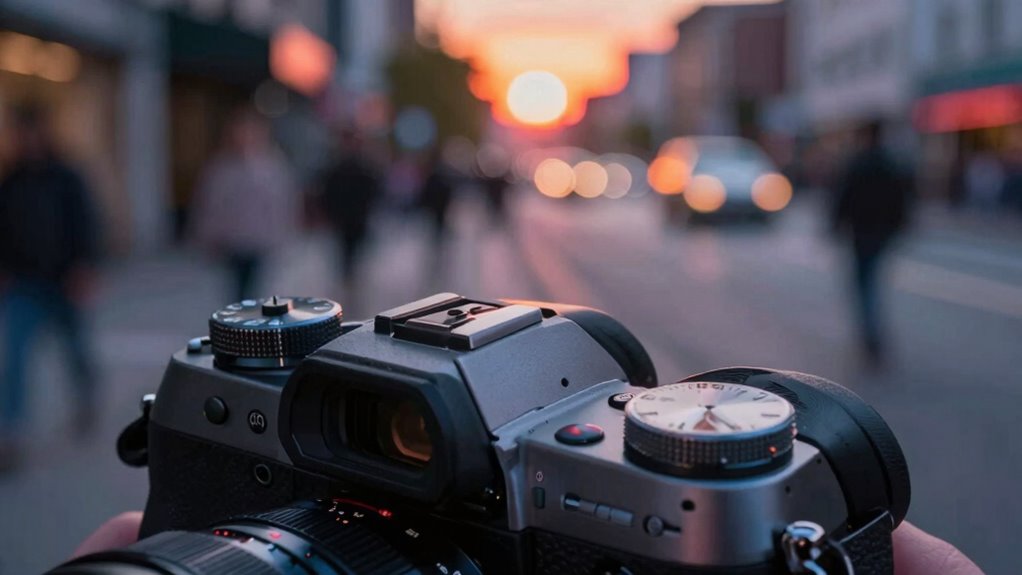
Can Smartphones Handle Exposure Times Like Professional Cameras?
Yes, smartphones can handle exposure times similar to professional cameras, but it depends on the model. Many high-end smartphones boast advanced sensors and manual settings, allowing you to adjust exposure times for better video quality. While they might not match the full capabilities of professional gear, with the right settings, you can achieve impressive results. Experiment with your smartphone’s manual controls to find the perfect balance for your recording needs.
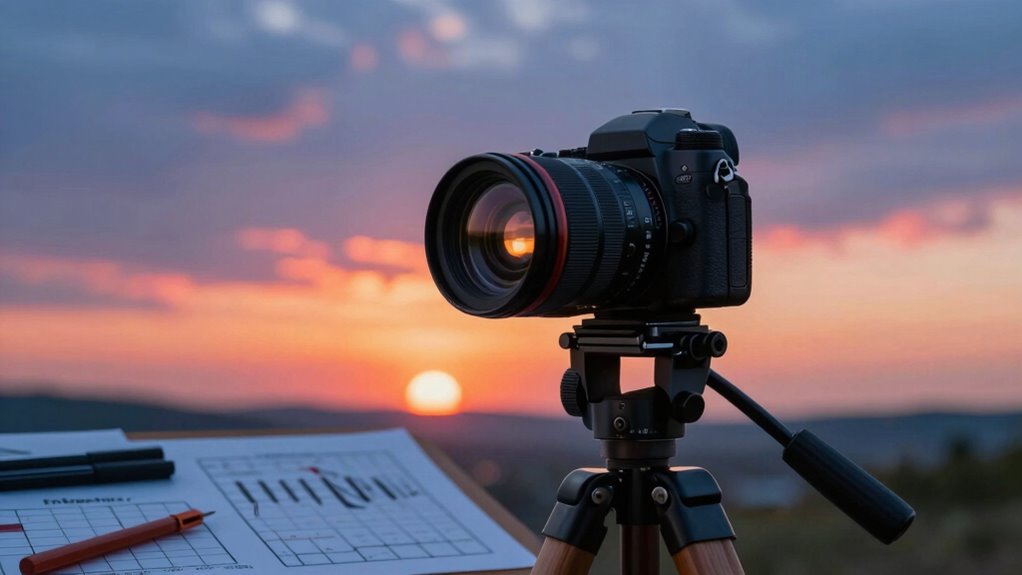
What Is the Ideal Exposure Time for Night Photography?
For night photography, you’ll want to use a long exposure, typically between 10 to 30 seconds, to capture the night sky beautifully. This allows light from stars and other celestial objects to create stunning images. Make sure your camera’s steady, using a tripod to avoid blurriness. Experiment with different times to see what works best for your scene, but remember, longer isn’t always better—find that sweet spot for your vision!
How Do Different Lenses Impact Exposure Time?
Different lenses impact exposure time considerably. A wider lens aperture lets in more light, allowing for shorter exposure times. The focal length also plays a role; longer focal lengths may require longer exposures to avoid motion blur. Lens type matters too—prime lenses usually provide better low-light performance than zooms. If your lens has image stabilization, it can help you shoot at slower speeds without blur, giving you crisp, clear shots in various conditions.
Does Exposure Time Influence Motion Blur in Still Images?
Yes, exposure time definitely influences motion blur in still images. When you use longer exposure settings, moving subjects can create noticeable blur, making them appear streaky. Conversely, shorter exposure times freeze motion, capturing sharp details. To minimize motion blur, you’ll want to adjust your settings according to the subject’s speed. Experimenting with different exposure times helps you find the perfect balance, allowing you to achieve the desired clarity in your shots.
Conclusion
In mastering exposure times, you’re not just capturing images; you’re crafting stories. Did you know that about 80% of photographers struggle with exposure settings? By understanding how exposure time interacts with lighting and other factors, you can say goodbye to guesswork and hello to crisp, stunning visuals. Remember, a well-timed shot can transform an ordinary moment into something extraordinary. So, take control of your exposure settings and elevate your photography game!