
When embroidering on hats, placing your design correctly is essential to avoid puckering. Center your main logos or text at the front, while smaller designs can go on side panels. Use quality stabilizers and maintain proper hoop tension to keep everything in line. Choose structured caps with suitable fabrics like cotton or polyester blends for the best results. Stick around, and you’ll discover tips on tools and techniques that can elevate your hat embroidery game even further!
Key Takeaways
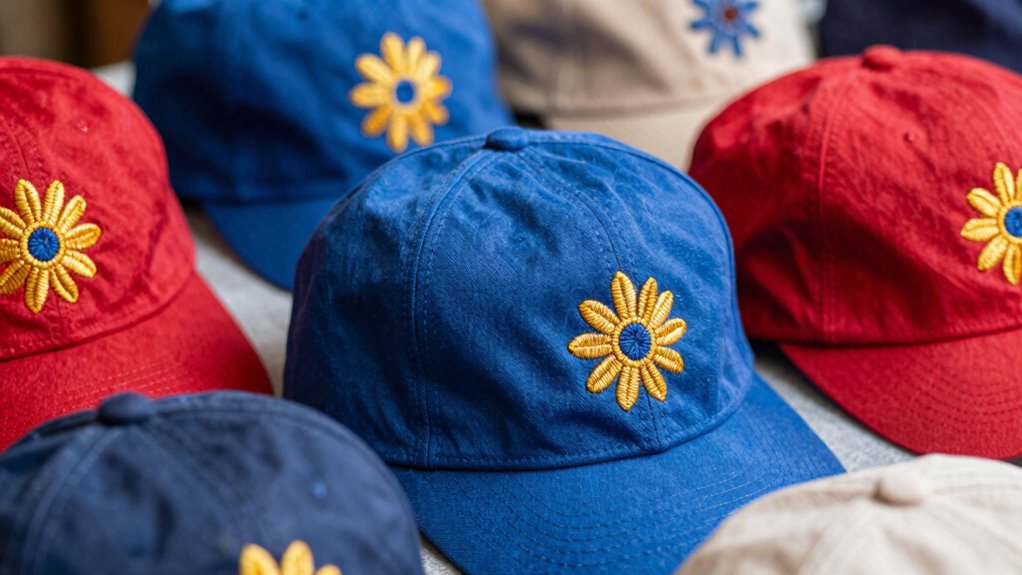
- Proper design placement, especially at the front center, enhances visibility and aesthetic appeal while preventing distortions and puckering.
- Select suitable stabilizers and maintain correct hoop tension to ensure the fabric remains taut without overstretching during embroidery.
- Choose structured hats made from compatible fabrics like cotton or polyester blends for better embroidery results and shape retention.
- Conduct test stitch-outs on fabric scraps to evaluate alignment, thread tension, and color visibility before finalizing the design.
- Regularly check and adjust hoop tension throughout the embroidery process to avoid any irregularities and ensure a polished finish.

New brothread Tearaway Embroidery Stabilizer Backing for Caps and Hats – 4" x 8" 125 Precut Sheets – Heavy Weight 3oz
▶ Fit Perfectly For Cap Hoops: The precut size 4" x 8" of this tear away embroidery stabilizer…
As an affiliate, we earn on qualifying purchases.
As an affiliate, we earn on qualifying purchases.
Hat Embroidery Basics
When you plunge into hat embroidery, you’ll discover that understanding the basics is essential for creating eye-catching designs. Start by familiarizing yourself with various embroidery techniques, like machine and hand embroidery. Each method has its own charm, so choose what suits your style best.
Next, explore different stitching styles, such as satin stitch, chain stitch, and backstitch. Each stitch adds a unique texture and visual appeal to your design.
Don’t forget to choose the right thread and needle for your fabric; these can make or break your project. Practicing these fundamentals will set you on the path to mastering hat embroidery, allowing you to create stunning pieces that showcase your creativity. Get ready to let your imagination soar!

Sew Tech Embroidery Hat Hoop Insert for Janome Memory Craft MC 500E 400E 350E 300E 550E 9500 9700 10000 Elna 820 830 8200 8300 8600 etc., Sewing and Embroidery Machine Hoops
This hoop is for hat embroidery machine, it is a hat hoop insert, it needs to be used…
As an affiliate, we earn on qualifying purchases.
As an affiliate, we earn on qualifying purchases.
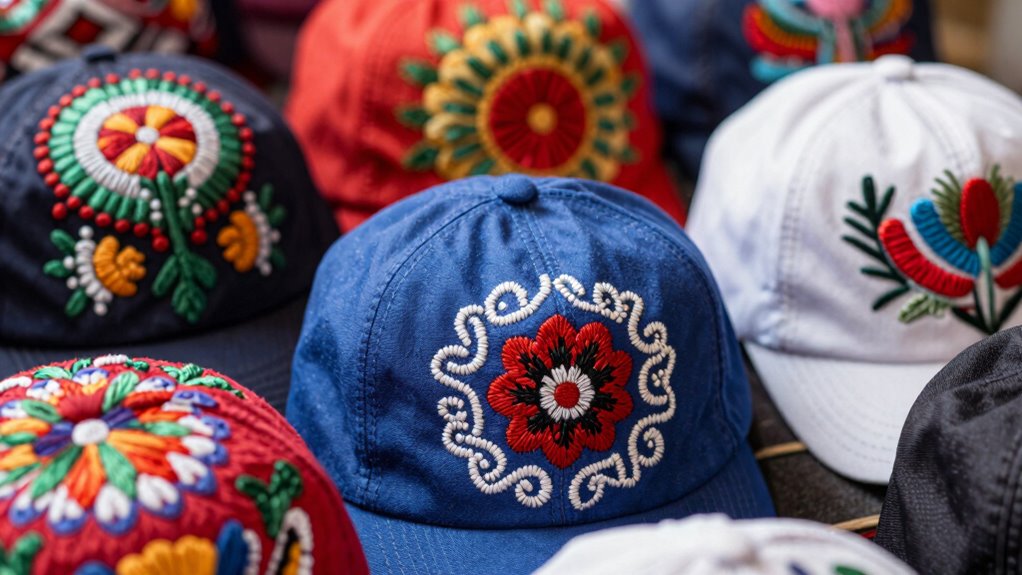
Why Placement Matters in Hat Embroidery
Placement plays an essential role in hat embroidery, as it directly influences the overall aesthetic and visibility of your design. When you consider design alignment, you’re ensuring that your embroidery complements the hat’s structure and style. Proper placement avoids awkward distortions and puckering, which can detract from the finished product. For instance, positioning your design too low or too high can make it look unbalanced. Striking the right balance enhances embroidery aesthetics, making your work not just visible but appealing. You want your design to stand out for the right reasons, so give careful thought to where you place it. Ultimately, thoughtful placement can turn an ordinary hat into a standout piece that showcases your creativity. Additionally, understanding filtration/suction basics can help in maintaining the quality of your embroidery equipment, ensuring consistent results. Moreover, proper cleaning & organization of your workspace can streamline your process and improve efficiency. Furthermore, implementing water chemistry guidelines can enhance the longevity of your materials and tools. Incorporating ergonomic principles in your workspace setup can also improve your comfort while working on embroidery projects. Additionally, being mindful of color accuracy can elevate the visual appeal of your designs, ensuring they capture attention effectively.

TSSGBL Classic Cotton Structured Baseball Hat – OSFM & XXL Men Women Adjustable Plain Blank No Logo Golf Ball Cap, Navy Blue
Classic Great Quality Cotton Baseball Cap : The baseball cap is made of premium cotton, it has a…
As an affiliate, we earn on qualifying purchases.
As an affiliate, we earn on qualifying purchases.
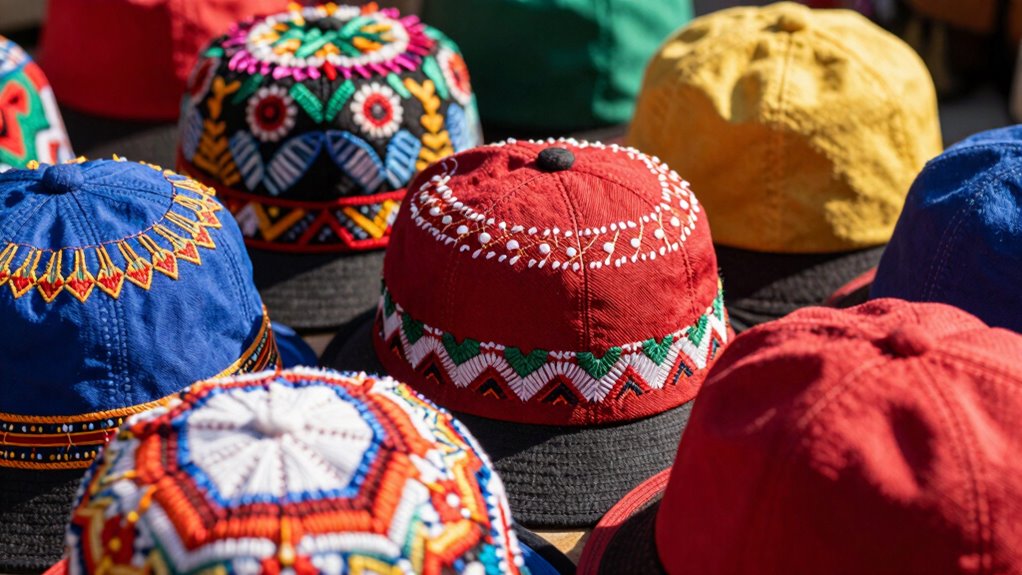
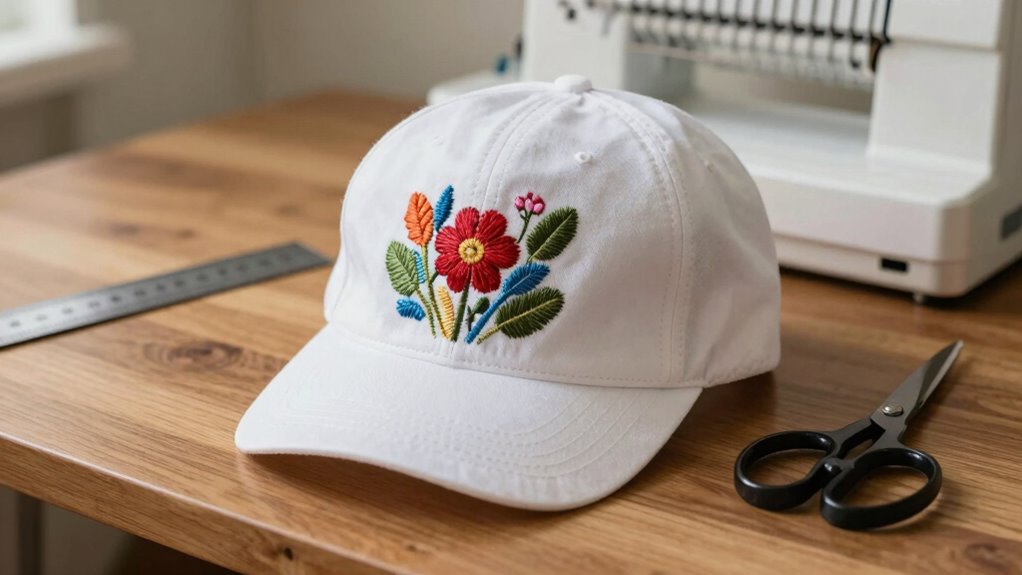
Choosing the Best Hat for Embroidery
If you want your embroidery to shine, choosing the right hat is essential. Start by considering different hat styles, like baseball caps or beanies, which can impact the final look. Look for fabric types that hold embroidery well, such as cotton or polyester blends, to avoid puckering. Think about the hat shape; a structured cap often provides a better canvas than a soft one. Your design elements should complement the hat’s style, while color choices should harmonize for visual appeal. Don’t forget about thread types—opt for high-quality threads that stand out against the fabric. Finally, consider branding options; a well-placed logo can enhance your overall design, making your embroidery pop.
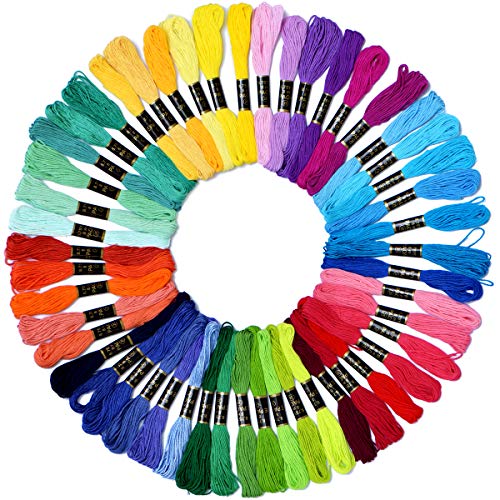
Friendship Bracelet String 50 Skeins Fashionable Rainbow Color Embroidery Floss Cross Stitch Embroidery Thread Cotton Floss Bracelet Yarn, Craft Floss
50 Vivid Colors embroidery floss , included 50 Vibrant and engaging rainbow colors,blue, green, red, orange, pink, yellow,…
As an affiliate, we earn on qualifying purchases.
As an affiliate, we earn on qualifying purchases.
Must-Have Tools for Precise Hat Embroidery
To achieve precise hat embroidery, having the right tools at your disposal makes all the difference. Start with quality embroidery tools that match your chosen hat types. Explore various thread choices to guarantee vibrant colors and durability. Invest in design software that allows you to create intricate patterns while considering your machine settings for peak performance. Selecting the right stabilizer types is vital to prevent puckering. Don’t forget to choose appropriate hoop sizes that fit your hats snugly. Opt for the right needle options based on the fabric treatments of your hats. Finally, master finishing techniques to give your embroidered hats a polished look. With these essentials, you’re set for successful hat embroidery!
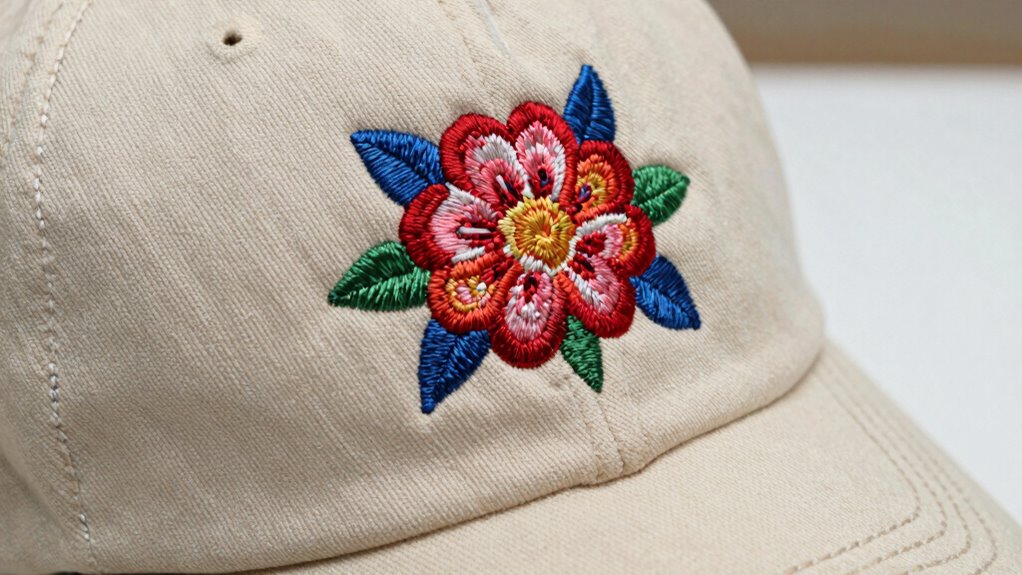
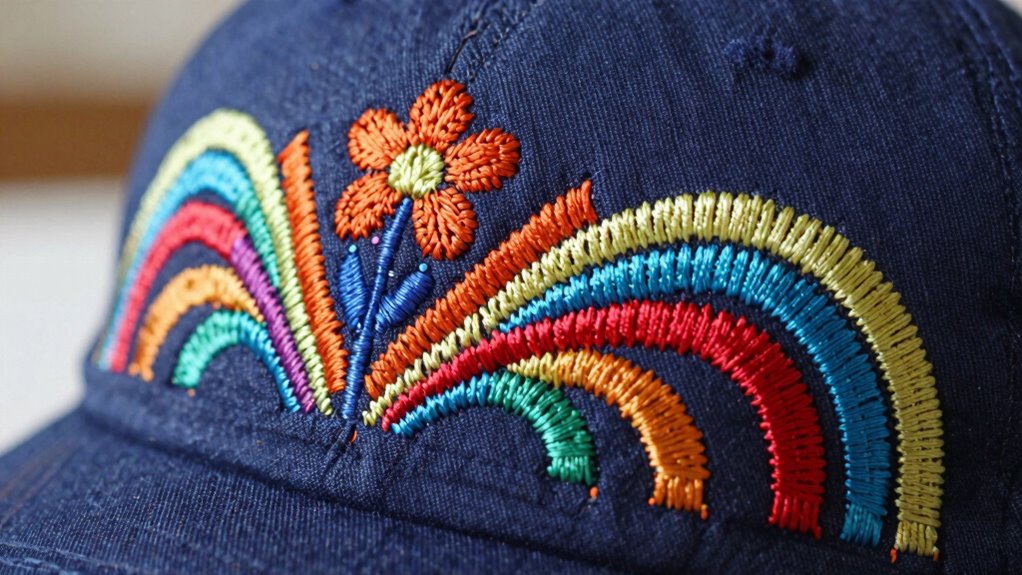
Tips for Perfectly Centering Your Designs
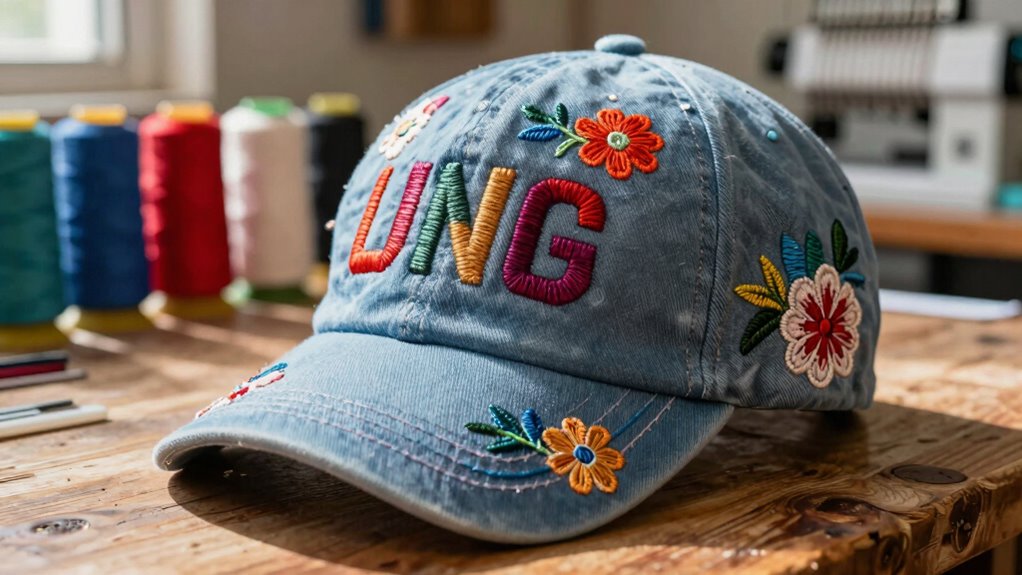
How can you guarantee your designs are perfectly centered on hats? Start by using effective measurement techniques. Measure the width of the hat’s front panel and divide it by two to find the center point. Mark this spot lightly with a fabric pen. Next, verify your design alignment matches this center point. Use a template or digital software to visualize placement before you stitch. Always double-check your measurements to avoid any misalignment. If you’re using a hoop, make certain it’s positioned correctly according to your marked center. Finally, take your time during setup to confirm everything aligns perfectly. With these tips, you’ll achieve flawless design placement every time, enhancing the overall look of your hat embroidery.
How to Prevent Puckering in Embroidery
When you’re embroidering on hats, preventing puckering is essential for a clean finish. Start by choosing the right stabilizer and ensuring your hoop tension is just right. These two factors can make a significant difference in the quality of your work. Additionally, using smart controls can help you fine-tune machine settings for optimal results.
Proper Stabilizer Selection
Choosing the right stabilizer is essential if you want to prevent puckering in your embroidery on hats. Understanding stabilizer types and their weight can greatly impact your project. For best results, consider stabilizer compatibility with your hat fabric and the design’s complexity. Using anti-fatigue mats can provide additional comfort during long embroidery sessions, helping you maintain focus and precision. Additionally, ensuring proper airflow around your workspace can enhance your overall efficiency. Incorporating training concepts can also improve your overall technique and effectiveness. Moreover, using smart indoor gardens can inspire creativity in your designs by providing fresh herbs and greens that can be embroidered onto fabric. A strong understanding of investment strategies can also help you allocate funds for high-quality materials.
Use the following table to guide your stabilizer selection:
| Stabilizer Type | Features |
|---|---|
| Tear-Away | Easy removal, lightweight |
| Cut-Away | Strong support, durable |
| Wash-Away | Ideal for delicate fabrics |
| Adhesive | Holds in place, no shifting |
| Fusible | Bonds to fabric, extra stability |
Choosing the right stabilizer layers can enhance your embroidery application, ensuring a smooth finish and maximizing stabilizer benefits.
Correct Hoop Tension
While proper stabilizer selection is essential, achieving correct hoop tension is equally important to prevent puckering in your embroidery. When you hoop your fabric, make certain it’s taut but not overstretched; this balance is key. If your fabric is too loose, it’ll shift during stitching, leading to puckering. Use tension adjustment to guarantee your fabric sits flat against the stabilizer. It’s also helpful to periodically check the tension throughout your embroidery process, as different embroidery techniques may require slight adjustments. Remember, consistent tension helps maintain the integrity of your design and keeps everything looking sharp. Additionally, ensuring your workspace has good indoor air quality can help prevent dust and debris from affecting your fabric. Maintaining good air quality can also minimize the chances of your fabrics becoming dirty or damaged, which can further enhance the quality of your work and avoid those frustrating puckers that can mar your beautiful hats. Proper humidity control in your workspace can also play a significant role in preserving the fabric’s condition. Furthermore, using safe cleaning products can help maintain a tidy workspace, ensuring that your materials remain in optimal condition for your embroidery projects. Keeping your workspace free of common allergens can also contribute to a healthier environment, allowing you to focus more on your embroidery without distractions.
Testing Your Design for Best Results
Testing your design is essential for achieving the best results in embroidery on hats. Start with design testing on a fabric scrap similar to your hat material. This helps you check stitch alignment, ensuring everything looks perfect before the final run. Adjust your settings based on these tests—tweak thread tension and machine speed to prevent puckering. Pay attention to how the design interacts with the hat’s contours; a well-placed design enhances the overall look. Don’t forget to evaluate the color choices as they can affect visibility and appeal. Additionally, understanding tool selection can significantly influence the quality of your embroidery. Once you’re satisfied with the test results, you’ll feel confident proceeding with the actual embroidery, knowing you’ve set yourself up for success. Happy stitching!
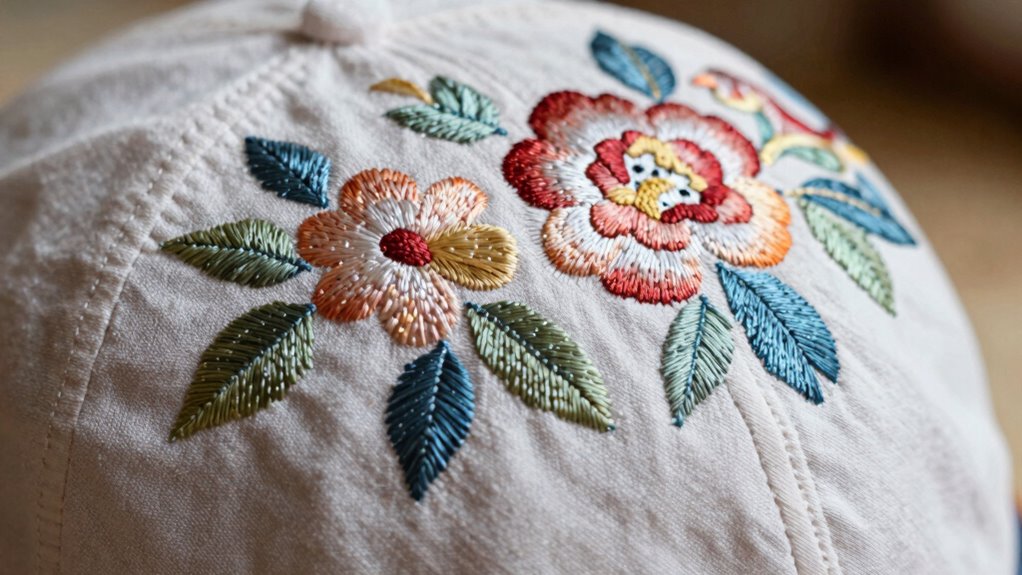
What Fabrics Work Best for Hat Embroidery?
Sure! Here’s the revised content with the requested changes:
—
After getting your design just right, the next step is selecting the right fabric for your hat. The fabric you choose can make a huge difference in the final look. Here are some top options:
- Cotton Blends: These provide a soft feel and good durability, perfect for casual wear. Additionally, fabric types can influence the overall aesthetic and functionality of your embroidery. Choosing eco-friendly materials can also contribute to a sustainable garden. Understanding textile properties helps ensure that your embroidery technique is appropriately matched to the fabric’s characteristics. It’s also crucial to consider natural remedies that may help alleviate irritation caused by certain fabrics.
- Moisture Wicking Fabrics: Ideal for active use, these keep sweat away and maintain comfort.
- Structured Caps: Often made from twill weaves or canvas materials, they hold their shape well.
- Polyester Options: These offer durability and can be combined with stretchy fabrics for extra comfort.
Choosing the right fabric guarantees your embroidery looks sharp and holds up over time. Additionally, considering sustainable gifting options can enhance the overall value of your embroidered hats.
—
Let me know if you need any more adjustments!
Keeping Your Embroidery Looking Great
To keep your embroidery looking great, you need to focus on proper hoop tension and design placement. Ensuring the fabric is taut will prevent puckering, while thoughtful placement keeps your design centered and visually appealing. Let’s explore these key points to maintain the quality of your work. Additionally, understanding proper hoop tension can significantly enhance the overall appearance of your embroidery.
Proper Hoop Tension
While achieving the perfect embroidery on hats may seem straightforward, proper hoop tension is essential for maintaining a clean, professional look. If you want to avoid puckering and guarantee your design pops, focus on these key tension techniques:
- Check your fabric: Different materials require specific hoop adjustments to achieve the right firmness. Understanding material characteristics can help you make these adjustments effectively.
- Tighten the hoop: Make sure it’s snug but not overly tight, which can distort the fabric.
- Test before you stitch: Run a sample stitch-out to see how the tension holds up.
- Monitor during stitching: Keep an eye on the embroidery process; adjust tension if you notice any irregularities.
Additionally, using proper hoop tension techniques can enhance your overall embroidery experience and lead to better results. Mastering these elements will help you create stunning hats that stand out for all the right reasons.
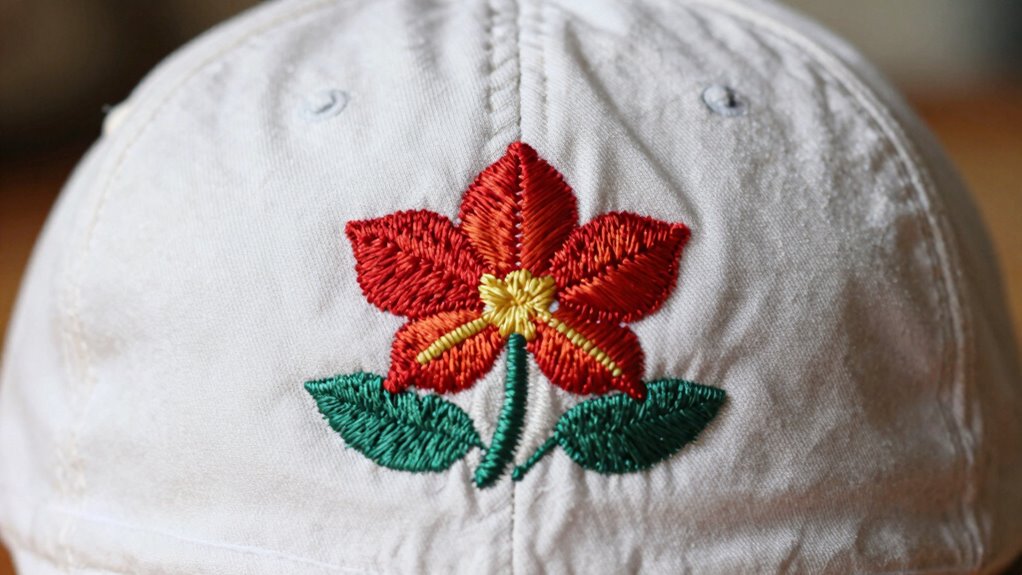
Design Placement Tips
Getting the design placement right is essential for making your embroidery stand out on hats. You’ll want to guarantee your design alignment is spot on to enhance embroidery aesthetics. Here are some tips to help you achieve that perfect look:
| Placement Area | Considerations |
|---|---|
| Front Center | Ideal for logos or text |
| Side Panel | Great for smaller designs |
| Back Panel | Works well for tag lines |
| Brim | Best for subtle touches |
Frequently Asked Questions
Can I Use Any Type of Thread for Hat Embroidery?
No, you can’t use just any type of thread for hat embroidery. It’s important to choose the right thread types, like polyester or rayon, which are more durable and resistant to fading. Additionally, consider thread thickness; thicker threads can create a bold look but may also cause puckering if not applied correctly. Always test your materials on a sample to guarantee the best results for your hat design.
How Do I Choose Colors for My Hat Design?
To choose colors for your hat design, start by applying color theory to find complementary shades. Consider contrast considerations to make your design pop, ensuring it stands out against the fabric. Think about fabric compatibility; certain threads work better with specific materials. Finally, don’t forget seasonal palettes—bright colors suit summer, while deeper tones fit fall. Mixing these elements will help you create a visually appealing and cohesive hat design.
What Types of Embroidery Stitches Work Best on Hats?
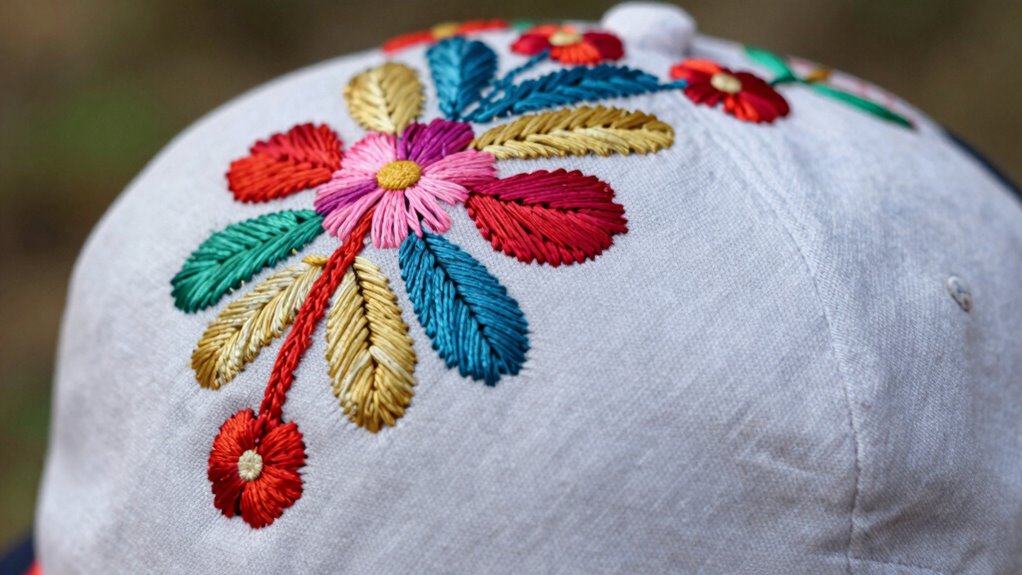
When choosing embroidery stitches for hats, opt for techniques like satin stitches and fill stitches, as they create smooth, bold designs. Chain stitches add texture, while backstitching offers precision. Consider the hat fabrics; for softer materials, go with lighter, less dense stitches to avoid puckering. Incorporate design elements that complement the hat’s style, ensuring the embroidery enhances rather than overwhelms. Test your stitches on fabric scraps to find the perfect balance.
How Can I Fix Puckering After Embroidering?
To fix puckering after embroidering, start by identifying the puckering causes, like improper tension or fabric choice. You can try using a fabric stabilizer to give your hat more support during stitching. If you’ve already embroidered, gently steam the area to relax the fibers. Another technique is to carefully stretch the fabric while pressing it with an iron. Experiment with these fixing techniques to get smoother results in your future projects!
Is It Possible to Embroider on Structured vs. Unstructured Hats?
Absolutely, you can embroider on both structured and unstructured hats! Did you know that over 70% of custom hats feature embroidery? When choosing your embroidery techniques, consider fabric compatibility. Structured hats, with their firm fronts, hold designs well, while unstructured hats allow for softer, more casual looks. Just verify your needle and thread match the fabric type for the best results. Enjoy creating unique designs on both styles!
Conclusion
So, you’ve got your hat and all the right tools. But what if you miss that perfect placement? The dreaded puckering could ruin your design! Imagine pulling it out to wear, only to see those unsightly folds. Don’t let that happen! With the right techniques and a bit of practice, you can create stunning, professional-looking embroidery that turns heads. Ready to give it a go? Your masterpiece is just a stitch away!